
Are your kitchen cabinet doors looking outdated because of those grooved designs? You’re not alone.
Many homeowners want a fresh, modern look but worry about the hassle and cost of replacing cabinets. What if you could transform your cabinets without tearing them out? You’ll discover simple, effective ways to cover those grooves and give your kitchen a stunning makeover.
Keep reading, and you’ll find easy steps that anyone can follow—no special skills needed. Your dream kitchen is closer than you think!

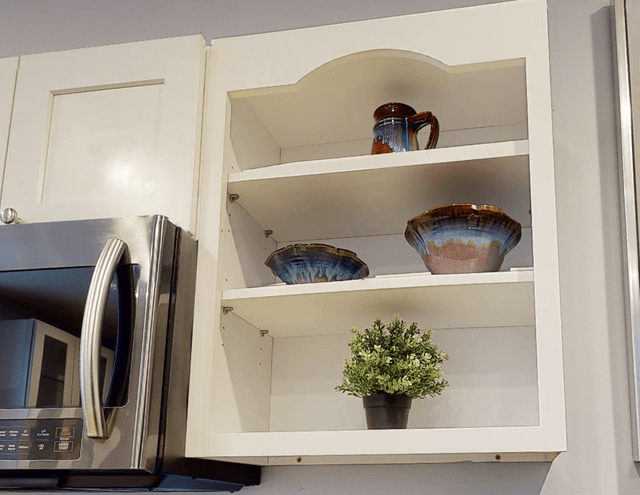
Credit: www.patrickafinn.com
Choosing The Right Materials
Choosing the right materials to cover grooved designs on kitchen cabinet doors is key. It affects the look, feel, and durability of your cabinets. The material should fit your style and hold up to daily use. Consider how it handles moisture, heat, and cleaning. The right choice makes your kitchen look fresh and neat.
Types Of Covering Materials
- Wood Veneer:Thin slices of real wood that add warmth and natural beauty.
- Laminate:Durable plastic layers available in many colors and patterns.
- Paint:Offers a smooth surface and can hide grooves completely.
- Thermofoil:A vinyl layer that covers doors with a smooth finish.
- Wallpaper or Fabric:Used with adhesive and sealed for unique designs.
Durability And Finish Options
Durability depends on the material and kitchen conditions. Laminate and thermofoil resist moisture well. Wood veneer can last long but may need sealing. Paint offers many finish options like matte or glossy. Choose finishes that resist scratches and stains. A durable finish keeps cabinets looking fresh.
Preparing Cabinet Surfaces
Preparing cabinet surfaces is the key to successfully covering grooved designs on kitchen cabinet doors. Without proper preparation, paint or finish won't adhere well, and grooves can become more noticeable rather than less. Taking your time to clean, sand, and fill grooves properly sets a strong foundation for a smooth, professional-looking finish.
Cleaning And Sanding Tips
Start by thoroughly cleaning your cabinet doors. Use a mild detergent mixed with warm water to remove grease, dirt, and any old residue. This step is crucial because even a tiny bit of oil can cause paint to peel later on.
After cleaning, sanding helps create a rough surface for paint to stick better. Use medium-grit sandpaper (around 120-150 grit) to sand the entire surface gently, focusing on edges and grooves. Avoid aggressive sanding that could damage the wood or deepen grooves.
Have you noticed how sanding dust can settle into grooves? Use a vacuum or a soft brush to remove all dust particles before moving on. A clean, dust-free surface ensures your filler and paint will adhere evenly.
Filling Grooves Effectively
Filling grooves properly makes a huge difference in achieving a flat, smooth cabinet door. Choose a high-quality wood filler or putty suitable for your cabinet material. Some fillers dry hard and can be sanded easily, while others remain slightly flexible—select one that matches your needs.
Use a putty knife to press filler into the grooves firmly. Don’t just spread it on the surface; pack it deep into the grooves to avoid air pockets or gaps. Overfill the grooves slightly so you can sand the excess down later for a flush finish.
Once the filler dries, sand it smooth with fine-grit sandpaper (around 220 grit). If grooves remain visible, apply a second layer and sand again. This step might feel tedious, but it prevents those grooves from showing through your paint, giving you a clean, modern look.
Applying Paint Or Primer
Cover grooved designs by applying a thick primer to fill the grooves evenly. Use a brush or roller to smooth the surface before painting. This helps create a flat, clean look on cabinet doors.
Applying paint or primer to kitchen cabinet doors with grooved designs can breathe new life into your space. It’s a transformative step that not only updates the look but also adds a layer of protection. Choosing the right materials and techniques ensures a smooth and lasting finish.
Best Paint Types For Cabinets
Selecting the right paint is crucial for durability and aesthetics. Acrylic paint is a popular choice due to its fast drying time and easy cleanup. Oil-based paint offers a hard, durable finish, ideal for high-traffic kitchens. For those preferring eco-friendly options, waterborne alkyds provide the benefits of oil-based paint without the strong odors. Always opt for a paint that’s labeled as suitable for wood surfaces to ensure compatibility.
Techniques For Smooth Coverage
Achieving a flawless finish on grooved designs requires patience and the right tools. Use a high-quality brush or a foam roller to minimize brush strokes and roller marks. A small brush works wonders for reaching into grooves and ensuring even coverage. Applying a thin, even coat is key to avoiding drips and uneven surfaces. Consider using a paint sprayer for a professional-grade finish, especially if you have experience with one. Before painting, ensure the cabinet surfaces are clean and free of grease. Sand lightly between coats to smooth out any imperfections. Have you ever noticed how fresh paint seems to brighten a room instantly? That’s the magic of a well-executed paint job. By using the right paint and techniques, you can achieve a stunning, smooth finish on your grooved cabinet doors. What transformation will you bring to your kitchen space today?
Credit: artlinekitchenandbath.com
Using Veneer And Laminate
Using veneer and laminate is a smart way to cover grooved designs on kitchen cabinet doors, giving them a smooth and fresh look. These materials can hide imperfections and add a new style without the need for full replacement. You just need the right approach to select and apply them effectively.
Selecting Suitable Veneers
Choose veneers that match the style and color of your kitchen. Thin wood veneers work well if you want a natural look, while paper-backed veneers offer more flexibility for curved or detailed surfaces.
Consider the thickness: thinner veneers are easier to bend over grooves but might require extra care during application. Also, check if the veneer has a smooth backing to ensure better adhesion.
Ask yourself what finish you prefer—matte, glossy, or textured—as this will affect the overall feel of your cabinets. Don’t forget to pick veneers that are durable enough for kitchen environments.
Cutting And Adhering Laminate
Cut laminate sheets carefully, allowing extra material around the edges to cover grooves completely. Use a sharp utility knife or laminate trimmer for clean edges. Always cut on a flat, stable surface to avoid mistakes.
Apply contact cement or a strong adhesive evenly on both the cabinet door and the back of the laminate. Let it dry until tacky before pressing them together firmly. This step ensures a lasting bond and prevents bubbles.
After adhering, trim the excess laminate with a router or edge trimmer to get a perfect fit. Sand the edges lightly to smooth out any rough spots, making your cabinet doors look professionally finished.
Installing Decorative Molding
Installing decorative molding is a practical way to cover grooved designs on kitchen cabinet doors. It adds style and hides imperfections effectively. Molding can transform plain cabinets into elegant focal points. Choosing the right molding style and attaching it properly ensures a smooth, lasting finish.
Molding Styles To Match Cabinets
Choose molding styles that complement your cabinet design. Simple, flat moldings work well with modern cabinets. For traditional cabinets, consider crown or bead moldings. Raised panel moldings add depth and character. Match the wood type or paint color for a unified look. You can also use flexible moldings for curved cabinet doors.
Attachment Methods
Secure molding firmly for durability and a neat finish. Use wood glue for small or lightweight pieces. Nail molding with finishing nails to avoid damage. A brad nailer helps place nails quickly and cleanly. For a no-damage option, try double-sided mounting tape. Fill nail holes and seams with wood filler for a smooth surface. Sand and paint or stain molding to blend with cabinets.
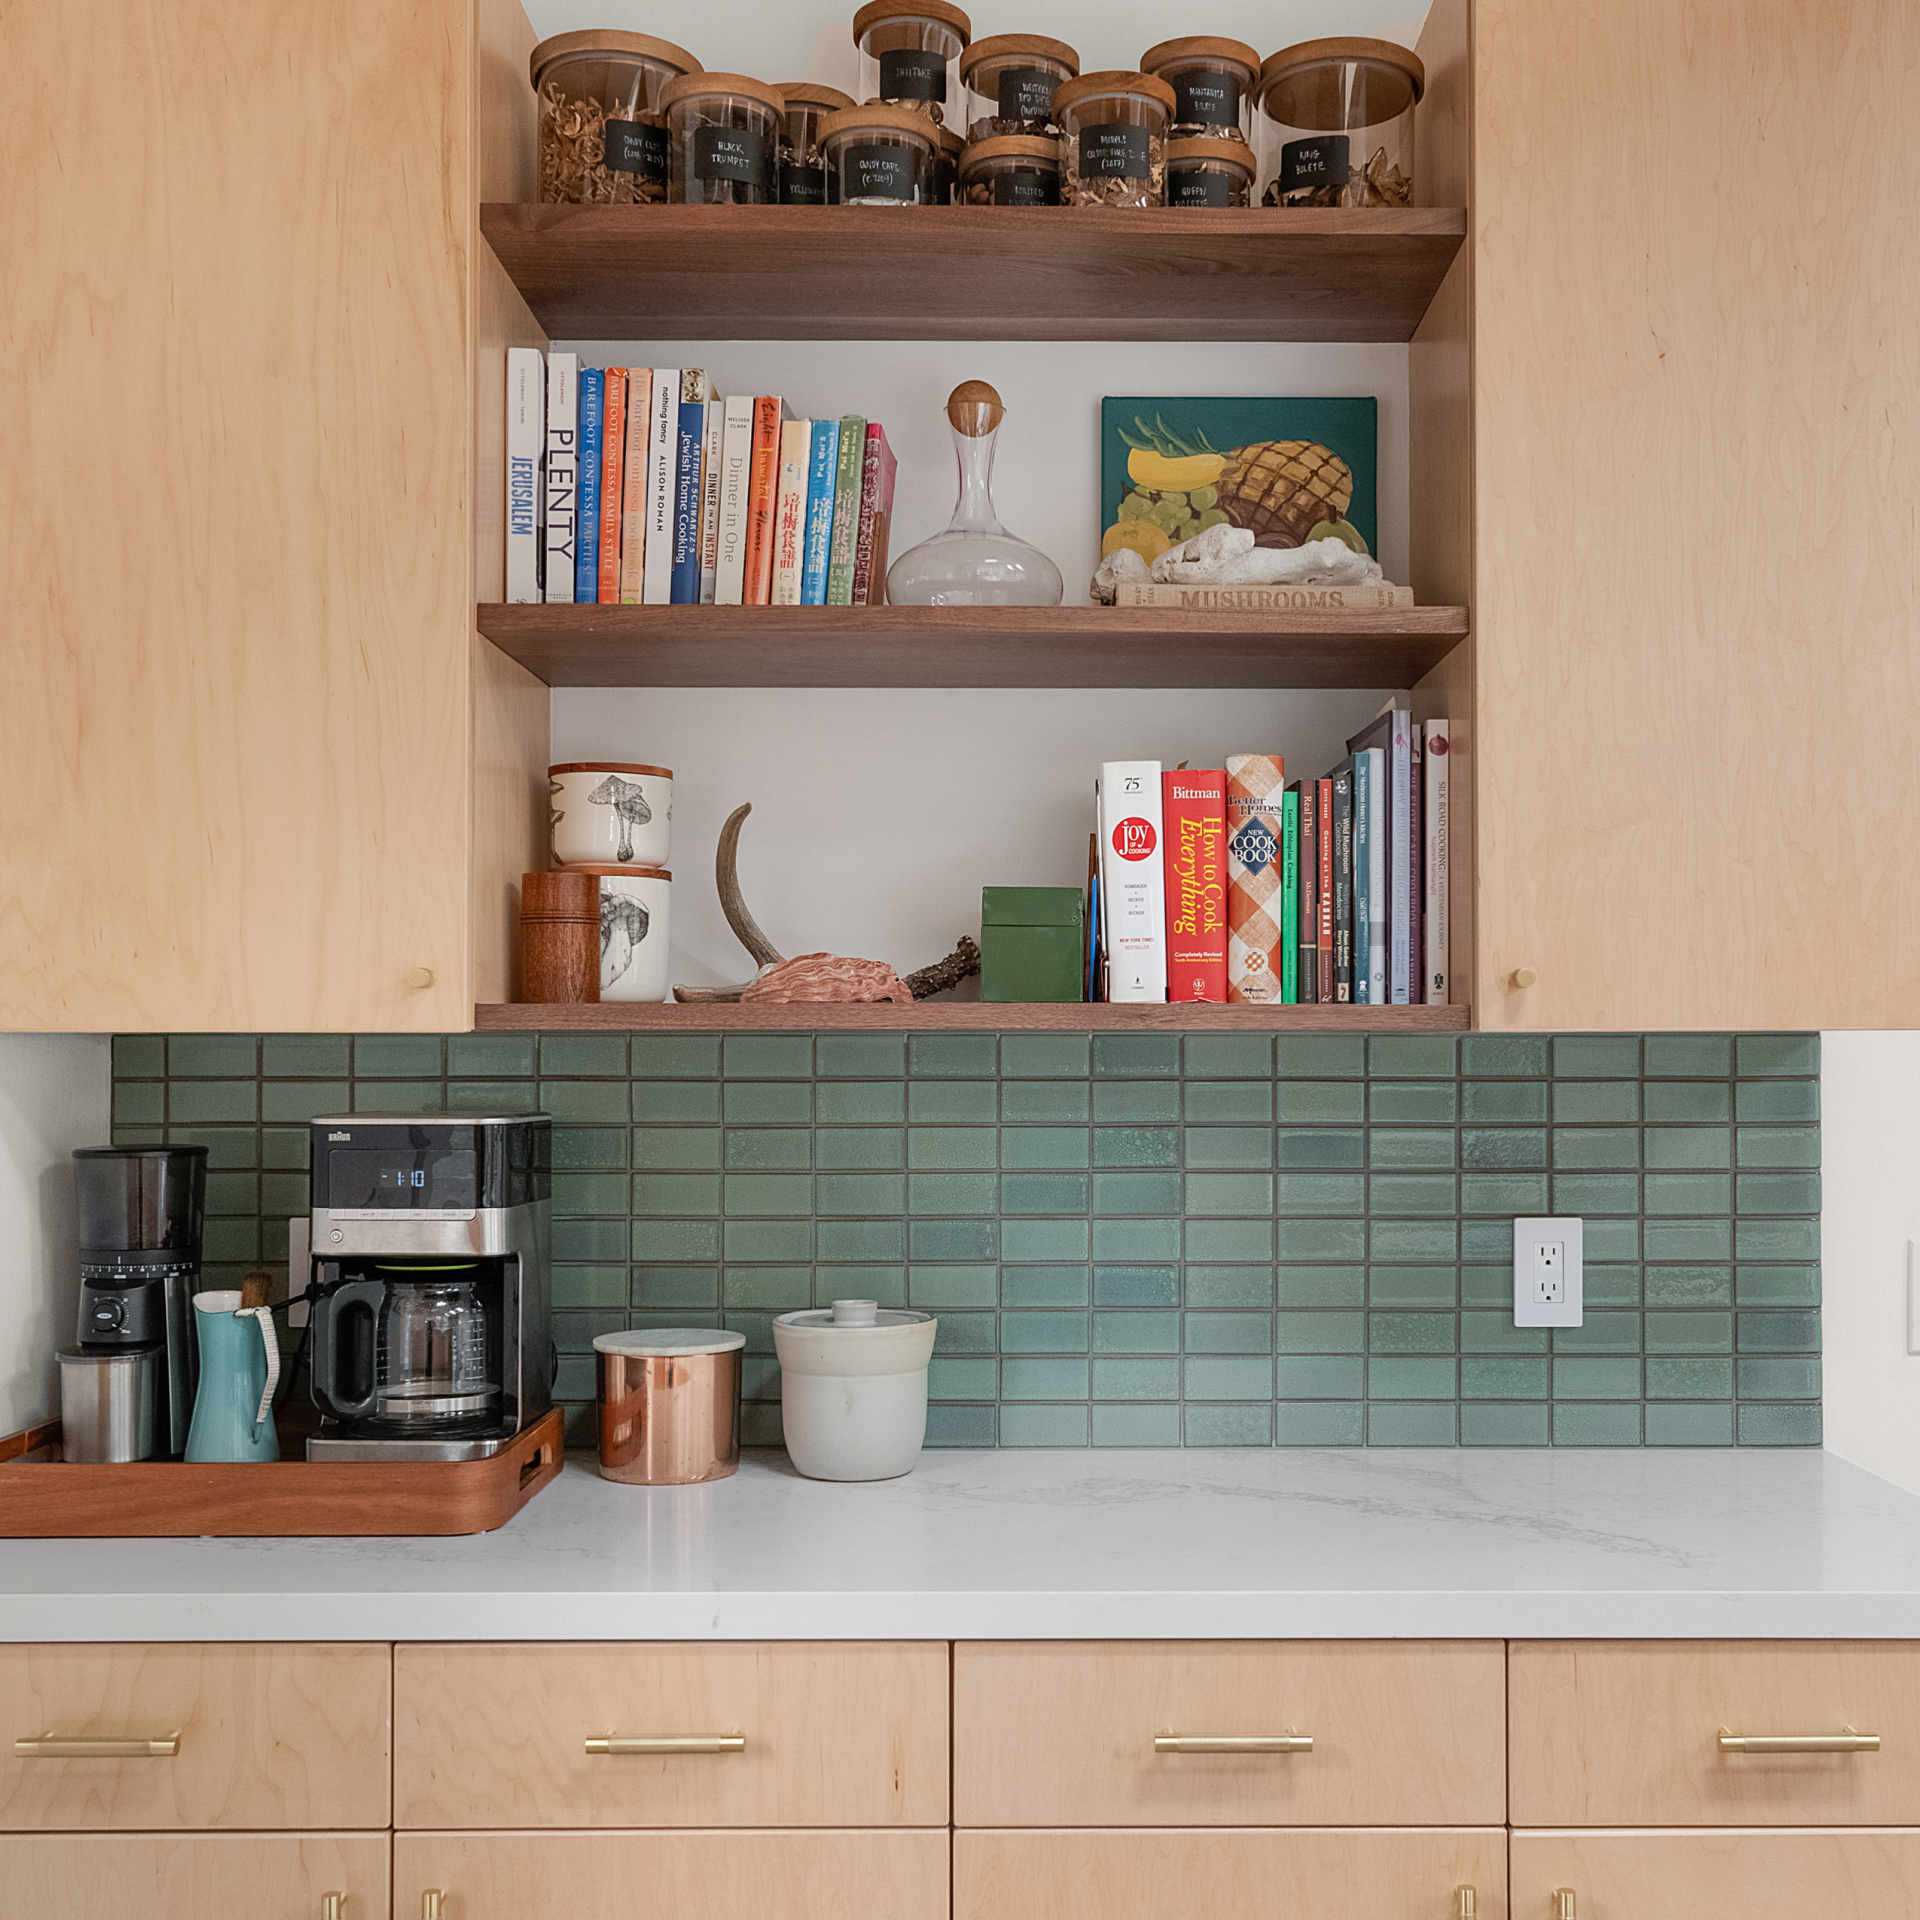
Credit: www.blockrenovation.com
Sealing And Finishing Touches
Sealing and finishing touches protect grooved kitchen cabinet doors and enhance their look. These steps help prevent damage from moisture and daily use. Proper sealing fills grooves and smooths surfaces for a clean finish.
Finishing also highlights the wood’s natural beauty or paint's richness. The right products and techniques extend the cabinet's life and keep it looking fresh.
Choosing Sealants For Longevity
Select sealants that resist water and stains. Polyurethane and acrylic sealants work well on kitchen cabinets. They create a hard, protective layer over grooves.
Use sealants labeled for wood or cabinets. Check if they dry clear and do not yellow over time. Oil-based sealants offer durability but take longer to dry.
- Water-based sealants dry fast and have low odor.
- Polyurethane provides strong, long-lasting protection.
- Acrylic sealants keep colors true and resist cracking.
- Apply thin layers to avoid build-up in grooves.
Final Sanding And Polishing Tips
After sealing, lightly sand with fine-grit sandpaper. This smooths any rough spots and removes dust. Sand grooves gently to keep their shape intact.
Use a soft cloth to wipe away sanding dust before polishing. Choose a polish or wax that suits your sealant type. Buff the surface to a soft shine for a polished look.
- Sand between coats for an even finish.
- Use circular motions to polish flat areas.
- For grooves, use a small brush or cloth strip.
- Polishing improves durability and adds subtle shine.
Maintenance For Lasting Results
Maintaining covered grooved designs on kitchen cabinet doors ensures they look fresh longer. Proper care protects the surface from dirt, stains, and wear. Regular upkeep keeps the finish smooth and attractive. Small repairs prevent damage from spreading and costing more later.
Cleaning Tips For Covered Cabinets
Use a soft cloth to wipe the cabinets gently. Avoid harsh chemicals that can damage the covering. Warm water mixed with mild soap works well for most surfaces. Dry the doors fully to stop moisture buildup. Clean spills immediately to prevent stains. Dust the cabinets weekly to keep them looking neat.
Repairing Minor Damage
Fix scratches and chips quickly to avoid bigger problems. Use touch-up paint or markers matched to the cabinet color. Small cracks can be filled with wood filler or putty. Sand the area lightly before applying repair materials. After drying, apply a clear coat for protection. Regular checks help spot damage early for easy repair.
Frequently Asked Questions
How Do I Fill Grooves On Kitchen Cabinet Doors?
Use wood filler or epoxy putty to fill grooves. Apply with a putty knife, smooth the surface, and let it dry. Sand the area to achieve a flat finish before painting or staining for a seamless look.
What Paint Works Best For Grooved Cabinet Doors?
Use high-quality acrylic or enamel paint for grooved cabinet doors. These paints adhere well and provide a smooth finish. Apply primer first to ensure even coverage and durability, especially over filled grooves.
Can I Cover Grooves Without Sanding?
Sanding is recommended for best results but using a high-build primer can reduce sanding. The primer fills small imperfections and smooths the surface. However, some light sanding might still be necessary for a flawless finish.
How To Avoid Paint Buildup In Cabinet Grooves?
Apply thin, even coats with a brush or spray. Avoid overloading the brush to prevent paint pooling in grooves. Use a small artist brush for detailed areas to maintain clean lines and avoid buildup.
Conclusion
Covering grooved designs on kitchen cabinet doors can refresh your space. Choose the right materials and follow simple steps carefully. Paint, filler, or veneer work well for smooth finishes. Take time to prep surfaces for best results. Small changes can make a big difference in appearance.
Enjoy a clean, modern look without replacing cabinets. Try these tips to update your kitchen with ease.