
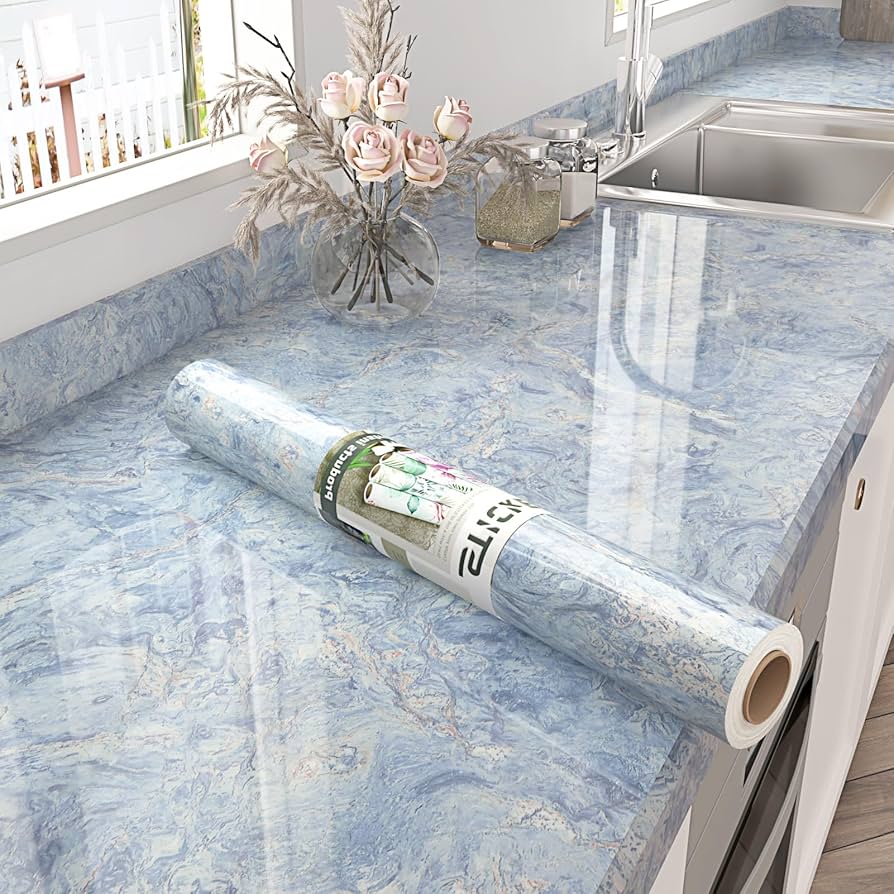
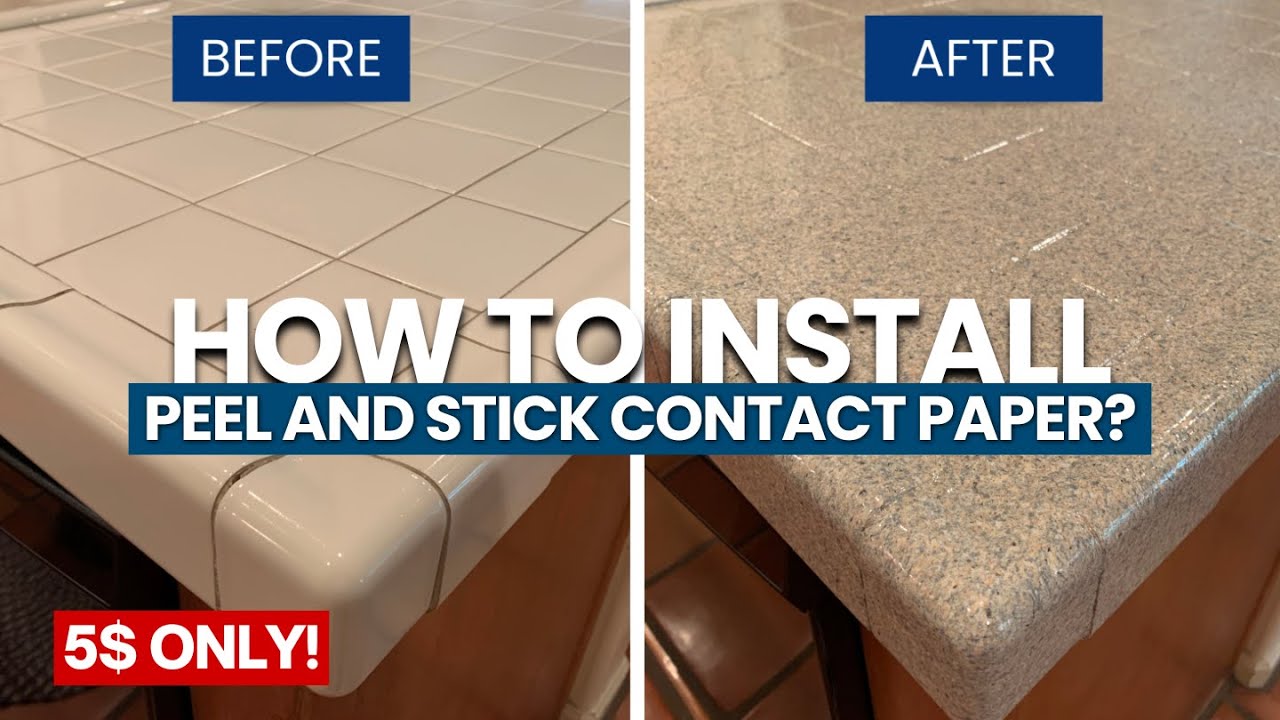
Are you tired of your dull or damaged kitchen countertops but don’t want to spend a fortune on a full renovation? Covering your countertops with contact paper might be the perfect solution for you.
It’s quick, affordable, and can completely transform the look of your kitchen without any heavy tools or mess. In this guide, you’ll discover simple steps to apply contact paper like a pro, tips to avoid common mistakes, and ideas to match your style.
By the end, you’ll feel confident to give your kitchen a fresh new look that you’ll love every time you cook or entertain. Let’s get started!
Choosing The Right Contact Paper
Choosing the right contact paper sets the tone for your kitchen makeover. It affects both the look and the lifespan of your countertops. Picking the best type ensures the paper fits your style and daily kitchen use. Think about texture, color, and how tough the material is. These details help you enjoy a fresh kitchen without constant repairs.
Types Of Contact Paper
Contact paper comes in various materials. Vinyl is the most common and easy to clean. It resists water and stains, perfect for kitchen use. Fabric-based papers offer unique textures but may need extra care. Some papers have adhesive backings that peel off easily, making removal simpler. Choose a type that matches your skill level for installation.
Patterns And Colors
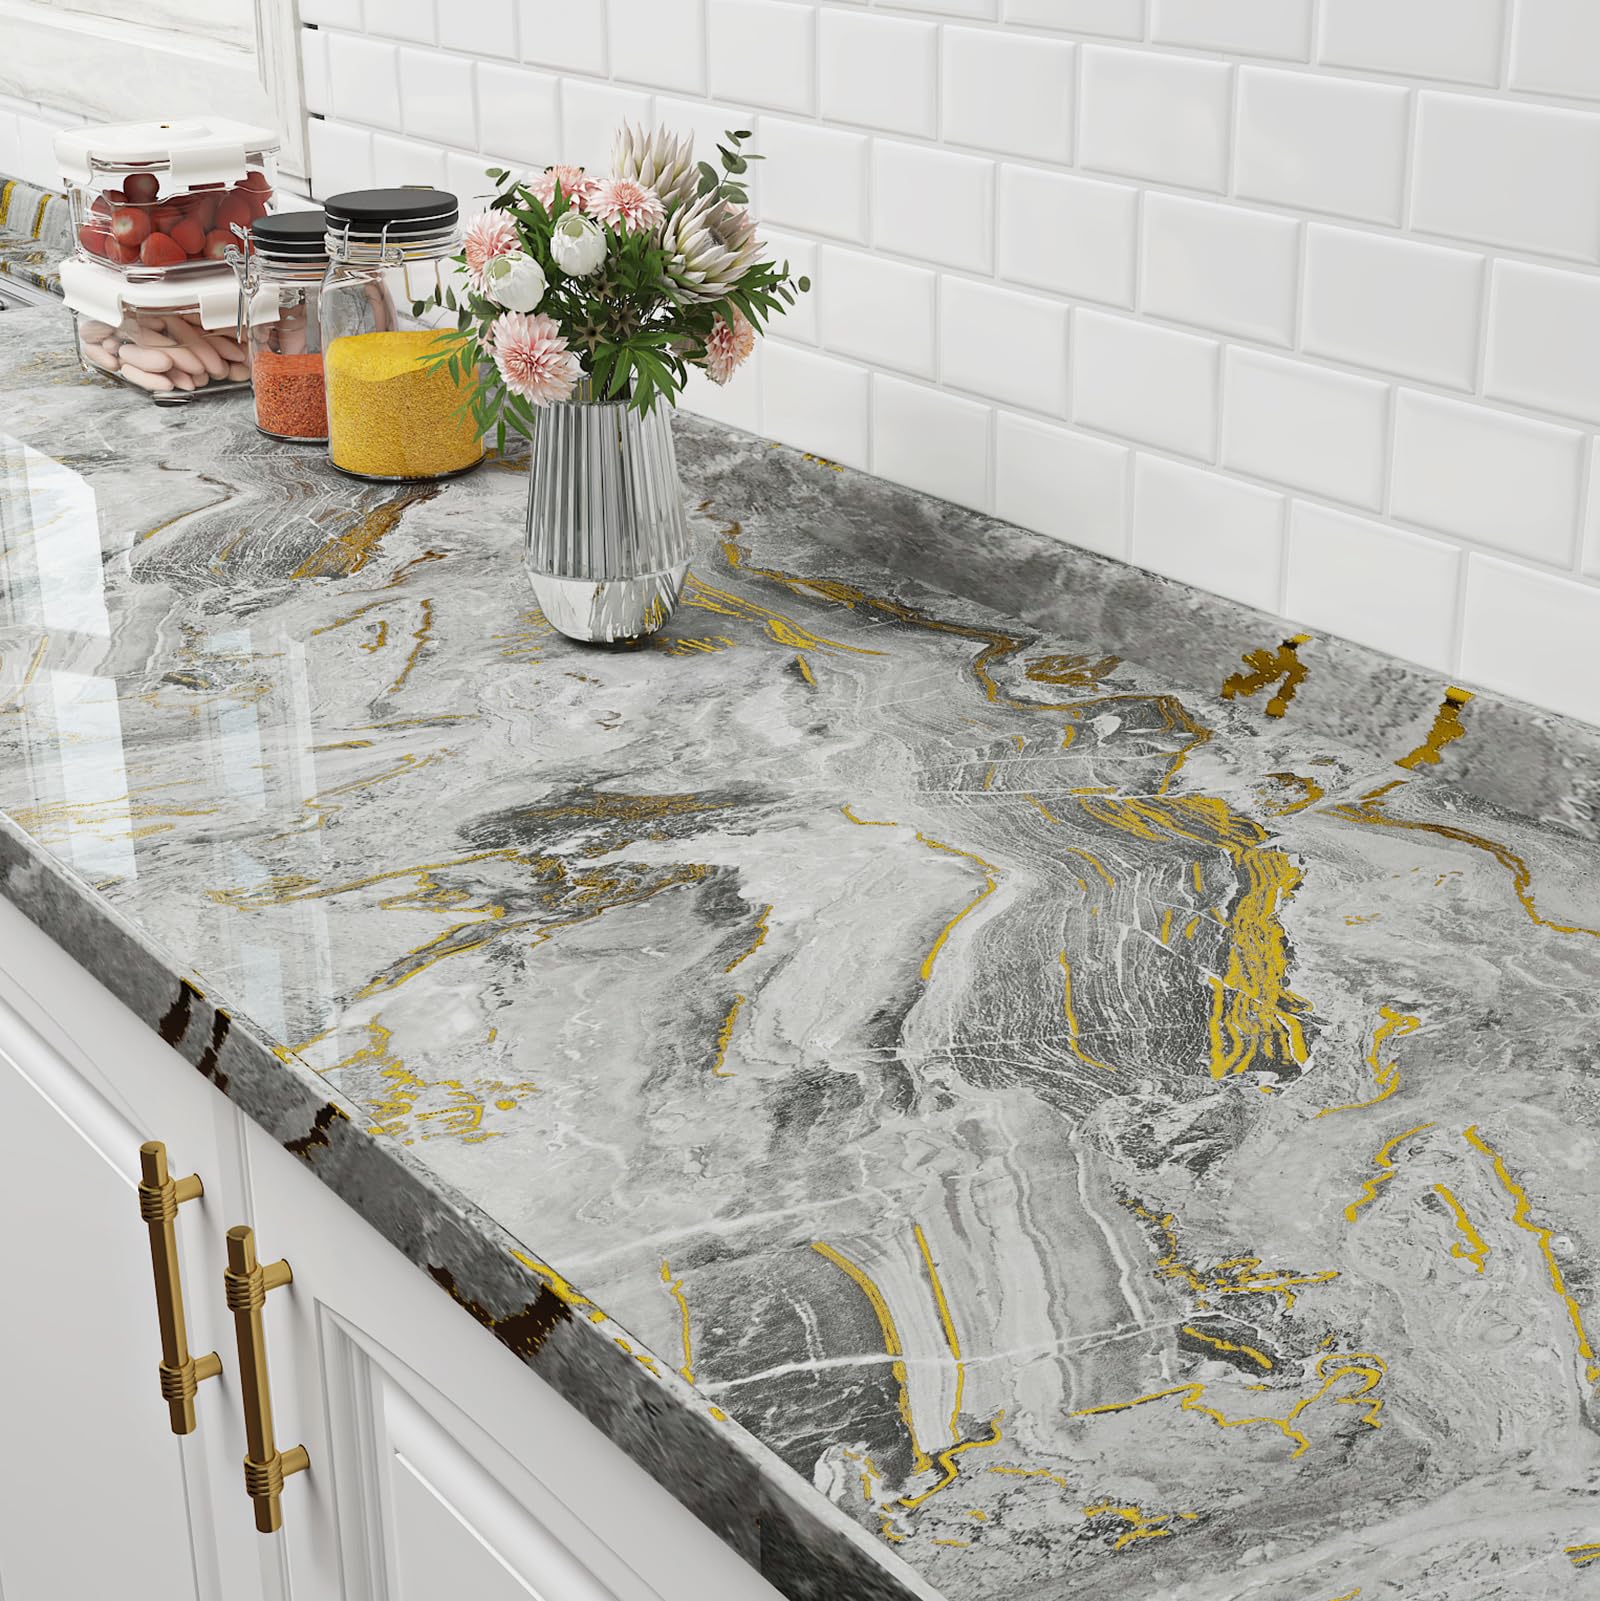
Contact paper offers endless style choices. Solid colors create a clean, modern look. Wood grain or marble patterns add elegance and warmth. Bright patterns can make small kitchens lively. Pick colors that match your cabinets and walls. Consider light shades to make your space feel larger and brighter.
Durability And Waterproof Features
Durability is key for kitchen countertops. Select contact paper that resists scratches and heat. Waterproof options protect against spills and moisture damage. Look for papers with a protective coating for longer use. Strong adhesive helps the paper stay put under daily wear. These features keep your countertops looking fresh for months.
Credit: www.amazon.com.au
Preparing Your Countertops
Preparing your kitchen countertops is key to a smooth contact paper application. A clean, even surface helps the paper stick better and last longer.
Take time to make sure the countertops are ready. This avoids bubbles, peeling, and uneven edges. Focus on cleaning, removing old adhesive, and fixing any bumps.
Cleaning Surface Thoroughly
Start by wiping the countertops with warm, soapy water. Use a soft cloth to remove dirt and grease. Avoid harsh cleaners that can damage the surface.
Rinse with clean water and dry completely. Any moisture can stop the contact paper from sticking well.
Removing Old Adhesive
Old glue or tape residue can cause lumps under the contact paper. Use rubbing alcohol or a gentle adhesive remover.
Apply the remover on a cloth and rub the sticky spots. Wipe clean with a damp cloth and let dry.
Smoothing Out Imperfections
Check for cracks, chips, or rough spots on the countertop. Sand these areas gently with fine-grit sandpaper.
Fill deeper cracks with a waterproof filler. Let it dry and sand smooth. This creates a flat surface for the contact paper.
Measuring And Cutting Contact Paper
Measuring and cutting contact paper correctly sets the stage for a smooth and professional-looking kitchen countertop makeover. Skipping careful measurements can lead to wasted material and frustrating adjustments. Taking your time here saves you effort and ensures your new surface looks seamless.
Accurate Measurements
Start by wiping your countertops clean to get clear edges for measuring. Use a flexible tape measure to capture the full length and width of each section you plan to cover. Write down each dimension carefully—don’t rely on memory.
Double-check your numbers before cutting. Adding an extra half-inch to each measurement gives you a margin for error and helps with wrapping edges around corners. Have you ever cut something only to realize it was just too short? This small buffer will prevent that.
Cutting Techniques
Lay the contact paper on a flat surface with the backing still on. Use a sharp utility knife or scissors designed for precision cutting. Straight cuts are crucial; consider using a metal ruler as a guide to keep lines clean and exact.
Cut slowly and steadily to avoid jagged edges. If you’re unsure about your first cut, practice on a scrap piece first. Your patience here will pay off with an easier application and better-looking finish.
Planning For Seams And Edges
Think about how the contact paper will meet at corners and seams before you start sticking it down. Overlapping pieces slightly can help hide joins, but avoid too much overlap to prevent bubbling. Plan your cuts so seams fall in less noticeable areas like the back or sides.
For rounded edges, cut small slits or create tabs in the contact paper to help it bend smoothly without wrinkling. Have you noticed how a poorly wrapped edge can ruin the whole look? Careful planning here ensures your countertop looks polished and durable.
Credit: www.amazon.ca
Applying Contact Paper
Clean the countertop surface thoroughly to ensure the contact paper sticks well. Slowly peel the backing and press the paper firmly, smoothing out air bubbles as you go. Use a utility knife to trim excess paper for a neat finish.
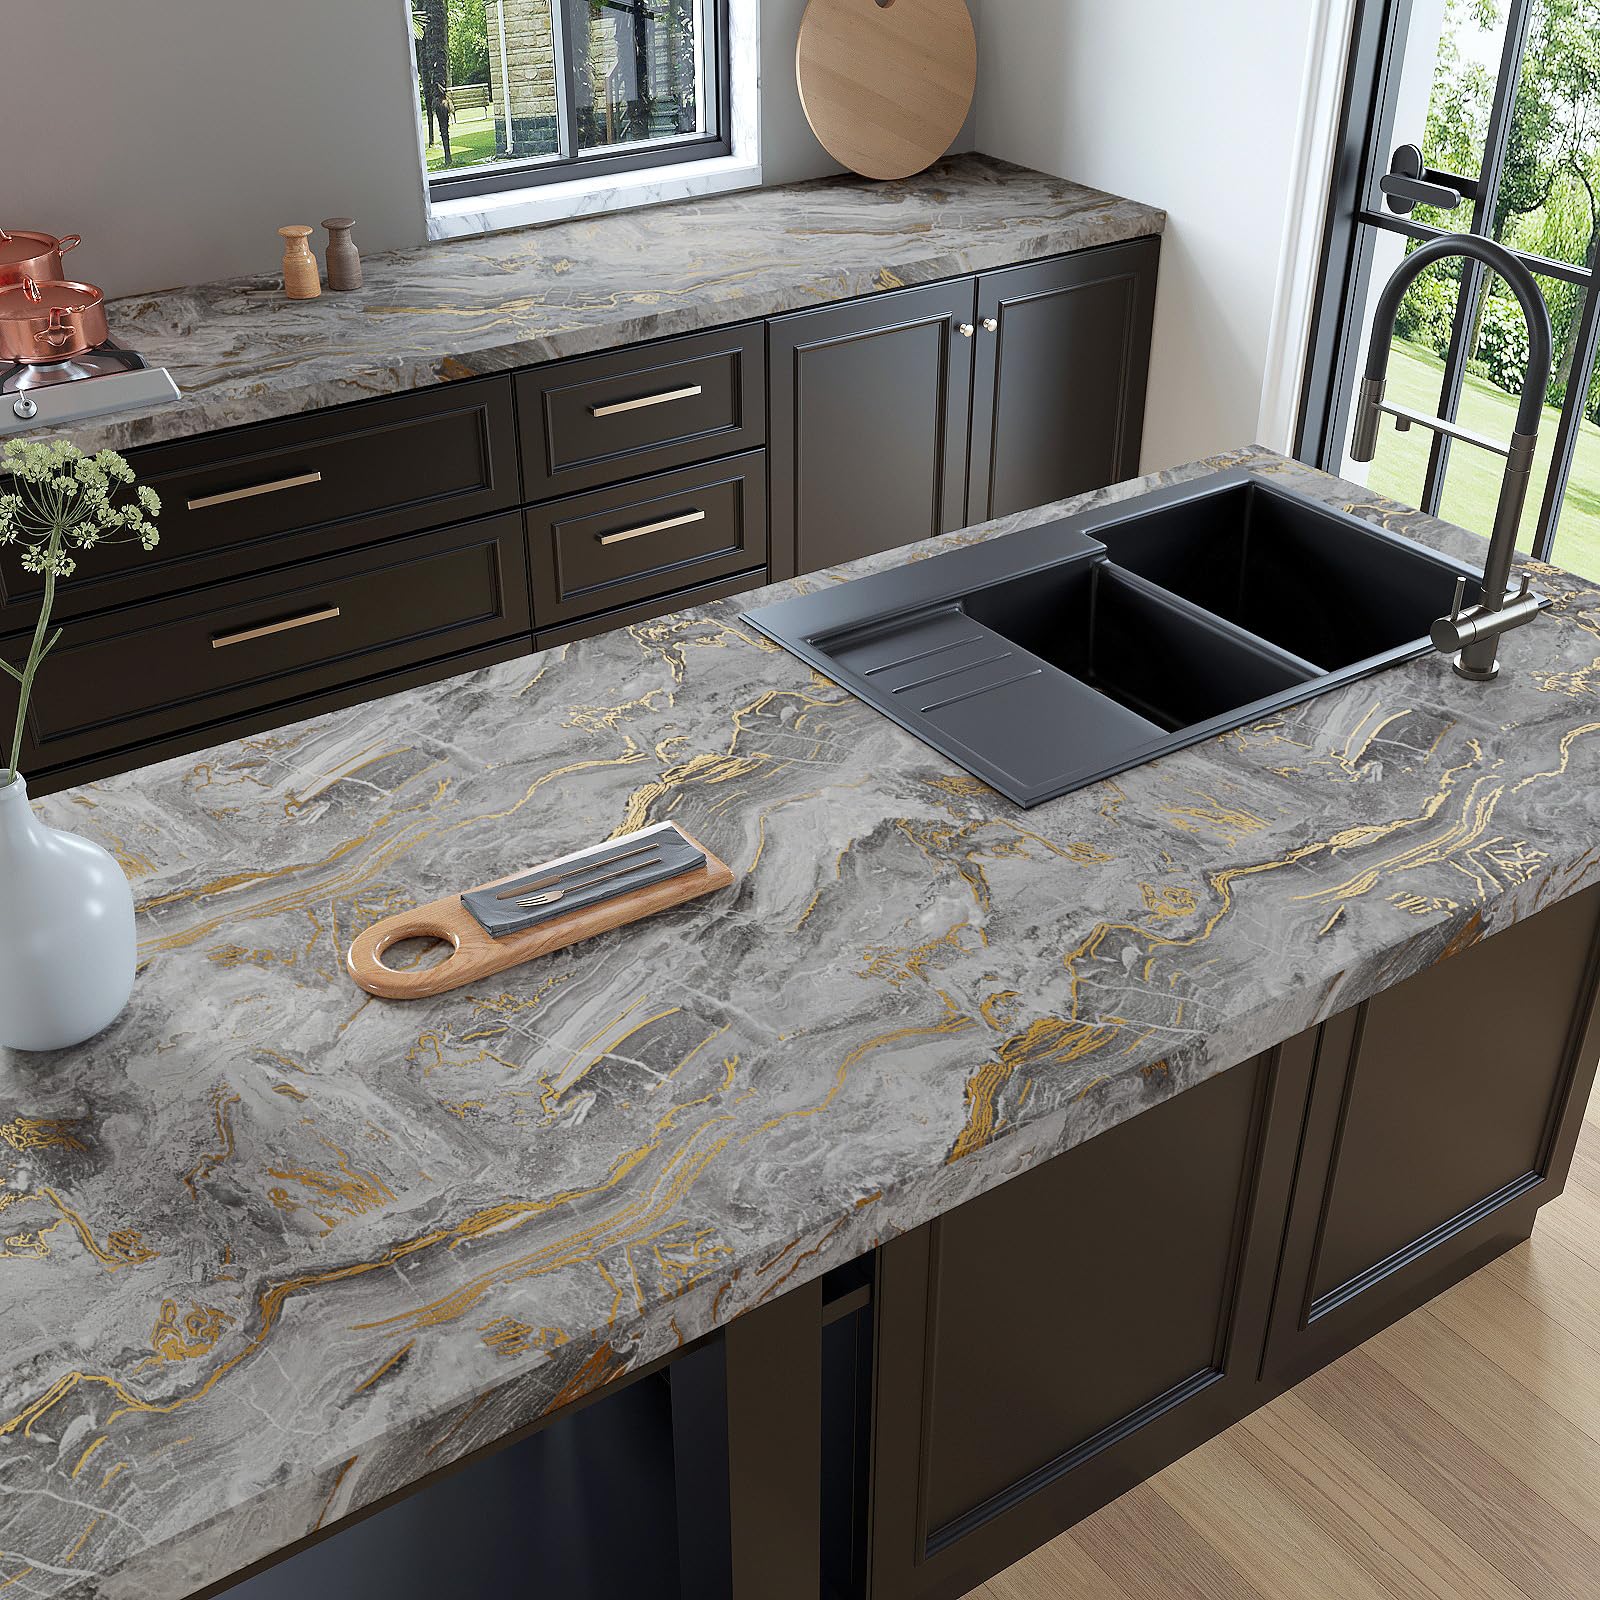
Applying contact paper to your kitchen countertops can transform your cooking space with minimal effort and cost. It's a simple DIY project that can give your kitchen a fresh, updated look. Whether you're aiming for a marble, wood, or even stainless-steel finish, the key is in the application.
Peeling And Aligning
Start by measuring your countertop and cutting the contact paper slightly larger than the surface. This gives you room to adjust and trim. Peel back a small section of the backing, just a few inches, and begin aligning it with the edge of the countertop. Ensure it lines up perfectly from the start to avoid a crooked finish. Remember, a little patience here can save you a lot of hassle later.
Avoiding Air Bubbles
Air bubbles can be your biggest enemy when applying contact paper. Use a credit card or a squeegee to press the paper down as you slowly peel away the backing. Move in small sections, smoothing out from the center towards the edges. If a bubble sneaks in, gently lift the paper back up and press it out. Practice makes perfect, and even small imperfections can often be fixed.
Smoothing And Pressing
Once the contact paper is aligned and bubble-free, it's time to secure it. Firmly press and smooth out the paper with your hands or a soft cloth. Pay special attention to the edges and corners to ensure they stick well. Trim any excess paper with a sharp utility knife for a neat finish. A well-applied contact paper can make your countertops look brand new and impress guests without breaking the bank. Have you ever tried using contact paper for a quick home makeover? It's amazing how such a small change can make a big difference.
Finishing Touches
Adding contact paper to your kitchen countertops transforms your space, but the job isn't done until you apply the finishing touches. These final steps ensure your surface looks polished and lasts longer. Paying attention now saves you from peeling edges and uneven cuts later.
Trimming Excess Paper
After smoothing the contact paper onto your countertop, you'll notice some edges hanging over. Grab a sharp utility knife or scissors and carefully trim the excess. Use a metal ruler or straight edge to guide your cuts for clean, precise lines.
Take your time—rushing can cause jagged edges or accidental tears. If you cut too close, don't stress; you can patch small gaps with extra contact paper pieces. Have you ever tried to fix a crooked edge? It’s easier than you think with a little patience.
Sealing Edges
Sealing the edges prevents moisture and dirt from getting underneath the contact paper. Use clear waterproof tape or a thin bead of clear silicone caulk along the perimeter. This step is especially important near the sink or stove where water and spills happen frequently.
Press the tape firmly to avoid bubbles or wrinkles. If using silicone, smooth it out with a damp finger or tool for a neat finish. Would you prefer a completely invisible seal? Transparent tape often does the trick without altering the look.
Maintaining Your New Surface
Cleaning your contact paper countertop properly keeps it looking fresh and new. Avoid abrasive scrubbers that can scratch the surface. Instead, use a soft cloth and gentle cleaner or a mix of water and mild dish soap.
Be mindful of heat—contact paper isn’t heat-resistant. Always use trivets or hot pads under pots and pans. Have you noticed how a little care extends the life of your makeover? It’s rewarding to see your hard work stay intact over time.
Creative Design Ideas
Creative design ideas can transform your kitchen countertops with contact paper. This simple material allows you to explore styles without a big budget. Bright patterns and clever layouts turn plain surfaces into eye-catching features. Experimenting with colors and textures brings fresh energy to your kitchen space. Contact paper offers a quick way to update and personalize your counters.
Mixing Patterns
Try combining different patterns for a bold look. Stripes next to florals or geometric shapes add interest. Use one pattern on the main countertop and another on the edges or corners. This contrast highlights details and creates a custom feel. Keep colors similar to avoid clashing. Mixing patterns makes your kitchen unique and lively.
Using Contact Paper As Backsplash
Extend your design by applying contact paper on the backsplash. This protects walls and adds style without tile work. Choose a pattern that complements the countertop or stands out as a statement. It’s easy to clean and change. Using contact paper here ties the whole kitchen look together neatly.
Seasonal And Trendy Updates
Change your countertop look for different seasons or trends. Bright florals for spring, cool blues for winter, or bold colors for summer refresh your space. Trends like marble, wood grain, or metallic finishes come in contact paper form. Swap designs quickly to keep your kitchen current. Seasonal updates keep your cooking space fresh and fun.
Common Issues And Fixes
Covering kitchen countertops with contact paper is a simple way to refresh your space. Some common issues may appear during or after installation. Knowing how to fix these problems can keep your countertops looking neat and smooth.
Bubbles And Wrinkles
Bubbles and wrinkles often appear when the contact paper is not applied evenly. These imperfections can trap dirt and moisture.
To fix bubbles, gently lift the paper near the bubble and smooth it out with a flat tool. A credit card works well for this. For wrinkles, try warming the paper slightly with a hair dryer. This softens the adhesive, making it easier to smooth out the creases.
Peeling Corners
Peeling corners happen when the edges do not stick well to the countertop. This can occur if the surface was not clean or if the adhesive is weak.
Press down firmly on the edges to reattach them. Use a small amount of craft glue if needed. To avoid peeling, always clean the surface thoroughly before applying contact paper.
Cleaning Without Damage
Cleaning contact paper requires care to avoid lifting or tearing the material. Use a soft cloth and mild soap with water.
Avoid harsh chemicals or abrasive sponges. Wipe gently in circular motions to keep the paper intact. Dry the surface with a clean towel to prevent water damage.
Credit: www.youtube.com
Frequently Asked Questions
How Do I Prepare Countertops For Contact Paper?
Clean the surface thoroughly to remove dirt and grease. Dry it completely before applying contact paper. Smooth surfaces work best for adhesion.
Can Contact Paper Withstand Kitchen Heat And Moisture?
Most contact papers resist moisture but avoid direct heat. Use heat-resistant materials near stoves. Contact paper is ideal for low-heat areas.
How Long Does Contact Paper Last On Countertops?
With proper care, contact paper lasts 3 to 5 years. Avoid sharp objects and excessive moisture to extend its life.
Is Contact Paper Easy To Remove Without Damage?
Yes, contact paper peels off cleanly from most surfaces. Remove slowly to prevent residue or damage. Use adhesive remover if needed.
Conclusion
Covering kitchen countertops with contact paper is simple and affordable. It gives your kitchen a fresh, new look without much effort. You can choose from many designs and colors to match your style. Just take your time to measure and apply the paper carefully.
With a little patience, your countertops will look neat and clean. This small change can brighten your kitchen space quickly. Try it and enjoy a nice update without spending a lot. Easy, quick, and budget-friendly. Perfect for any kitchen makeover.