
Are you tired of looking at those old kitchen wall tiles that no longer match your style? Covering your kitchen wall tiles can transform your space quickly and without the hassle of a full renovation.
Whether you want to refresh your kitchen’s look or add a splash of personality, there are simple and affordable ways to do it. You’ll discover easy methods to cover your kitchen wall tiles, saving you time, money, and stress. Keep reading to find the perfect solution that fits your style and skill level!
Choosing The Right Materials
Choosing the right materials to cover your kitchen wall tiles can transform your space quickly and effectively. Your choice affects durability, appearance, and ease of maintenance. Think about your lifestyle and how much time you want to spend on upkeep before deciding.
Paint Options For Tiles
Painting tiles is a budget-friendly way to refresh your kitchen walls. Use special tile paint that bonds well and resists moisture. This option works best if your tiles are in good shape and you want a smooth, solid color finish.
Before painting, clean and sand the tiles lightly to help the paint stick. Applying a primer designed for tiles can also improve adhesion. You can choose from matte, satin, or glossy finishes depending on your style.
Peel-and-stick Tile Covers
Peel-and-stick covers offer a fast, mess-free solution. They come in various patterns and textures, from classic subway tiles to intricate mosaics. These covers are great if you want to change your kitchen’s look without professional help.
Make sure your existing tiles are clean and dry before application. This material is usually waterproof and easy to remove, which is perfect for renters. However, keep in mind they might not last as long as permanent options.
Decorative Wall Panels
Decorative panels can add depth and character to your kitchen walls. Made from materials like PVC, wood, or metal, they offer a wide range of styles—from rustic to modern. These panels can also cover uneven surfaces and imperfections effectively.
Installation might require more effort, but the results can be stunning. Panels are often water-resistant and easy to clean, making them practical in busy kitchens. Would you prefer a sleek metal finish or a warm wooden texture to complement your kitchen?
Preparing The Surface
Preparing the surface is a key step before covering kitchen wall tiles. It helps new materials stick well and last long. Clean, smooth, and repaired tiles create a strong base for your project. Take time to prepare the tiles carefully for the best result.
Cleaning And Degreasing Tiles
Start by cleaning the tiles thoroughly. Use warm water and a mild detergent to remove dirt and grease. Grease can stop adhesives from sticking properly. Scrub tiles with a soft brush or sponge. Rinse well and let them dry completely before moving on.
Sanding For Better Adhesion
Sanding roughens the tile surface to help glue stick better. Use fine-grit sandpaper to sand the tiles gently. Focus on shiny or glazed areas. Wipe off dust with a damp cloth after sanding. This step improves the grip of paint or adhesive on tiles.
Repairing Cracks And Gaps
Check tiles for cracks or gaps in the grout. Fill these with a suitable filler or grout repair compound. Smooth the surface and allow it to dry fully. Repairing flaws prevents water damage and creates an even surface. This step ensures a neat finish and durability.
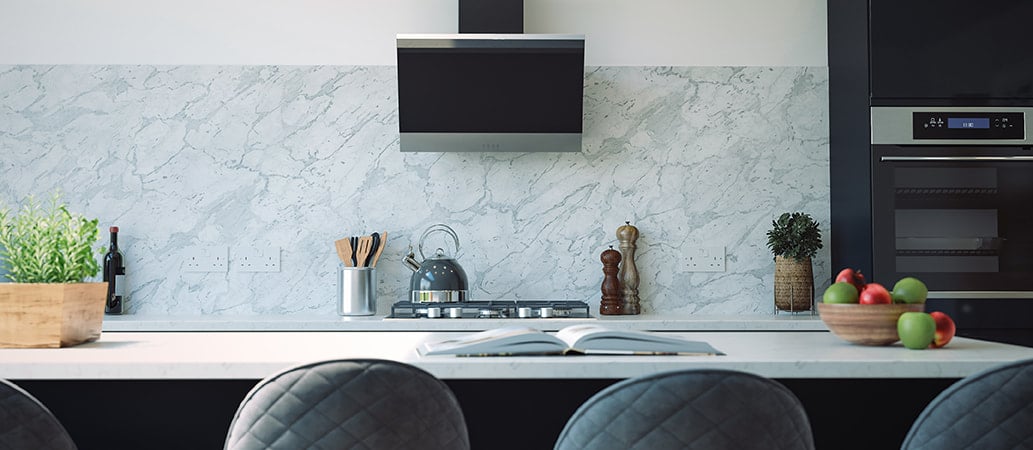
Diy Tile Painting Techniques
Covering kitchen wall tiles with paint refreshes your space without costly renovations. Clean tiles thoroughly, then apply a primer before painting for best results. Choose durable, tile-specific paint to ensure long-lasting coverage and a smooth finish.
Transforming your kitchen with a fresh and vibrant look doesn't always mean a costly renovation. DIY tile painting techniques offer an affordable and creative way to revamp your kitchen walls. Whether you're aiming for a subtle refresh or a bold statement, painting your tiles can breathe new life into your space. Ready to dive into the world of DIY tile painting? Let's explore some key techniques to get you started.
Selecting Tile-safe Paint
Choosing the right paint is crucial for a successful tile transformation. Look for specialized tile-safe paints that can withstand the moisture and frequent cleaning of a kitchen environment. Opt for epoxy or urethane-based paints as they provide excellent adhesion and durability. Before you start, ensure the tiles are clean and dry to allow the paint to bond properly. Have you considered the color palette that best matches your kitchen theme?
Using Stencils For Patterns
Stencils can add a personal touch to your painted tiles, allowing for unique patterns and designs. You can find a variety of stencils online or create your own for a more customized look. Secure the stencil in place with tape to prevent smudging, and use a small roller or brush to apply the paint evenly. This technique not only enhances the aesthetic appeal but also adds a layer of texture to your kitchen walls. Could this be the perfect opportunity to unleash your inner artist?
Applying Sealant For Durability
Once your tiles are painted, applying a sealant is essential to protect your hard work. A clear, water-based sealant will preserve the color and pattern while providing a protective layer against moisture and stains. Apply the sealant with a clean brush, ensuring an even coat across all tiles. This final step ensures your newly painted tiles withstand the test of time and everyday kitchen activities. What's more satisfying than knowing your DIY project will last for years to come?

Credit: www.mineraltiles.com
Installing Peel-and-stick Covers
Installing peel-and-stick covers on your kitchen wall tiles is a quick and effective way to refresh your space without the mess of traditional tiling. These covers are designed for easy application, letting you update the look of your kitchen in just a few hours. The key to a flawless finish lies in careful measuring, smooth application, and removing any trapped air bubbles.
Measuring And Cutting Covers
Start by measuring the dimensions of your tiles precisely. Use a tape measure and write down the width and height of each tile or section you want to cover. Accuracy here helps avoid wasted material and ensures the covers fit perfectly.
Next, transfer these measurements onto the peel-and-stick cover backing. Use a sharp utility knife or scissors to cut along the lines carefully. Take your time—clean, straight cuts make the application look professional.
Applying Covers Smoothly
Before peeling the backing, clean your tile surface thoroughly. Any dust or grease can prevent the covers from sticking well. Wipe the tiles with a damp cloth and let them dry completely.
Peel off a small section of the backing to start, then align the cover with the tile edges. Press down gently and slowly peel the rest of the backing while smoothing the cover onto the surface. Working in small sections helps maintain control and accuracy.
Removing Air Bubbles
Air bubbles can ruin the smooth look you want. Use a flat tool like a credit card or a plastic squeegee to press out bubbles. Start from the center and push toward the edges to guide trapped air out.
If you spot stubborn bubbles, gently lift the cover and reapply it. This might seem tedious, but it ensures a clean, flat finish. Have you noticed how a perfectly smooth surface instantly lifts the whole kitchen’s vibe?
Adding Decorative Panels
Adding decorative panels is a smart way to cover kitchen wall tiles. Panels give a fresh look without removing old tiles. They come in many styles and materials. Panels can protect walls from moisture and stains. This method saves time and effort while upgrading your kitchen’s style.
Types Of Wall Panels
Wall panels vary in design and material. Popular options include:
- PVC Panels:Lightweight, water-resistant, and easy to clean.
- Laminate Panels:Durable with many color and pattern choices.
- Wood Panels:Warm and natural, best for dry areas.
- Metal Panels:Modern look with high durability.
- Glass Panels:Sleek and reflective, good for bright kitchens.
Choose panels that match your kitchen style and maintenance needs.
Mounting Panels Securely
Proper installation keeps panels safe and lasting. Clean tiles before mounting. Use strong adhesive made for smooth surfaces. Press panels firmly to remove air bubbles. For heavy panels, use screws or clips. Seal edges with waterproof caulk to prevent water damage. Check manufacturer instructions for best results.
Combining Panels With Existing Tiles
Panels can blend well with old tiles. Use panels on the most visible areas. Leave small tile sections for texture contrast. Match panel color with tile tones. Add trim or molding for smooth transitions. This mix creates a unique, layered look without full tile removal.
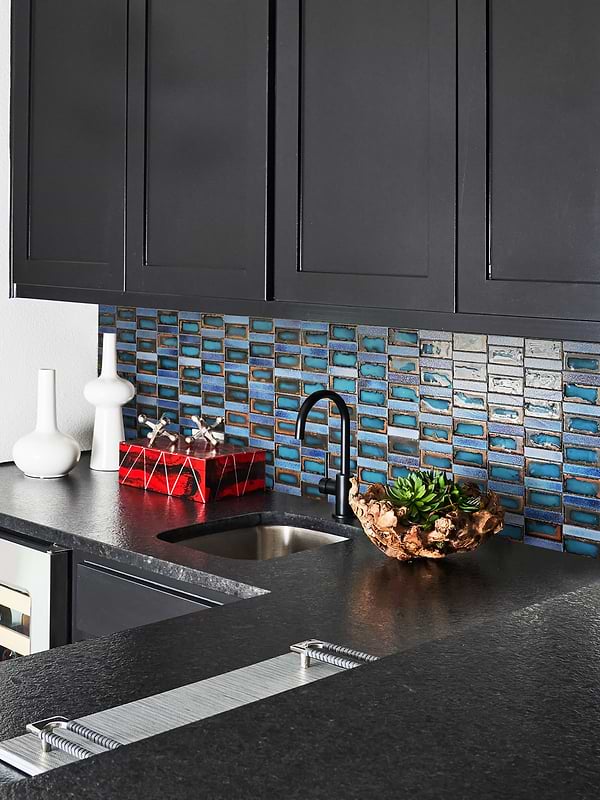
Credit: www.backsplash.com
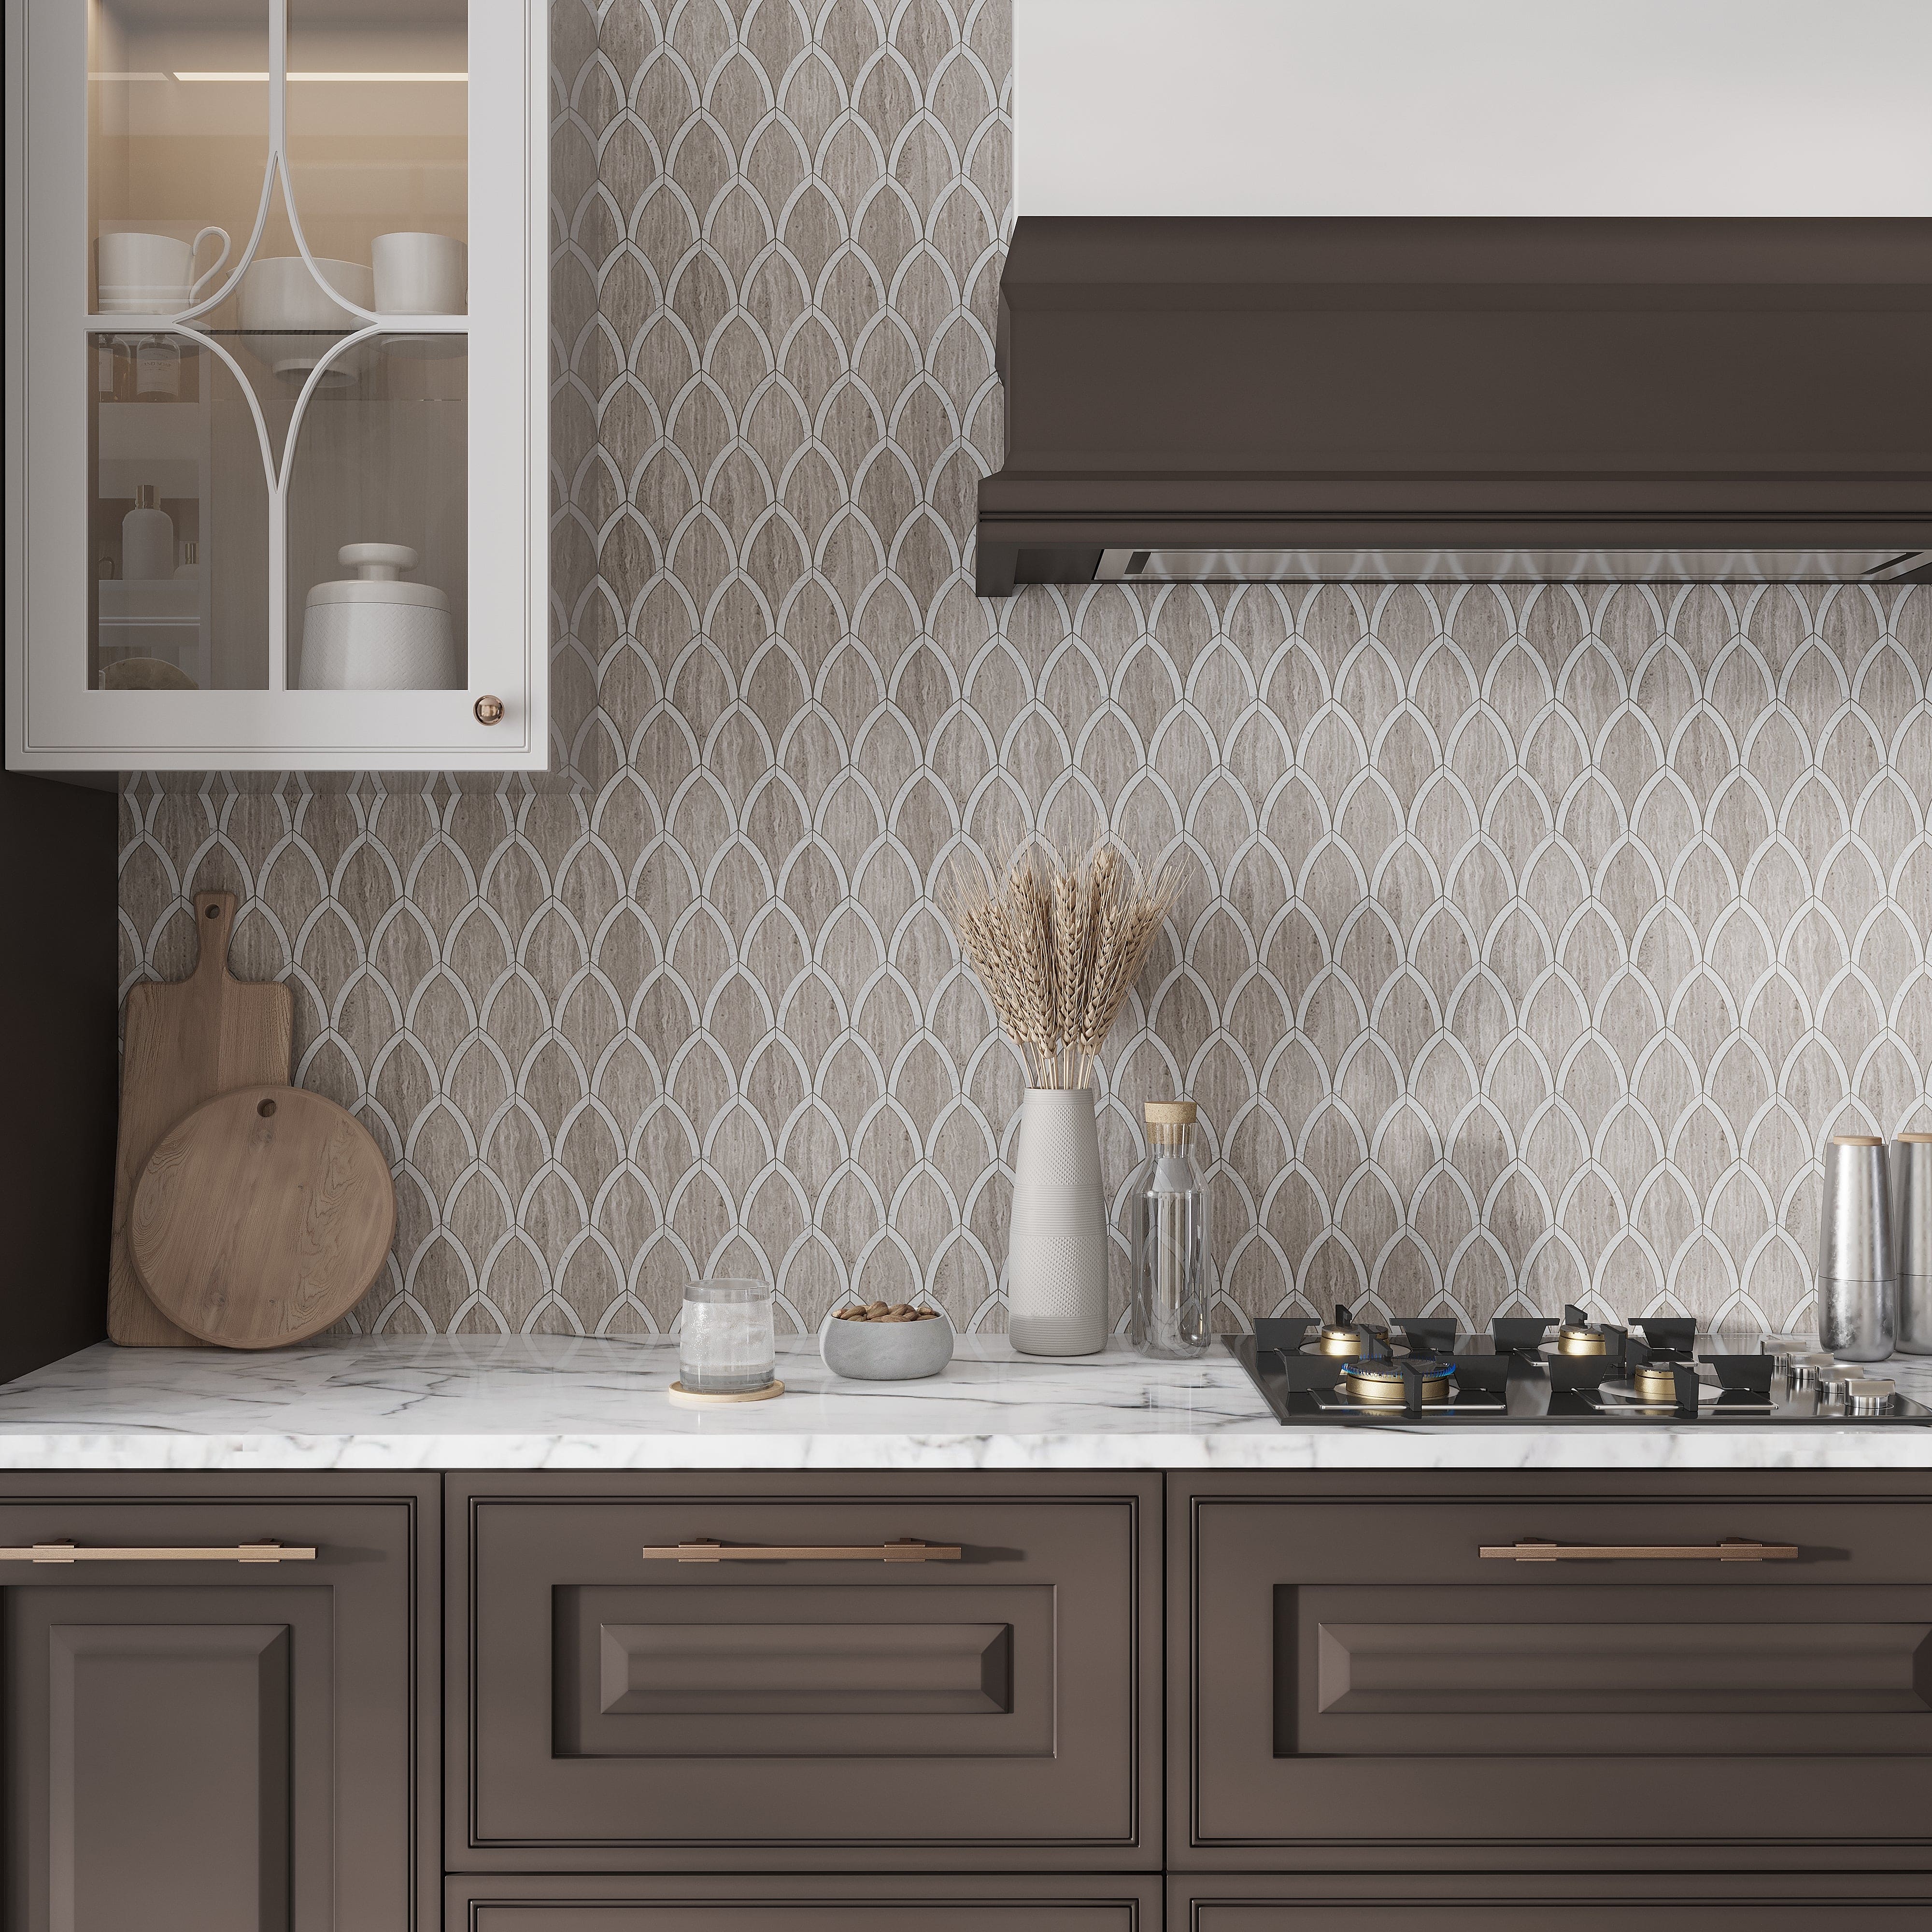
Creative Design Ideas
Covering kitchen wall tiles offers a great chance to refresh your space with creative design ideas. By blending different styles and materials, you can transform a plain wall into a standout feature. Let’s look at some practical ways to add personality and charm to your kitchen.
Mixing Colors And Textures
Combining various colors and textures can instantly elevate your kitchen walls. Think about pairing glossy tiles with matte or textured finishes to create depth. You could use soft pastels alongside bold, dark shades to make certain areas pop.
Try mixing smooth ceramic tiles with rougher natural stone or even wood panels. This contrast keeps your kitchen visually interesting and avoids a flat, monotonous look. Have you considered how a splash of unexpected color might brighten your cooking space?
Using Metallic Accents
Adding metallic accents brings a modern, sleek touch to your kitchen walls. You can use thin strips of metal tiles or metallic paint to outline or highlight specific areas. Copper, brass, or stainless steel accents work well with many color schemes.
These shiny details reflect light and add a subtle sparkle, making your kitchen feel more open and airy. If you want to make a bold statement, try a backsplash with metallic mosaic tiles. How might a little shimmer change the vibe of your kitchen?
Incorporating Open Shelving
Open shelving is a smart way to cover tiles while adding storage and display space. Mount floating shelves directly over the tiled wall to showcase your favorite dishes or cookbooks. This breaks up the tile surface and adds a personal touch.
You can paint the shelves in contrasting colors or materials to enhance the overall look. Plus, open shelves encourage you to keep your kitchen tidy and stylish. What items would you proudly display to make your kitchen uniquely yours?
Maintaining Your New Wall Covering
Maintaining your new wall covering is essential to keep your kitchen looking fresh and stylish. Whether you’ve painted your tiles or applied peel-and-stick covers, regular care will extend their life and preserve their appearance. Simple habits and the right cleaning techniques can make a significant difference.
Cleaning Tips For Painted Tiles
Painted tiles need gentle cleaning to avoid chipping or dulling the finish. Use a soft cloth or sponge with mild soap and warm water. Avoid abrasive scrubbers or harsh chemicals, as they can damage the paint.
Spot clean spills immediately to prevent stains from setting in. If you notice any peeling, touch up with matching paint to keep the surface smooth and sealed. Have you checked your painted tiles for tiny cracks? Addressing those early can save a lot of effort later.
Caring For Peel-and-stick Covers
Peel-and-stick tiles are convenient but require delicate care to stay adhered and vibrant. Clean them with a damp cloth rather than soaking them in water. Avoid using strong solvents that might weaken the adhesive backing.
Keep an eye on edges where peeling might start. Press them down firmly or use a small amount of clear-drying adhesive if needed. Do you find your peel-and-stick covers loosening in humid spots? Try to improve ventilation to help them stick longer.
Preventing Moisture Damage
Moisture is the enemy of most kitchen wall coverings. To prevent damage, ensure your kitchen is well-ventilated, especially near the stove and sink. Use exhaust fans or open windows to reduce humidity after cooking or washing dishes.
Wipe down walls regularly to remove condensation or splashes. Consider applying a water-resistant sealant on painted tiles for extra protection. What steps are you taking to keep moisture from ruining your kitchen walls?
Credit: apollotile.com
Frequently Asked Questions
How Can I Cover Kitchen Wall Tiles Cheaply?
You can cover kitchen wall tiles cheaply using peel-and-stick vinyl sheets. They are easy to apply and remove. Paint and tile stickers are budget-friendly options too. These methods require minimal tools and no professional help, saving money on labor costs.
What Materials Work Best To Cover Kitchen Tiles?
Best materials to cover kitchen tiles include vinyl sheets, tile paint, and adhesive tile stickers. These options are durable, moisture-resistant, and easy to clean. They provide a fresh look without removing existing tiles, making them practical for kitchen environments.
Can I Paint Over Kitchen Wall Tiles?
Yes, you can paint over kitchen wall tiles with proper preparation. Clean tiles thoroughly and use a high-quality primer. Then, apply tile-specific paint for durability. This method refreshes the kitchen look without replacing tiles and is cost-effective.
How Long Does It Take To Cover Kitchen Wall Tiles?
Covering kitchen wall tiles can take from a few hours to a day. Peel-and-stick tiles are fastest, usually done in hours. Painting requires drying time between coats, extending the process. Time depends on the method and kitchen size.
Conclusion
Covering kitchen wall tiles can change your space quickly. Choose the method that fits your style and budget. Always prepare the surface well for best results. Take your time to apply materials carefully. Small steps lead to a fresh, clean look.
Enjoy your updated kitchen with a new vibe. Simple changes can make a big difference. Start your project with confidence today.