
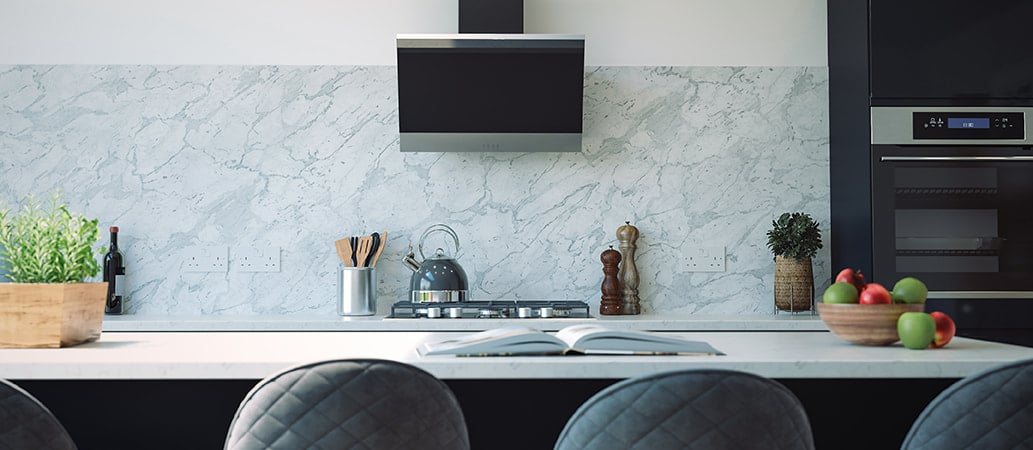
What to Cover Kitchen Tiles With. Are your kitchen tiles looking dull, cracked, or just not matching your style anymore? You might be wondering what to cover kitchen tiles with to give your space a fresh, modern look without a full renovation.
Whether you want a quick fix or a long-lasting solution, the right covering can transform your kitchen instantly. Keep reading to discover easy and effective options that will make your kitchen feel brand new—without breaking the bank or creating a huge mess.
Your dream kitchen makeover starts here!
Choosing The Right Covering
Choosing the right covering for your kitchen tiles can transform the entire space without a full renovation. You want a solution that looks good, lasts long, and fits your lifestyle. Think about how much wear and tear your kitchen floor or wall tiles face daily and what kind of maintenance you’re ready to commit to.
Ask yourself: Do you want a quick fix or a durable upgrade? Would you prefer something you can change easily or a permanent solution? Understanding your needs will help you pick the best option.
Tile Paint Options
Tile paint is a popular choice if you want to refresh old tiles without replacing them. It’s affordable and comes in many colors and finishes, from matte to glossy. You’ll need to clean and sand the tiles first for the paint to stick well.
While tile paint can brighten your kitchen, it’s not the most durable option for high-traffic floors. It works better on walls or backsplashes where wear is lighter. Would you be okay with occasional touch-ups to keep the look fresh?
Vinyl And Laminate Solutions
Vinyl and laminate coverings offer a practical way to cover tiles with minimal fuss. These materials come in peel-and-stick formats or click-together planks, making installation manageable even for beginners. They are also water-resistant and easy to clean, perfect for kitchen messes.
Vinyl and laminate mimic the look of wood, stone, or other textures without the high cost. Keep in mind, though, that sharp objects and heavy furniture can damage them. How much traffic does your kitchen get, and will this option hold up?
Epoxy Coatings
Epoxy coatings create a strong, seamless layer over your tiles. They offer excellent durability and resist stains, chemicals, and heavy wear. This option is ideal if you want a sleek, modern look and don’t mind a bit of prep work during application.
Epoxy requires careful surface cleaning and sometimes professional installation for the best results. It can also add a slightly slippery finish, so consider using anti-slip additives if you have kids or elderly family members. Are you ready for a long-lasting finish that can handle your kitchen’s busiest moments?
Rugs And Mats
If you’re not ready for a permanent change, rugs and mats can cover kitchen tiles while adding warmth and style. They’re easy to swap out and come in endless designs to match your kitchen’s vibe. Plus, they protect your tiles from scratches and spills.
Choose rugs with non-slip backings to avoid accidents in a potentially wet area. Rugs are also a great way to inject personality into your kitchen without any mess or commitment. How often do you like to refresh your kitchen’s look?
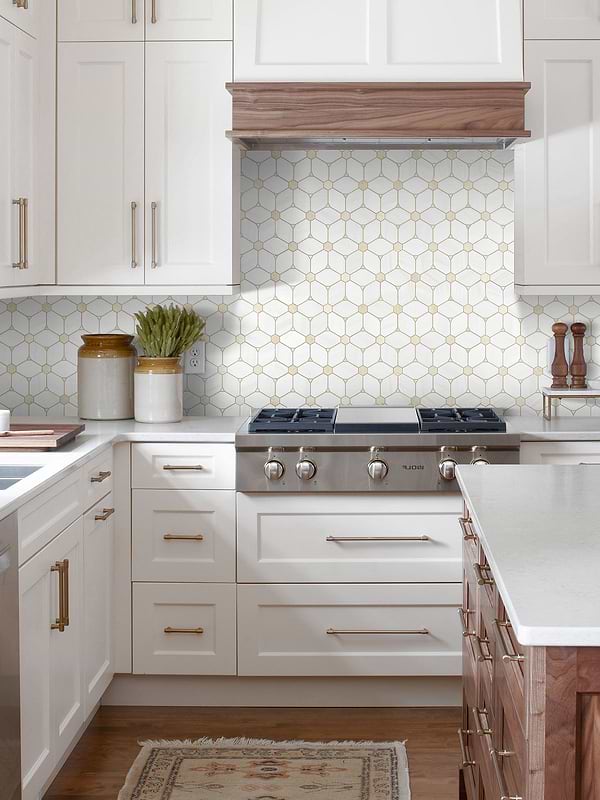
Credit: www.backsplash.com
Preparing Tiles Before Covering
Preparing your kitchen tiles before covering them is essential to ensure a smooth, long-lasting finish. Skipping these steps can lead to peeling, bubbling, or uneven surfaces that ruin your hard work. Taking time to clean, repair, and prime your tiles sets the foundation for a flawless update.
Cleaning And Degreasing
Grease and dirt build up quickly in kitchens, especially on tiles. Using just water won’t cut it. You need a strong degreaser or a mix of warm water and dish soap to thoroughly clean the surface.
Scrub the tiles with a sponge or brush and rinse well. Any leftover grease will prevent adhesives or paint from sticking properly. Have you noticed stubborn spots that won’t come off? Try a vinegar solution or a commercial tile cleaner for tough grime.
Repairing Damages
Cracks, chips, or missing grout create uneven surfaces that will show through your covering. Fill these imperfections with tile filler or epoxy putty designed for ceramics. Smooth the filler with a putty knife and let it dry completely.
Don’t rush this step—damaged areas can cause the new layer to crack or peel later. How often do you check your tiles for hidden damage before starting a project? A quick inspection saves you time and money down the road.
Sanding And Priming
Tiles are usually glossy, which makes it hard for paint or adhesive to grip. Lightly sanding with fine-grit sandpaper roughens the surface just enough to help bonding. Be gentle—you only need to dull the shine, not scratch deep grooves.
After sanding, apply a high-quality primer made for tiles or glossy surfaces. This seals the tile and creates a sticky base for your covering. Skipping primer might seem like a shortcut, but it often leads to peeling that ruins your finish faster than you expect.
Applying Tile Paint
Applying tile paint offers a fresh look without the cost of replacing tiles. It is a smart choice to update kitchen tiles quickly. The process needs careful preparation and the right materials. Achieving a smooth, long-lasting finish depends on the paint type and application method.
Selecting Durable Paints
Choose paints made for tiles or ceramics. These paints resist moisture and stains well. Epoxy-based or enamel paints work best in kitchens. They hold up against heat and cleaning products. Avoid regular wall paint; it peels easily on tiles. Check labels for waterproof and heat-resistant features. Pick colors that match your kitchen style.
Tools And Techniques
- Clean tiles thoroughly before painting to remove grease and dirt.
- Use a high-quality primer to help paint stick better.
- Apply paint with a small roller for even coverage.
- Use a fine brush for grout lines and edges.
- Work in thin layers to avoid drips and bubbles.
- Sand lightly between coats for a smooth finish.
Drying And Curing Times
Allow paint to dry fully between each coat. Drying time usually takes 1 to 2 hours. Curing means the paint hardens completely. This process can take up to 7 days. Avoid heavy use or cleaning during curing. Proper curing ensures the paint lasts longer. Follow manufacturer instructions for best results.
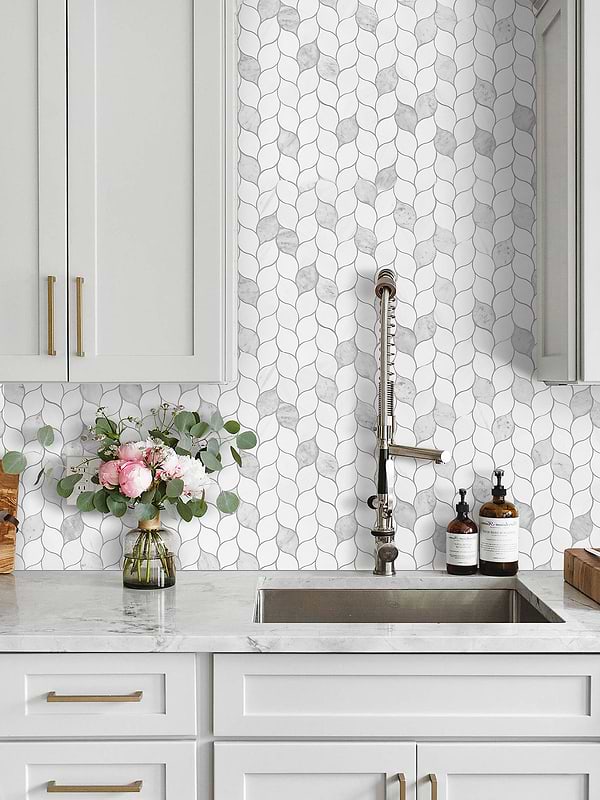
Credit: www.backsplash.com
Installing Vinyl Or Laminate
Cover kitchen tiles with vinyl or laminate for a fresh look. Both options are easy to install and maintain. They provide a modern finish that is durable and water-resistant.
Installing vinyl or laminate on kitchen tiles offers a fresh look. These materials are cost-effective and easy to maintain. They provide a durable surface that can transform your kitchen. Installation is straightforward, making it a popular choice for many homeowners. Below, we explore the key steps in this process.
Measuring And Cutting
Accurate measurements ensure a smooth installation. Begin by measuring the kitchen floor area. Record these measurements carefully. Use a tape measure for precision. Once measured, transfer these dimensions to the vinyl or laminate sheets. Use a sharp utility knife for cutting. This ensures clean edges and a professional finish.
Adhesive Types
Choose the right adhesive for proper bonding. There are several types available. Pressure-sensitive adhesives are easy to use. They require no mixing and offer strong adhesion. Spread the adhesive evenly on the tiles. Use a notched trowel for this task. Allow the adhesive to become tacky before laying the tiles.
Sealing Edges
Seal the edges to prevent moisture damage. Use a silicone sealant around the perimeter. Apply it using a caulking gun. Ensure the sealant is even and smooth. This creates a watertight barrier. A well-sealed edge extends the flooring's life. Regular checks help maintain this protection.
Using Epoxy Coatings
Using epoxy coatings is a smart way to cover kitchen tiles. It creates a strong, shiny surface that lasts long. Epoxy makes tiles look new and protects them from stains and water. This coating is perfect for busy kitchens because it is easy to clean and resists damage.
Mixing And Application
Start with a clean, dry tile surface. Mix the epoxy resin and hardener as the instructions say. Stir well but avoid creating bubbles.
Use a brush or roller to apply the epoxy evenly. Work in small sections to keep a smooth finish. Allow the first coat to dry before applying a second one. Usually, two coats give the best protection and shine.
Safety Precautions
- Wear gloves to protect your skin from chemicals.
- Use a mask to avoid breathing in fumes.
- Work in a well-ventilated area or open windows.
- Keep epoxy away from children and pets during application.
- Read and follow all safety instructions on the epoxy packaging.
Maintenance Tips
- Clean epoxy surfaces with mild soap and water.
- Avoid harsh cleaners that can damage the coating.
- Use soft cloths or sponges to prevent scratches.
- Fix chips or cracks quickly to stop further damage.
- Reapply epoxy coating every few years for best results.
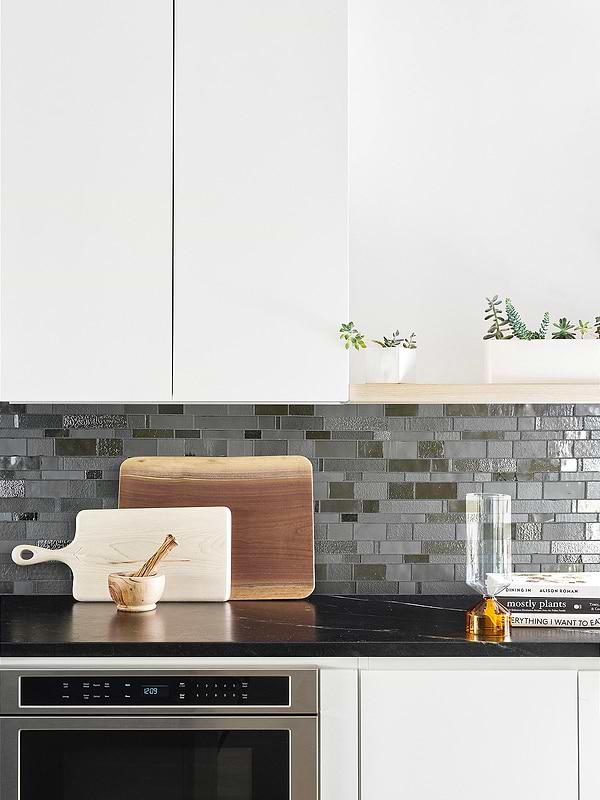
Credit: www.backsplash.com
Enhancing With Rugs And Mats
Covering kitchen tiles with rugs and mats is a smart way to add warmth and style while protecting your floors. Rugs can soften the hard surface, making the kitchen more comfortable to stand on for long periods. Plus, they introduce colors and textures that can instantly update your space.
Choosing Styles And Sizes
Select rugs that complement your kitchen’s color scheme and overall vibe. Do you prefer bold patterns or subtle, neutral tones? Both can work well, but balance is key to avoid overwhelming the space.
Size matters too. A small mat near the sink or stove can catch spills and reduce fatigue, while a larger rug under the dining area can define the space. Measure your kitchen carefully before buying to ensure the rug fits well without causing tripping hazards.
Placement Ideas
Think about where you spend most of your time in the kitchen. Placing mats in high-traffic areas like in front of the sink or stove can protect your tiles from wear and add comfort. You might also try layering a runner along a narrow pathway to add visual interest.
Consider using a rug near the entrance to trap dirt and keep your kitchen cleaner. Would adding a cushioned mat where you prep food make standing more enjoyable? These small changes can make your kitchen more inviting and functional.
Care And Cleaning
Kitchen rugs need regular cleaning to stay fresh and safe. Look for materials that are easy to wash or wipe down, such as cotton or synthetic fibers. Rugs with non-slip backing will stay put and prevent accidents.
Spills happen, so choose rugs that dry quickly and resist stains. Can you spot clean them, or do they need to go in the washing machine? Keeping your rugs clean will protect your tiles and extend the life of your floor coverings.
Maintaining Covered Kitchen Floors
Maintaining covered kitchen floors requires a thoughtful approach to keep the surface looking fresh and to extend its life. Whether you’ve chosen vinyl, laminate, or rugs over your kitchen tiles, regular care is essential. How you clean, protect, and care for these coverings can make all the difference in your kitchen’s overall appeal and durability.
Cleaning Best Practices
Start by choosing cleaning products that are safe for the material covering your kitchen tiles. Avoid harsh chemicals that can degrade vinyl or fade laminate finishes.
Use a soft broom or vacuum with a brush attachment to remove dirt and crumbs daily. For deeper cleaning, a damp mop with mild detergent works well, but make sure not to soak the floor as excess water can cause damage.
Have you noticed stubborn stains? Try spot-cleaning with a mixture of baking soda and water applied gently with a soft cloth. This method keeps your floor spotless without risking scratches or discoloration.
Preventing Damage
Protecting your covered kitchen floor starts with preventing wear and tear before it happens. Place felt pads under furniture legs to avoid scratches when moving chairs or tables.
Consider using area rugs in high-traffic zones to reduce direct impact on the covering. This simple step can dramatically extend the life of your floor covering.
Watch out for sharp objects or heavy items that could puncture or dent the surface. Have you ever dropped a heavy pot on your floor? It’s a painful way to learn how quickly damage can occur.
Long-term Care
Routine maintenance will pay off over time. Schedule regular inspections of your floor covering to catch early signs of wear, lifting, or peeling.
If you spot edges curling or seams loosening, address them immediately with appropriate adhesives or repairs. Ignoring these issues can lead to costly replacements down the road.
Consider resealing or refinishing options if your floor covering supports it. This can refresh the appearance and add an extra layer of protection against daily kitchen challenges.
Common Mistakes To Avoid
Covering kitchen tiles can refresh your space and protect the surface. Avoid common mistakes to ensure a smooth and lasting finish. Many problems start with simple errors that are easy to prevent. Take time to prepare and follow guidance carefully. This saves effort and money in the long run.
Skipping Surface Preparation
Tiles must be clean and dry before covering. Dirt, grease, or moisture can stop adhesives from sticking well. Rough or uneven surfaces cause bumps and peeling. Remove old grout and repair cracks first. Sand glossy tiles lightly to help new layers hold.
Using Incompatible Materials
Not all covering materials work on kitchen tiles. Some paints or adhesives react poorly with tile surfaces. Choose products made for tile or smooth surfaces. Check if materials resist heat and moisture. Avoid using wallpaper or fabrics that can peel in humid kitchens.
Ignoring Manufacturer Instructions
Every product has specific steps for the best result. Ignoring these can cause failures like bubbling or cracking. Follow drying times and layering rules exactly. Use recommended tools and safety measures. Read labels carefully to avoid shortcuts that harm durability.
Frequently Asked Questions
What Materials Can Cover Kitchen Tiles Effectively?
Popular materials to cover kitchen tiles include peel-and-stick vinyl, laminate sheets, and tile paint. These options are affordable, easy to install, and durable. They also allow a quick kitchen makeover without removing existing tiles.
Is It Safe To Paint Over Kitchen Tiles?
Yes, painting kitchen tiles is safe with proper preparation. Clean tiles thoroughly, sand lightly, and use a high-quality primer and tile paint. This method refreshes tile appearance and protects surfaces against moisture and stains.
How Long Does Peel-and-stick Tile Covering Last?
Peel-and-stick tile coverings typically last 5 to 10 years with proper care. They resist water and stains but can peel if exposed to excessive moisture or heat. Regular cleaning and gentle use extend their lifespan.
Can Kitchen Tiles Be Covered With Laminate Flooring?
Yes, laminate flooring can cover kitchen tiles if the surface is level and clean. This creates a smooth, durable floor that's easy to maintain. Proper underlayment prevents moisture issues and improves comfort underfoot.
Conclusion
Covering kitchen tiles can change your space quickly. Choose materials that suit your style and budget. Paint works well for a fresh look. Peel-and-stick options offer easy updates. Tiles can be covered with wood or panels too. Always prepare the surface before starting.
Small changes make a big difference in your kitchen. Keep durability and cleaning in mind. Your kitchen will feel new without full renovation. Try these ideas to refresh your kitchen today.