
Have you ever wanted to create a stunning kitchen drawing that looks like it’s popping right off the page? Learning how to draw a kitchen in one point perspective can turn your simple sketches into realistic, eye-catching artwork.
By mastering this technique, you’ll see your drawings gain depth and dimension, making your kitchen scenes come alive. In this guide, you’ll discover easy steps to help you build your skills quickly and confidently. Ready to transform your drawings and impress everyone with your art?
Let’s get started!
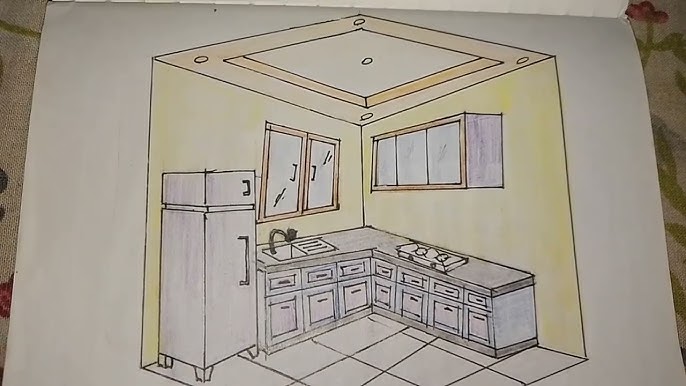
Credit: www.craiyon.com
Basics Of One Point Perspective
Understanding the basics of one point perspective is essential for drawing a realistic kitchen scene. This technique allows you to create the illusion of depth on a flat surface by converging all lines toward a single point on the horizon. Grasping these fundamentals will help you visualize and sketch your kitchen layout with accuracy and clarity.
What Is One Point Perspective
One point perspective is a drawing method where all parallel lines recede toward one vanishing point on the horizon line. This point represents the viewer’s eye level and is the key to creating depth in your drawing. Imagine standing in the center of your kitchen and looking straight ahead—everything seems to shrink toward that one point.
This technique is perfect for interiors like kitchens because walls, floors, and ceilings naturally align with the perspective lines. It simplifies complex shapes into manageable forms while maintaining a sense of space.
Key Elements To Remember
- Horizon Line:This is the eye level in your drawing. Place it where you want the viewer’s eye to be.
- Vanishing Point:The single point on the horizon line where all parallel lines converge.
- Orthogonal Lines:These are the diagonal lines that connect objects to the vanishing point, guiding their size and placement.
- Transversal Lines:These run horizontally and vertically, helping to define the edges and proportions of objects.
Keeping these elements clear in your mind helps maintain consistency as you add cabinets, countertops, and appliances. Have you noticed how even small mistakes in these lines can make your drawing look off? Precision here is key.
Tools Needed For Drawing
- Pencil:A sharp pencil helps you draw clean and precise lines. Mechanical pencils are great for consistent line width.
- Ruler or Straightedge:Essential for drawing straight orthogonal and transversal lines accurately.
- Eraser:Mistakes are part of the process, so keep a good eraser handy.
- Paper:Use smooth drawing paper to avoid texture interference with your lines.
- Optional:A set square or triangle can help with right angles, which are common in kitchen layouts.
I learned early on that having the right tools saves time and frustration. When I tried freehand lines for a one point perspective kitchen, the results looked messy and confusing. Using a ruler transformed my drawings and made the whole process much smoother.
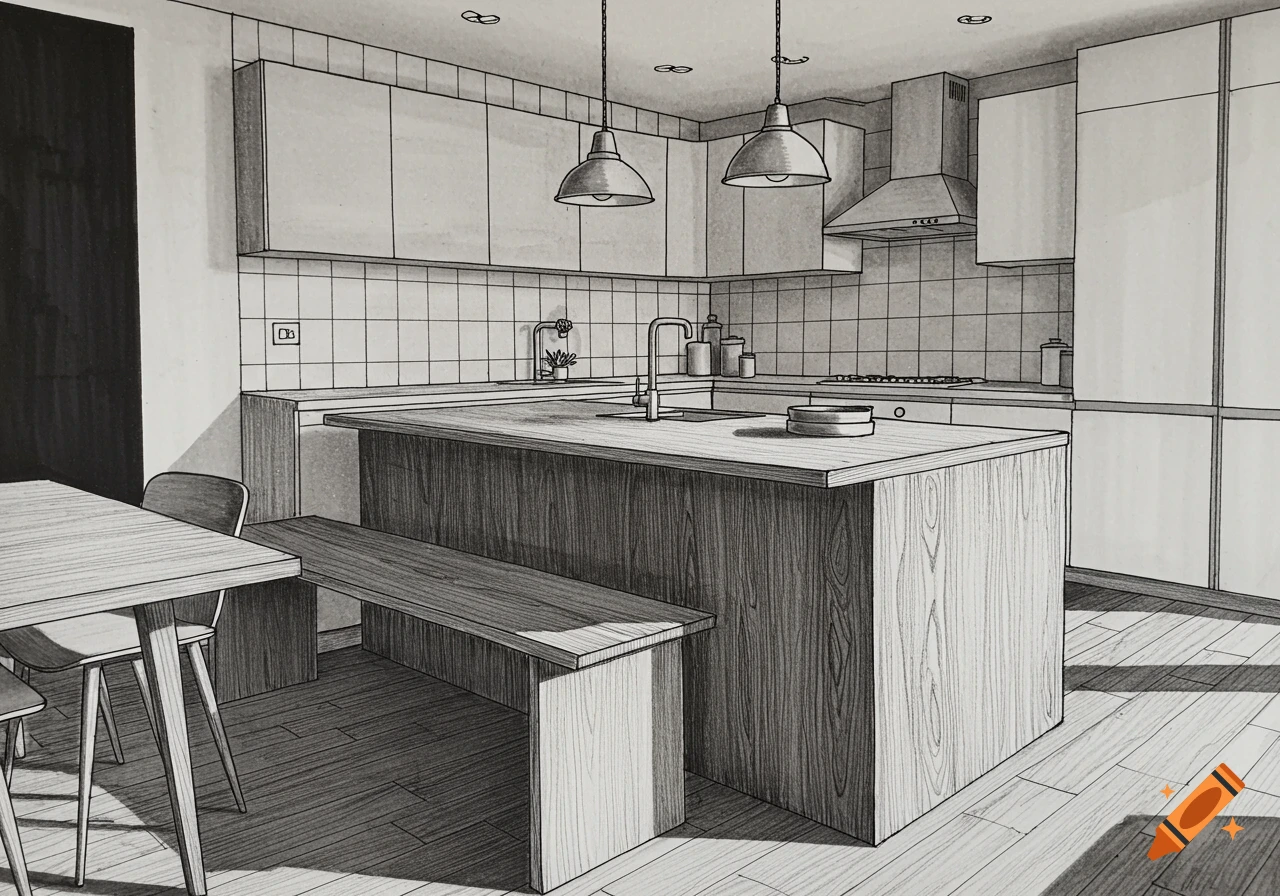
Credit: rlegg.medium.com
Setting Up Your Kitchen Scene
Setting up your kitchen scene correctly is the foundation of creating a convincing one-point perspective drawing. It helps you organize the space so everything looks natural and proportional. Getting these basics right makes the rest of your drawing much easier and more enjoyable.
Choosing The Viewpoint
Decide where you want the viewer to stand in your kitchen. Are you looking straight into the room, or slightly from the side? Your viewpoint controls how much of the kitchen you see and affects the mood of your drawing.
Think about what you want to highlight. A view facing the stove might focus on cooking, while facing the sink could show daily life. Your viewpoint shapes the story your kitchen tells.
Drawing The Horizon Line
The horizon line represents the viewer’s eye level. Draw it across your paper where you want your eyes to naturally fall. This line anchors your perspective and keeps objects in correct proportion.
Placing the horizon line higher will make you feel like you're looking down into the kitchen. Setting it lower gives the impression of looking up. Experiment with this to see how it changes your scene.
Placing The Vanishing Point
The vanishing point is where all lines in your one-point perspective converge. Place it on your horizon line, usually centered or slightly off-center depending on your viewpoint. This point draws the room together visually.
Try placing the vanishing point near a key feature, like the far wall or a window. This helps guide the viewer’s eye naturally through the space. Where will you place yours to create the strongest impact?
Sketching The Kitchen Layout
Start by drawing a horizon line and a single vanishing point. Sketch kitchen walls, cabinets, and appliances converging toward that point. This technique creates depth and a realistic sense of space in your kitchen drawing.
Sketching the kitchen layout in one-point perspective transforms your drawing. This technique creates depth and realism, bringing your kitchen to life. Start with a single vanishing point. It guides lines and angles, ensuring accurate proportions.
Outlining Walls And Floor
Begin by sketching the kitchen's walls. Use light pencil strokes. Draw lines from the vanishing point. These lines form the walls and floor edges. Keep lines straight for precision. Establish the kitchen's basic shape. Ensure all lines converge at the vanishing point. This creates a realistic perspective.
Adding Cabinets And Counters
Next, add cabinets and counters. Start by marking their positions on the floor. Use horizontal and vertical lines. Align these lines with the vanishing point. Draw rectangles to represent cabinet doors and surfaces. Ensure they follow perspective rules. This step adds dimension to your kitchen sketch.
Drawing Appliances With Perspective
Incorporate appliances like a stove or fridge. Begin with simple shapes. Position them using your layout. Draw lines from the vanishing point. Ensure appliances align with perspective lines. This maintains the realistic look. Details like handles and buttons come last. Keep proportions correct for a true-to-life kitchen scene.
Adding Details And Depth
Adding details and depth transforms a basic kitchen drawing into a lively, believable space. It’s where your sketch starts to tell a story and feels more like a room you could step into. Paying attention to small elements helps you capture the kitchen’s character and makes your drawing stand out.
Including Doors And Windows
Doors and windows define the kitchen’s layout and guide the viewer’s eye. Draw them with clear lines that follow your one-point perspective grid to keep everything aligned.
Think about the style of the doors—are they sliding, hinged, or glass-paneled? Windows let light in, so placing them correctly adds realism and affects shadows later. I once missed adding window frames in a drawing, and it made the wall look flat and unfinished.
Sketching Fixtures And Accessories
Fixtures like sinks, stoves, and cabinets give your kitchen its function and personality. Keep their shapes simple at first, then add details like handles, knobs, or a faucet.
Accessories such as a fruit bowl or hanging pots create a lived-in feel. Ask yourself what items would naturally be in this kitchen and sketch them accordingly. This process helps your drawing feel practical, not just decorative.
Using Shading For Realism
Shading is essential to show depth and light direction in your drawing. Use softer shading for areas further from the light source and darker tones where shadows fall.
Try shading under cabinets or around objects to create volume. Experiment with cross-hatching or smooth gradients to see what fits your style best. Have you noticed how shading can make a flat sketch suddenly look three-dimensional?
Final Touches And Tips
Adding final touches to your kitchen drawing in one point perspective can transform a simple sketch into a captivating piece. These finishing steps help sharpen your work, correct common errors, and bring the scene to life with color. Paying attention to these details will make your drawing stand out and feel more realistic.
Refining Lines And Cleaning Up
Start by going over your main lines with a sharper pencil or a fine liner. This helps define the edges and separates important shapes from construction lines. Use an eraser gently to remove any unnecessary guidelines without smudging your work.
Don’t rush this part; clean lines give your drawing a polished look. If you notice any perspective lines that seem off, adjust them carefully to maintain the one point perspective effect. This step often makes the difference between a rough sketch and a professional-looking drawing.
Common Mistakes To Avoid
- Ignoring vanishing point alignment:Ensure all elements recede correctly toward the vanishing point to keep the perspective believable.
- Overcrowding details:Too many small objects can clutter your drawing and confuse the eye.
- Uneven line weight:Use varied line thickness to add depth, but avoid inconsistent or random line weights that distract from the image.
- Neglecting light source:Shadows and highlights must match your chosen light direction for realism.
Have you ever noticed how a tiny misalignment shifts the whole room’s feel? Taking time to spot these mistakes before moving on saves frustration later.
Enhancing Your Drawing With Color
Adding color can bring warmth and personality to your kitchen drawing. Start with light washes or soft shading to establish the base tones. Gradually build layers to add depth and texture.
Think about the materials in your kitchen — shiny tiles, wooden cabinets, metal appliances — and choose colors that reflect these surfaces. Using colored pencils or markers allows precise control, but digital coloring can offer more flexibility with blending.
Try experimenting with subtle color variations to highlight different areas. Does the light hit the countertop differently than the floor? Emphasizing these contrasts creates a more engaging visual experience for your viewers.

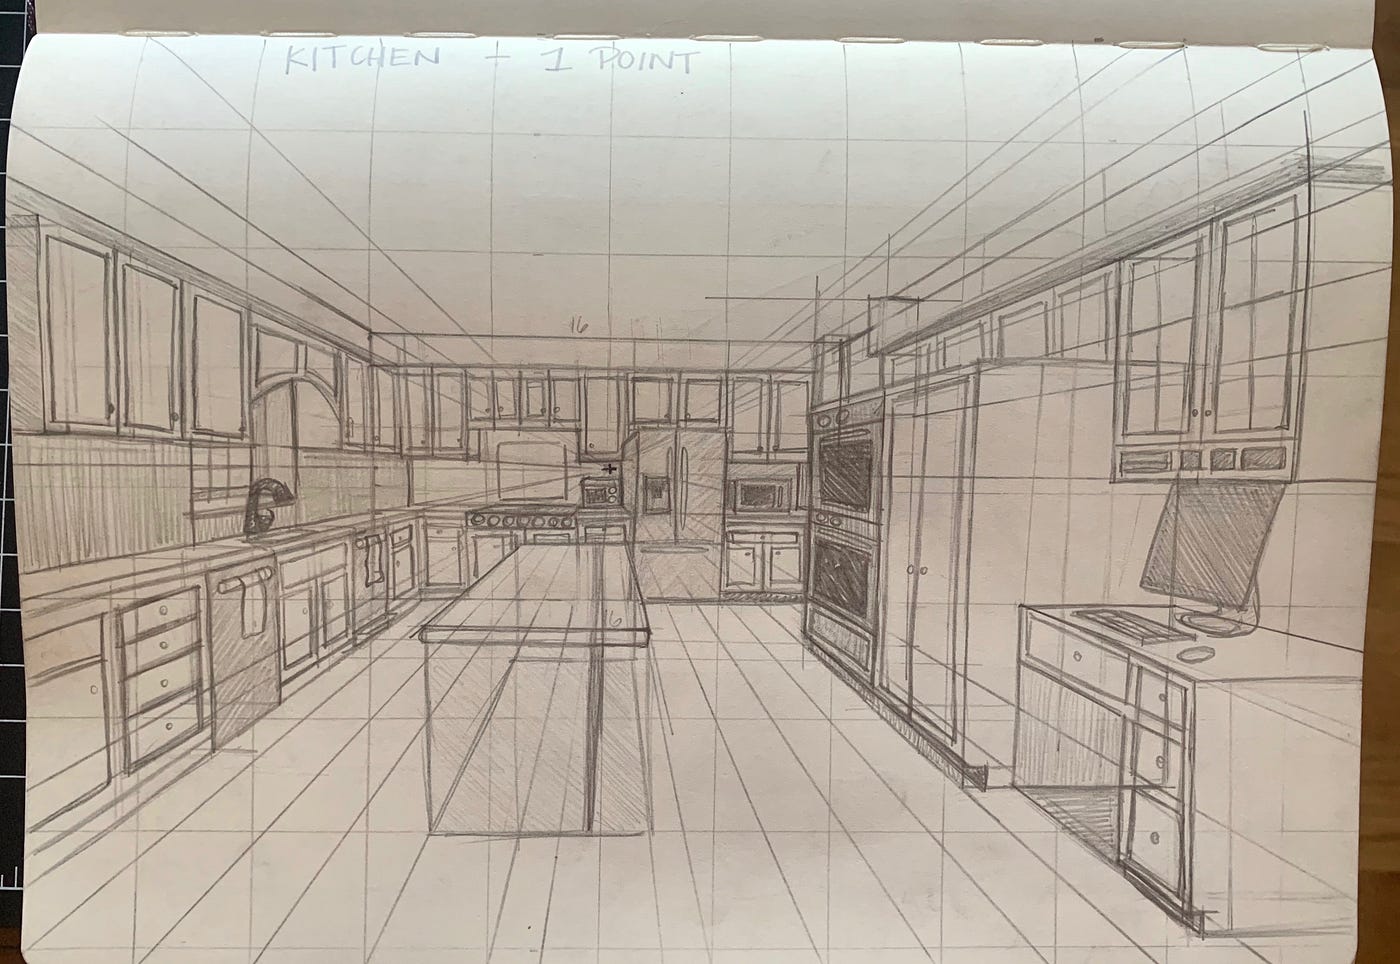
Credit: www.youtube.com
Frequently Asked Questions
What Is One Point Perspective In Kitchen Drawing?
One point perspective uses a single vanishing point on the horizon. It creates depth by making objects recede toward that point. This technique helps draw kitchens realistically, showing spatial relationships clearly and accurately.
How Do I Start Drawing A Kitchen In One Point Perspective?
Begin by drawing a horizon line and placing a vanishing point on it. Sketch the kitchen’s basic shapes using lines that converge toward the vanishing point. This guides proportions and perspective for a realistic layout.
Which Kitchen Elements Benefit Most From One Point Perspective?
Cabinets, countertops, appliances, and tiles work well with one point perspective. It emphasizes depth and alignment, making these elements look proportional and spatially accurate within the kitchen space.
Can Beginners Easily Learn One Point Perspective Kitchen Drawing?
Yes, one point perspective is beginner-friendly. It simplifies complex scenes by focusing on one vanishing point. Practicing basic shapes and lines helps beginners grasp spatial depth and kitchen layout effectively.
Conclusion
Drawing a kitchen in one point perspective helps create depth and space. Start with a clear horizon line and vanishing point. Keep shapes simple and lines straight. Practice makes your drawing look better each time. Use light and shadow to add realism.
This technique makes your kitchen drawing appear three-dimensional. Try different kitchen layouts to improve skills. Enjoy the process and keep experimenting. Soon, you will draw kitchens with ease and confidence.