
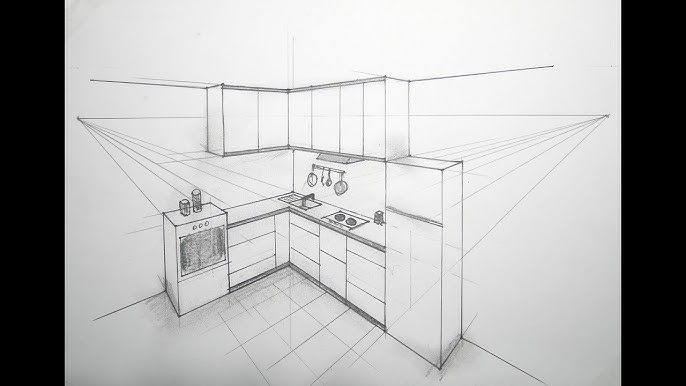
Have you ever wanted to bring your kitchen ideas to life on paper? Drawing a kitchen in perspective might sound tricky, but with the right steps, you can create a realistic and inviting space that looks just like the real thing.
Imagine impressing your friends or planning your dream kitchen with a clear, detailed sketch you made yourself. This guide will show you how to master perspective drawing, making your kitchen designs stand out. Keep reading, and you’ll discover easy techniques that anyone can follow—no special skills needed!
Basics Of Perspective Drawing
Understanding the basics of perspective drawing is essential for creating realistic kitchen sketches. Perspective creates depth and space on a flat surface. It helps objects appear three-dimensional and proportionate. Knowing how to control perspective allows you to draw kitchens that feel natural and believable.
This section covers key concepts like types of perspective, choosing a vanishing point, and horizon line placement. These ideas form the foundation for any perspective drawing.
Types Of Perspective
There are three main types of perspective used in drawing:
- One-point perspective:All lines go toward a single vanishing point. It works well for straight-on views.
- Two-point perspective:Lines vanish toward two points on the horizon. It gives a more dynamic look.
- Three-point perspective:Uses three vanishing points, including one above or below. It adds height and depth effects.
Choosing the right type depends on how you want to present the kitchen space.
Choosing A Vanishing Point
The vanishing point is where parallel lines seem to meet in the distance. It controls the direction and angle of objects. Place it carefully to match the viewer’s eye level and kitchen layout.
For kitchens, vanishing points often lie along walls or countertops. Experiment with different spots to get the best view.
Horizon Line Placement
The horizon line represents the viewer's eye level. It runs horizontally across the drawing. This line helps set the perspective height.
Place the horizon line higher to see more of the floor. Place it lower to focus on upper cabinets and ceiling. Adjusting this line changes the kitchen’s visual impact.
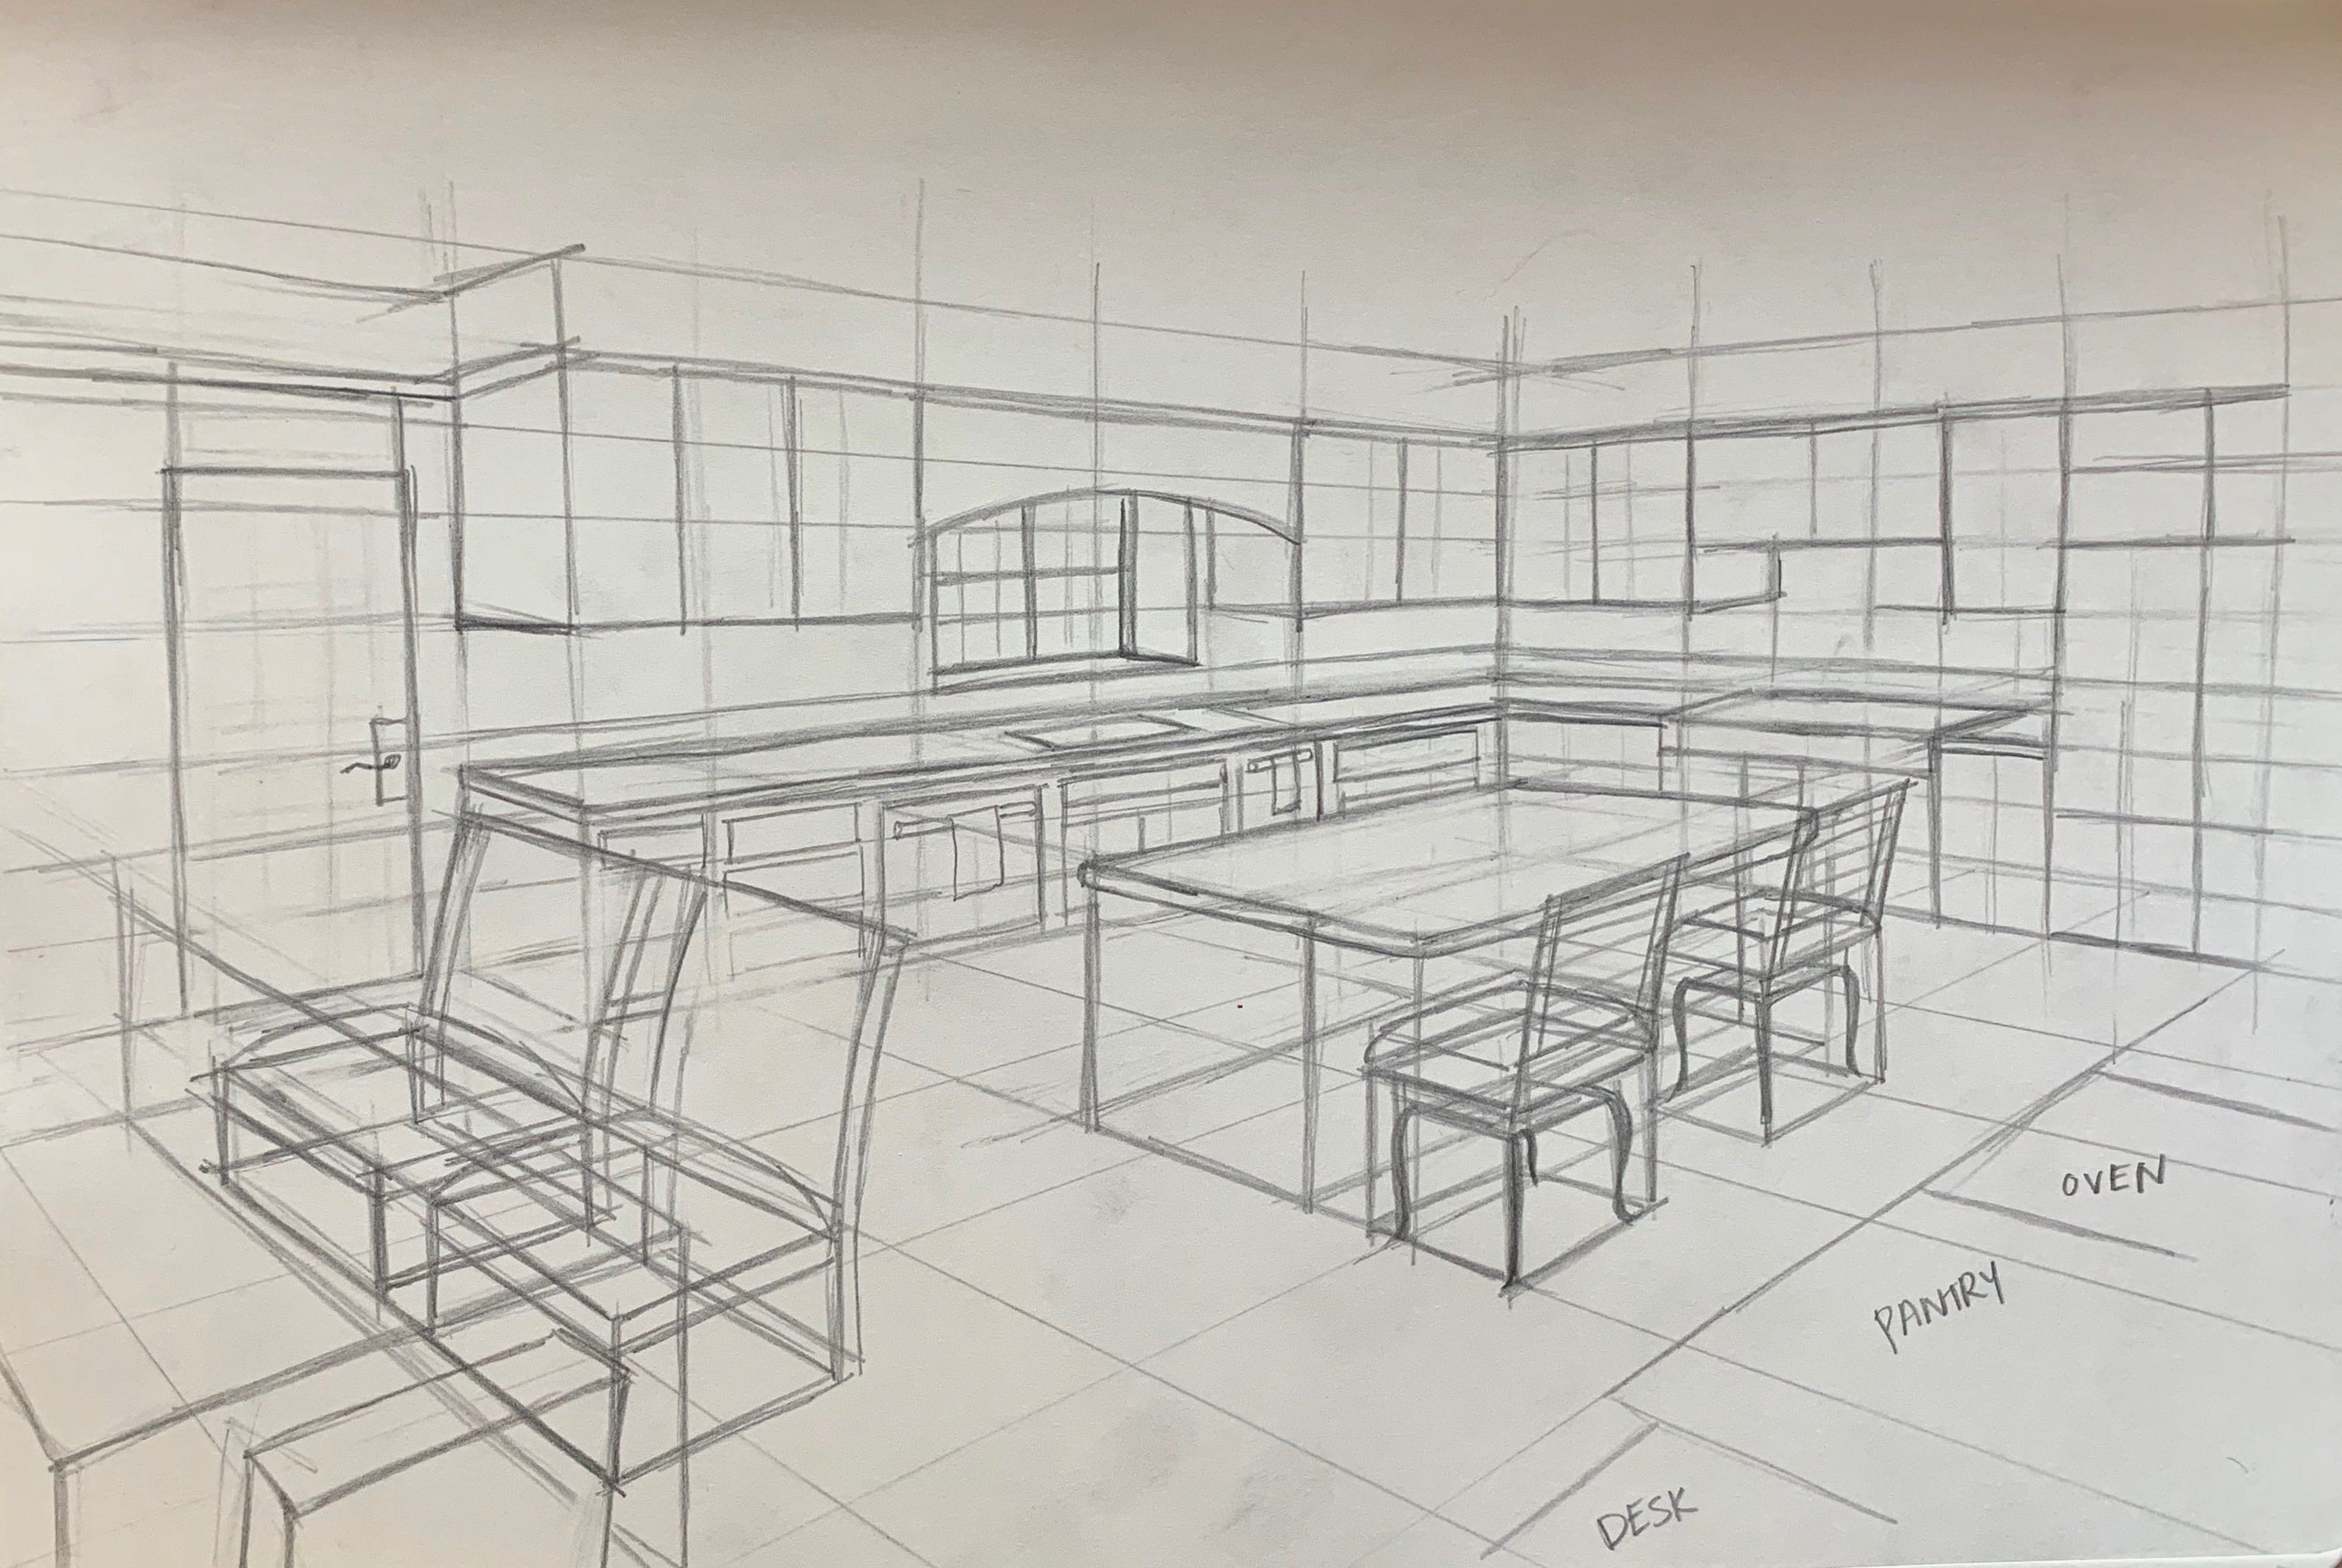
Credit: rlegg.medium.com
Setting Up Your Kitchen Layout
Setting up your kitchen layout is the foundation of drawing a kitchen in perspective. It helps you organize space clearly and makes the entire drawing process smoother. Think of it as creating a roadmap before you start adding details.
Sketching The Floor Plan
Begin by sketching a simple floor plan. Use light lines to mark the walls and open spaces. This plan doesn’t have to be perfect; it just shows where the kitchen will sit within the room.
Try drawing the floor tiles or wooden planks to guide your perspective lines later. This helps you visualize depth and placement more naturally. Have you noticed how a grid or pattern on the floor can make a room feel more real?
Positioning Major Elements
Next, place the main kitchen components like the sink, stove, and refrigerator on your floor plan. Think about how people move between these areas. This “work triangle” is key to an efficient kitchen layout and will keep your drawing practical.
Don’t forget cabinets, counters, and islands. Positioning these correctly lets you create believable perspective lines and scale. Ask yourself: where would these items naturally fit in the space you’ve drawn?
Establishing Proportions
Proportions make your kitchen feel realistic and balanced. Use known measurements like the height of counters (around 36 inches) or the width of a standard door (about 32 inches) to keep your drawing accurate.
Mark these measurements lightly on your sketch before adding details. This step helps you avoid awkward sizes that break the perspective illusion. How often do you check proportions when sketching, and could this improve your work?
Drawing Cabinets And Appliances
Drawing kitchen cabinets and appliances in perspective helps create depth and realism. Use vanishing points to guide shapes and angles accurately. Simple lines and shapes make the process easier for beginners.
Drawing cabinets and appliances in perspective can transform your kitchen sketch. These elements add depth and realism to your artwork. A well-drawn kitchen feels inviting and practical. Focus on lines, shapes, and details to create a believable space.
Using Guidelines For Depth
Start with guidelines to ensure accurate depth. Use horizontal lines for cabinet tops and bottoms. Vertical lines define the cabinet sides. Connect these with diagonal lines to create depth. This forms a basic cabinet shape in perspective.
Creating Realistic Shapes
Cabinets and appliances have distinct shapes. Draw rectangles for cabinet doors. Use circles for knobs. Ovens and fridges are often box-like. Ensure lines meet at vanishing points for accuracy. This gives a realistic perspective.
Adding Details And Handles
Details make your drawing pop. Sketch cabinet handles with small rectangles or ovals. Add hinges to doors with short lines. Draw appliance buttons for realism. These small additions bring your kitchen to life.

Credit: www.youtube.com
Incorporating Fixtures And Accessories
Adding fixtures and accessories brings your kitchen drawing to life. These elements give your space personality and make the scene feel real. Focusing on key features like sinks, lighting, and small items helps create depth and interest in your perspective drawing.
Drawing Sinks And Faucets
Sinks are central to kitchen layouts, so placing them correctly in perspective is crucial. Start by drawing the basic shape—a rectangle or oval—aligned with your vanishing points. Then, add the faucet with simple cylinders or curves; remember the spout usually extends outward and downward.
Pay attention to reflections and shadows on metallic surfaces to add realism. Have you noticed how a shiny faucet reflects the surrounding colors? Capturing this can make your drawing pop.
Adding Lighting Fixtures
Lighting fixtures set the mood and define space in your kitchen drawing. Pendant lights hanging over an island or recessed ceiling lights need to follow the same perspective rules. Sketch their shapes as simple geometric forms first, then add details like bulbs or shades.
Think about the light source direction—where would the shadows fall? Including subtle shadows under fixtures enhances the three-dimensional feel. What kind of lighting style fits your kitchen—modern, rustic, or industrial?
Placing Small Kitchen Items
Small items like fruit bowls, utensils, or spice jars add life and scale to your drawing. Scatter them naturally on counters or shelves, keeping their sizes consistent with your perspective grid. Use simple shapes like cylinders and spheres to block them in before refining details.
Try to avoid overcrowding; a few well-placed items can tell a story without clutter. What items do you use daily in your kitchen that could make your drawing feel personal and authentic?
Shading And Texturing Techniques
Shading and texturing bring life to your kitchen drawing. They add realism and depth that lines alone cannot achieve. Applying these techniques helps viewers feel the space and materials. Proper shading makes objects look three-dimensional. Textures give surfaces their unique look and feel.
Light Source And Shadows
Identify a clear light source for your kitchen scene. This guides where shadows fall and highlights appear. Shadows define the shape and position of objects in space. Use darker tones on surfaces opposite the light. Soft shadows create a gentle look. Hard shadows make objects appear sharp and clear. Cast shadows on walls and floors anchor items to their place.
Material Textures
Different kitchen materials need distinct textures. Smooth surfaces like tiles or glass reflect light cleanly. Rough surfaces such as wood or brick scatter light unevenly. Use short, controlled strokes for wood grain. Dots or small lines work well for stone or concrete. For metal, add small highlights to show shine. Texture adds character and helps viewers identify materials quickly.
Enhancing Depth With Shading
Use shading to create a sense of depth in your kitchen drawing. Darken areas that are farther away or hidden. Lighten areas closer to the viewer or near the light source. Gradual shading transitions improve realism. Contrast between light and dark areas makes objects pop. Layer shadows carefully to avoid flattening the image. Depth guides the eye and makes the kitchen feel alive.

Credit: www.youtube.com
Common Mistakes To Avoid
Drawing a kitchen in perspective can be tricky, especially when common mistakes sneak in and throw off the entire composition. Avoiding these errors will help you create a more believable and balanced space. Let’s look at some pitfalls that often catch even experienced artists off guard.
Incorrect Vanishing Points
Vanishing points are the backbone of perspective drawing. Placing them incorrectly makes your kitchen look warped or unrealistic. If your lines don’t converge properly, the cabinets and countertops won’t align as they should.
Try sketching light guidelines first and double-check where your vanishing points lie. Ask yourself: do all parallel lines in the kitchen head toward the same points? If not, adjust them. A quick fix here saves hours of frustration later.
Distorted Proportions
Getting proportions wrong is a common trap. If your fridge looks taller than the ceiling or the sink is oddly wide, the space feels off. It’s easy to focus on perspective and forget basic size relationships.
Measure key elements against each other while you draw. For example, a standard countertop height is about 36 inches—keep that in mind. This attention to scale makes your kitchen believable and inviting.
Overcrowding The Space
Filling every inch with appliances and furniture can overwhelm your drawing. It’s tempting to add every detail you see in real kitchens, but clutter makes it hard to read the perspective. Your viewers might miss the layout because of too many distractions.
Think about what’s essential. Leave some breathing room around major elements. How would you arrange your kitchen if you walked into it? Use that sense of space to guide your drawing.
Tips For Practice And Improvement
Improving your ability to draw a kitchen in perspective takes more than just understanding the basics. It requires consistent effort and smart practice techniques. The way you practice can shape how quickly you see progress and how confident you feel about your drawings.
Using Reference Images
Reference images help you observe real-world details that are easy to miss. Collect photos of different kitchens—modern, rustic, small, or spacious—to see how perspective changes with various layouts.
Try analyzing these images by sketching the main shapes and vanishing points before adding details. This exercise trains your eye to recognize depth and proportion better.
Ask yourself: What do I notice about the angles and lines? How do cabinets and counters align with the horizon? This focused observation improves your accuracy.
Sketching From Real Kitchens
Drawing from real kitchens adds a new level of understanding. If you have access to a kitchen, spend time sketching it on-site or from memory shortly after.
Observe how light and shadow affect the space, and how objects relate to each other in three dimensions. This hands-on approach strengthens your spatial awareness.
You might feel unsure at first, but each attempt builds your confidence. How often do you get the chance to draw a space you use every day? Use that familiarity to your advantage.
Regular Practice Routines
Consistency is key when learning perspective drawing. Set aside short, focused sessions daily or several times a week to keep your skills sharp.
Mix quick sketches with longer, more detailed drawings. Quick sketches help you loosen up, while detailed work improves precision.
Keep a sketchbook dedicated to kitchen perspectives. Over time, reviewing your progress will motivate you and highlight areas to improve. What small change in your daily routine could help you draw more regularly?
Frequently Asked Questions
What Is The Best Perspective For Drawing A Kitchen?
One-point or two-point perspective works best for kitchen drawings. They create realistic depth and space. One-point suits straight-on views, while two-point adds angular dimension.
How Do I Start Drawing Kitchen Perspective?
Begin by drawing a horizon line and vanishing points. Sketch basic shapes like counters and appliances aligned to these points. This ensures accurate spatial relationships.
Which Tools Help In Drawing Kitchen Perspective?
Use pencils, rulers, and perspective grids for accuracy. Digital tools like drawing software also offer perspective guides that simplify the process.
How To Add Depth To A Kitchen Drawing?
Use shading and overlapping objects to enhance depth. Objects closer to the viewer should be larger and more detailed.
Conclusion
Drawing a kitchen in perspective helps create depth and space in your art. Start with simple shapes and use guidelines to keep everything aligned. Practice makes your drawings clearer and more realistic over time. Remember to observe real kitchens for details and proportions.
Keep practicing, and your skills will steadily improve. This approach makes your drawings look more natural and inviting. Enjoy the process and watch your kitchen sketches come to life.