

Is your kitchen cabinet drawer sliding open or stuck when you try to use it? That small problem can quickly turn into daily frustration.
But don’t worry—you can fix it yourself without calling a handyman or spending a fortune. You’ll learn simple, step-by-step tips to get your cabinet drawer sliding smoothly again. Imagine opening your drawer effortlessly every time—no more jams or annoying slips.
Keep reading, and you’ll have your kitchen working perfectly in no time.
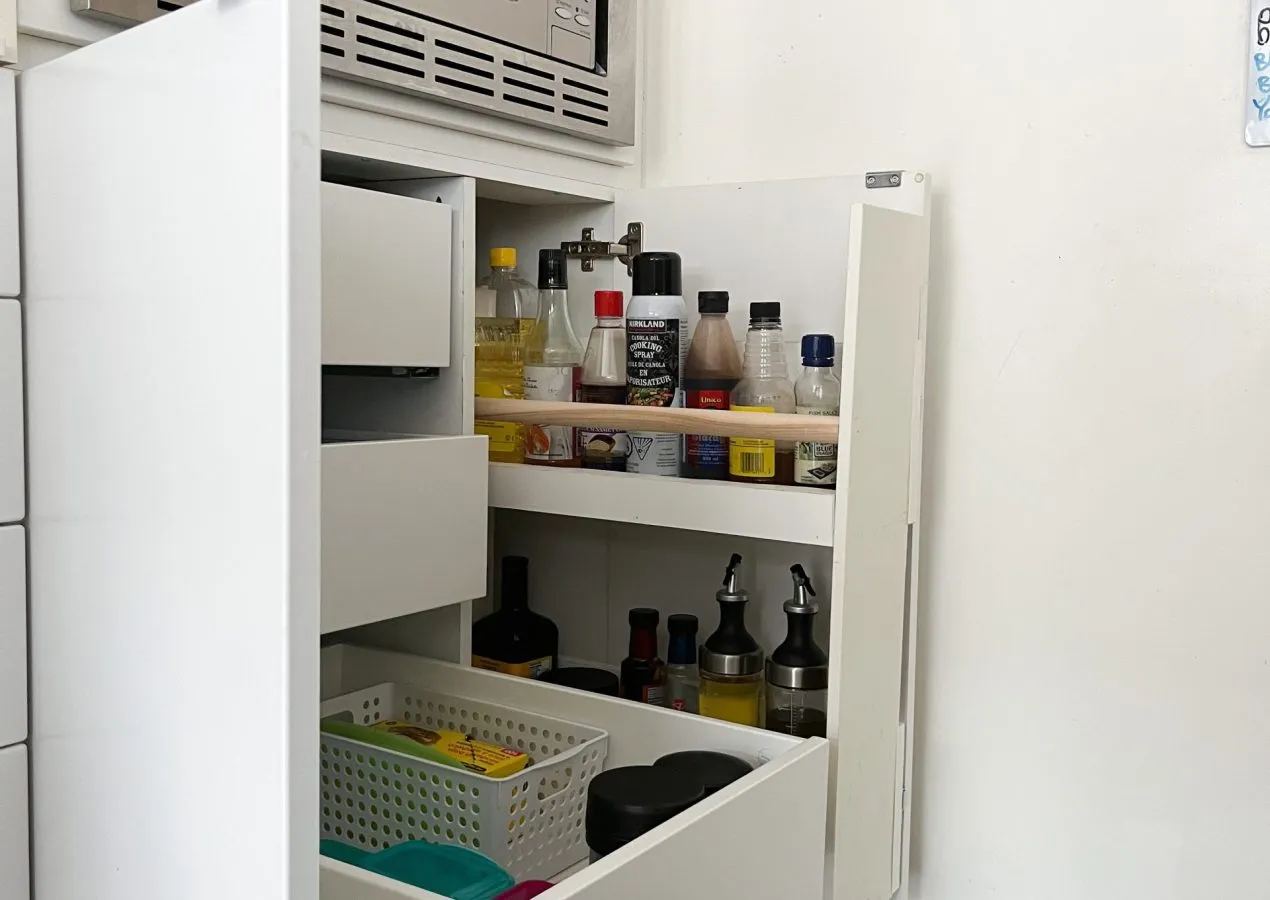
Credit: hanashappyhome.com
Identify Common Drawer Issues
Identifying common drawer issues is the first step to fixing a sliding cabinet drawer. Problems often arise from simple causes. Spotting these issues early helps you repair the drawer quickly. You will save time and avoid damage to your kitchen cabinets.
Check For Misalignment
Misaligned drawers do not slide smoothly. Check if the drawer sits unevenly in the cabinet frame. Look for gaps or uneven edges. Push the drawer gently and notice if it sticks or wobbles. Misalignment can happen from loose screws or warped wood.
Inspect Drawer Slides
Drawer slides guide the drawer’s movement. Dirt, rust, or damage can block the slides. Pull out the drawer fully and examine the metal or plastic tracks. Clean dirt and grease buildup. Replace bent or broken slides to restore smooth motion.
Look For Obstructions
Objects inside the drawer or cabinet can block sliding. Remove everything and check for small items stuck behind or under the drawer. Dust, crumbs, or debris can also cause problems. Clear all obstacles to ensure the drawer moves freely.
Prepare Tools And Materials
Before you dive into fixing your sliding cabinet drawer, gathering the right tools and materials sets you up for success. Having everything ready avoids interruptions and frustration during the repair. Plus, the right equipment makes the process smoother and helps you spot any hidden issues quickly.
Essential Tools Needed
- Screwdriver Set:A variety of flathead and Phillips screwdrivers will help you remove and tighten screws easily.
- Measuring Tape:Accurate measurements ensure replacement parts fit perfectly.
- Level:To check if the drawer and slides are properly aligned.
- Hammer or Rubber Mallet:Useful for gently tapping components into place without damage.
- Pliers:Handy for gripping and adjusting small parts.
- Drill (Optional):Speeds up the process of removing or inserting screws, especially for stubborn hardware.
Have you ever started a repair only to realize you don’t have the right screwdriver? It can waste precious time and test your patience. Keeping these tools on hand means you’re ready for any unexpected challenges.
Recommended Replacement Parts
- Drawer Slides:Over time, slides wear out or bend. Choose heavy-duty metal slides for durability and smooth movement.
- Screws and Mounting Hardware:Replacement screws often come with new slides, but having extra screws matching your cabinet’s finish is smart.
- Drawer Bumpers or Stops:These small parts prevent the drawer from sliding too far and protect your cabinet.
- Wood Glue or Adhesive:Useful if any wooden parts are loose or cracked.
Think about the last time a drawer stuck or felt loose. Often, replacing worn slides or adding bumpers can fix the issue completely. Are you prepared to swap out these parts to restore your drawer’s smooth glide?
Remove The Drawer Safely
Remove the Drawer Safely Carefully slide the drawer out by lifting it slightly. Ensure you support its weight to avoid damage.
Removing a kitchen drawer safely is a crucial step in fixing a sliding cabinet drawer. Ensuring that you handle the drawer with care can prevent damage and make the repair process smoother. Let's dive into the practical steps you need to follow to safely remove the drawer.
Unlock Drawer Mechanism
Begin by examining the drawer's mechanism. Most kitchen drawers have a release latch or clip that needs to be unlocked. Look for a small plastic or metal lever on the side or bottom of the drawer. Press or lift the latch gently. If you're unsure, consult the cabinet’s manual or look up your drawer model online for specific instructions.
Lift And Pull Out Drawer
Once the mechanism is unlocked, it's time to remove the drawer. Gently lift the front of the drawer upwards. This motion helps to disengage it from the sliding tracks. Then, pull the drawer out towards you with a steady hand. Make sure to support the bottom to prevent any accidental drops. Have you ever accidentally pulled out a drawer too quickly and ended up with everything spilling out? Taking your time with this step can avoid such frustrating scenarios. Once removed, you can clearly see any issues and begin the repair process with confidence.
:strip_icc()/bhg-kitchen-drawer-slides_8pmLpaOPqRL84F5AQsbK3g-c0889a5c5ff04b5eafdc8bcd9018236c.jpg)
Credit: www.bhg.com
Fix Misaligned Drawer Slides
Fixing misaligned drawer slides can instantly improve how smoothly your cabinet drawers open and close. Misalignment often causes drawers to stick or slide unevenly, which can be frustrating in a busy kitchen. Addressing this issue early can prevent further damage and save you from costly repairs.
Realign Slide Tracks
Start by carefully removing the drawer from the cabinet. Check the slide tracks on both the drawer and the cabinet sides for any visible bends or shifts. If the tracks are out of place, gently push or pull them back into proper alignment.
Use a level to ensure the tracks are perfectly horizontal. Even a slight tilt can cause the drawer to slide improperly. If needed, mark the correct position with a pencil before securing the tracks again.
Tighten Loose Screws
Loose screws are often the root cause of misaligned slides. Grab a screwdriver and check every screw holding the slide tracks in place. Tighten them firmly but avoid overtightening, which can strip the holes.
Don’t forget to inspect the screws on both the cabinet frame and the drawer sides. Sometimes, replacing old screws with slightly longer ones can provide a more secure hold. Have you noticed any screws missing or damaged? Replacing those immediately can make a big difference.
Clean And Lubricate Slides
Cleaning and lubricating the slides is key to fixing a sliding cabinet drawer. Dirt and grime build-up often cause drawers to stick or slide unevenly. Proper maintenance helps the drawer move smoothly and quietly. This process also extends the life of the slides and prevents future problems.
Remove Dirt And Debris
Start by pulling out the drawer completely. Check the metal or plastic slides on both the drawer and cabinet sides. Use a soft brush or cloth to remove dust, crumbs, and grease. For stubborn grime, dampen the cloth with mild soap and water. Avoid harsh chemicals that can damage the slide material. Dry the slides thoroughly before moving to the next step.
Apply Lubricant Properly
Choose a lubricant designed for drawer slides, such as silicone spray or a dry lubricant. Avoid oil-based products that attract more dirt. Spray or apply the lubricant evenly along the entire length of the slides. Open and close the drawer several times to spread the lubricant inside. Wipe away any excess to prevent buildup. This simple step will restore smooth drawer movement quickly.

Credit: www.familyhandyman.com
Replace Damaged Slides
Replacing damaged slides is key to fixing a sliding cabinet drawer. Worn or broken slides cause the drawer to stick or fall out. New slides restore smooth movement and support the drawer’s weight. This fix improves function and extends the drawer’s life.
Choose slides that match the drawer’s size and weight capacity. Proper installation ensures the drawer fits and works well. Carefully remove the old slides and align the new ones. Secure the slides firmly to prevent future issues.
Choose Correct Slide Type
Select slides based on the drawer’s size and weight. Common types include ball-bearing, roller, and undermount slides. Ball-bearing slides offer smooth, quiet movement. Roller slides are simple and budget-friendly. Undermount slides hide under the drawer for a clean look.
Measure the drawer length before buying slides. Check the weight rating to support heavy kitchen items. Match the slide length to the drawer depth for proper fit. Consider soft-close features for gentle, quiet closing.
Install New Slides
Remove the drawer from the cabinet carefully. Unscrew and take out the old slides. Clean the drawer and cabinet surfaces before installing new slides. Align the new slides with the original screw holes or mark new spots.
- Attach the cabinet side of the slide first.
- Secure the drawer side of the slide next.
- Use a level to keep slides straight and even.
- Test the drawer fit before tightening all screws.
Slide the drawer into the cabinet slowly. Check for smooth movement and proper alignment. Adjust screws slightly if needed. Tighten all screws firmly to secure slides in place.
Adjust Drawer Front
Adjusting the drawer front is a key step to fix a sliding cabinet drawer. A misaligned drawer face can cause the drawer to stick or slide unevenly. Proper adjustment ensures smooth operation and a neat look.
Align Drawer Face
Start by checking the drawer face alignment. It should sit evenly with the cabinet frame. If it tilts or sticks out, loosen the screws slightly. Gently move the drawer face until it lines up perfectly. Make small adjustments and test the fit by sliding the drawer in and out. Keep adjusting until the drawer moves smoothly without rubbing against the cabinet.
Secure Screws
Once the drawer face is aligned, tighten the screws firmly. Use a screwdriver to secure them well, but avoid over-tightening. Over-tightening can damage the wood or strip the screws. Check that the drawer face does not shift after tightening. Properly secured screws keep the drawer front steady and prevent future sliding issues.
Test Drawer Movement
Testing the movement of your sliding cabinet drawer is a crucial step in ensuring it functions smoothly and lasts longer. This phase allows you to spot any sticking points or misalignments that could cause future problems. Pay close attention as you slide the drawer in and out to catch any irregularities early on.
Check Smooth Sliding
Open and close the drawer slowly to feel how it glides along the tracks. Does it move effortlessly, or do you notice any resistance or jerky motions? Smooth sliding means the drawer is properly aligned and the tracks are clean and intact.
If you feel the drawer sticking or catching, inspect the rails for dirt or debris. Sometimes, a quick wipe or light lubrication can make a big difference. Have you ever ignored this step and ended up with a drawer that jams at the worst moment?
Make Final Adjustments
If the drawer movement isn't perfect yet, don’t worry—small tweaks can fix most issues. Check the screws holding the slides; tightening or loosening them slightly can improve alignment. Also, ensure the drawer itself sits evenly on the slides.
Try adjusting the positioning of the slides by shifting them a bit forward or backward. Even a minor change can eliminate rubbing spots. Are you willing to spend a few extra minutes here to avoid repeated drawer problems later?
Prevent Future Drawer Issues
Preventing future drawer issues helps keep your kitchen organized and functional. Small efforts every day can stop drawers from sliding or sticking. Consistent care extends the life of your cabinet drawers and saves time fixing problems later.
Focus on simple habits and smart use. These practices reduce wear and tear. Your kitchen drawers will stay smooth and easy to open for years.
Regular Maintenance Tips
- Clean drawer tracks often with a dry cloth.
- Check for loose screws and tighten them.
- Apply a small amount of lubricant to drawer slides yearly.
- Remove dirt and debris from inside drawers.
- Inspect drawer alignment and adjust if needed.
Avoid Overloading Drawers
- Do not fill drawers beyond their weight limit.
- Distribute weight evenly inside each drawer.
- Store heavy items in lower cabinets, not drawers.
- Use organizers to keep items in place.
- Open drawers gently to avoid stress on slides.
Frequently Asked Questions
How Do I Stop My Cabinet Drawer From Sliding?
To stop sliding, check the drawer tracks for damage or debris. Clean and lubricate them. Tighten loose screws and adjust the drawer slides for a snug fit.
What Tools Are Needed To Fix A Sliding Drawer?
You typically need a screwdriver, lubricant, cleaning cloth, and replacement screws or slides. Sometimes, a drill or pliers may be useful for adjustments or repairs.
Why Does My Kitchen Drawer Slide Unevenly?
Uneven sliding often results from misaligned slides or warped wood. Inspect the tracks and drawer for damage. Realign or replace faulty components to restore smooth operation.
Can I Fix A Sliding Drawer Without Removing It?
Yes, minor fixes like cleaning, lubricating, or tightening screws can be done without removal. For major repairs, removing the drawer is recommended for better access.
Conclusion
Fixing a sliding cabinet drawer can save time and money. Small issues like loose tracks or dirt often cause problems. Clean and tighten parts carefully for smooth movement. Check the alignment to avoid sticking or jamming. Regular care keeps drawers working well longer.
Simple steps help you maintain your kitchen easily. Don’t wait for bigger troubles; fix the drawer soon. Enjoy a neat, functional kitchen with little effort. Your kitchen feels better when drawers slide right. Try these tips to keep your cabinets in shape.