
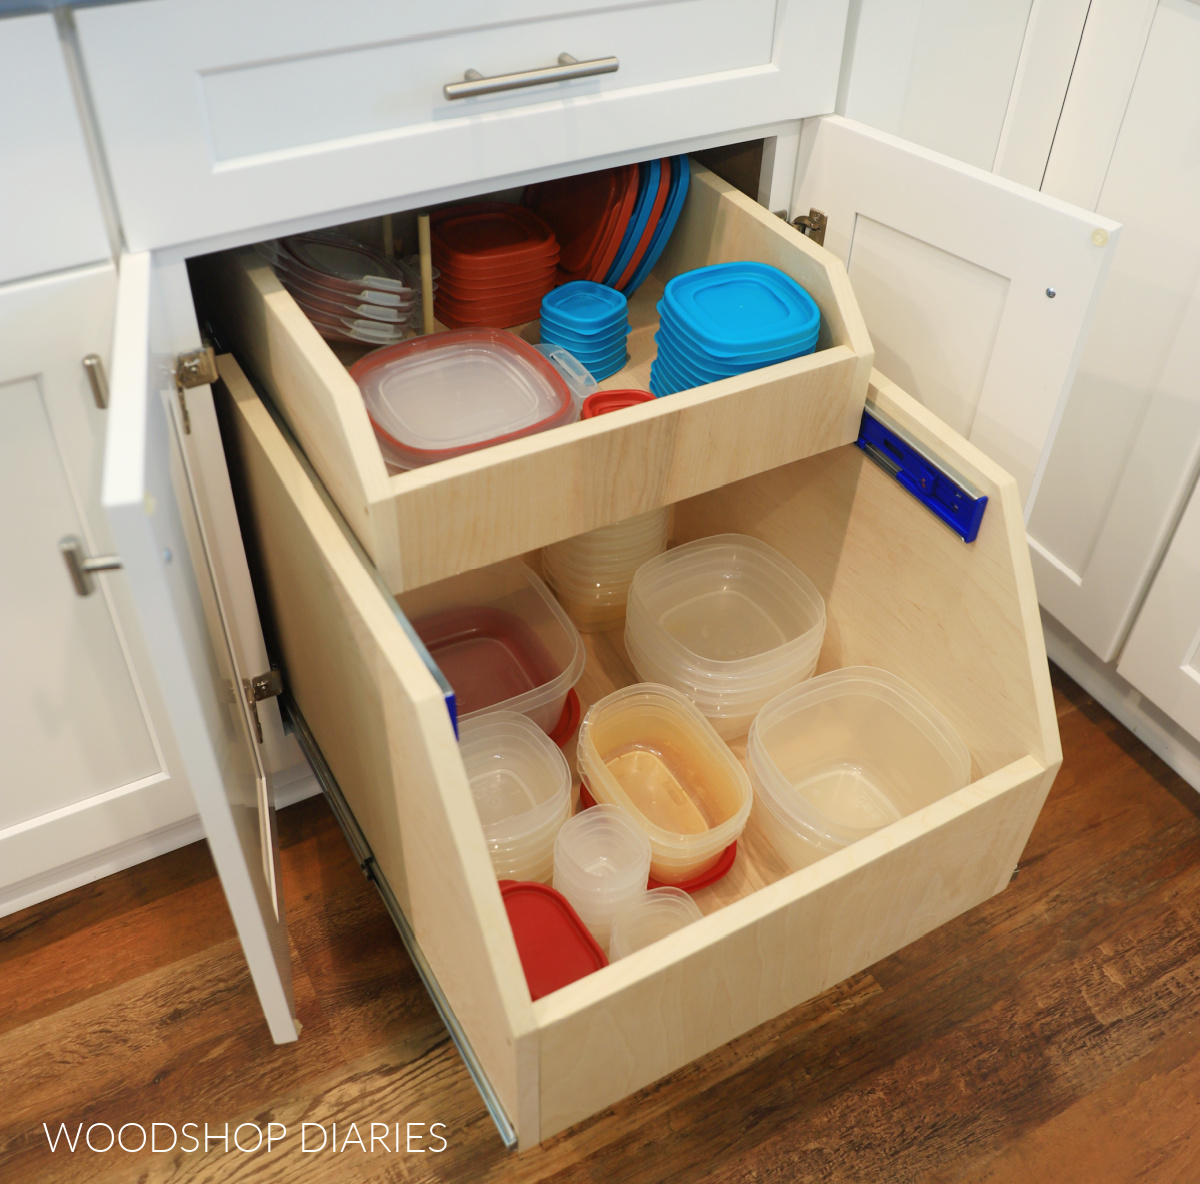
Are you ready to give your kitchen a fresh, organized look? Installing a kitchen drawer might sound tricky, but with the right steps, you can do it yourself and save time and money.
Imagine opening a smooth, sturdy drawer that holds all your utensils neatly. In this guide, you’ll learn exactly how to install a kitchen drawer, step by step. By the end, you’ll have the confidence to improve your kitchen space and enjoy the satisfaction of a job well done.
Keep reading to discover simple tips and tricks that make the process easy and stress-free.

Credit: www.familyhandyman.com
Tools And Materials Needed
Installing a kitchen drawer requires the right tools and materials. Having these ready makes the process smooth and efficient.
Gather everything before starting. This saves time and avoids interruptions.
Essential Tools For Kitchen Drawer Installation
- Power drill with drill bits
- Screwdriver set (Phillips and flathead)
- Measuring tape
- Level tool
- Pencil for marking
- Clamps to hold parts steady
- Hammer or mallet
- Safety glasses
Materials Needed For The Drawer
- Drawer box (pre-made or custom)
- Drawer slides or runners
- Screws suitable for wood
- Wood glue (optional for extra strength)
- Drawer handle or knob
- Sandpaper for smoothing edges
Preparation Tips For Tools And Materials
Check each tool to ensure it works well. Sharp drill bits make holes clean and easy.
Match screws to the drawer slides size. This prevents damage and loose fittings.
Keep all materials within reach. Arrange them on a clean surface for easy access.
Preparing The Drawer Space
Preparing the drawer space is essential before installing a kitchen drawer. It helps avoid fitting problems and ensures smooth operation. Take time to get the area ready for the best results.
Measuring The Opening
Measure the width, height, and depth of the drawer opening carefully. Use a tape measure and write down the numbers. Check the measurements twice to prevent mistakes. This step ensures the drawer fits perfectly in the space.
Cleaning And Clearing The Area
Remove any items inside the cabinet or drawer space. Clean dust, dirt, and debris with a cloth or vacuum. Clear space allows easy installation and smooth drawer movement. Make sure the area is dry and free of obstacles.
Assembling The Drawer Components
Assembling the drawer components is where your kitchen drawer starts to take shape. It’s essential to handle each part carefully to ensure smooth operation and durability. Getting this right means your drawer will fit perfectly and glide effortlessly every time you use it.
Attaching The Drawer Slides
Begin by choosing the right drawer slides for your drawer’s size and weight. Measure and mark where the slides will go inside the cabinet and on the drawer itself.
Attach the slides to the cabinet first, making sure they are level and aligned. Then, secure the matching parts to the drawer box. Check the movement by sliding the drawer in and out; it should feel smooth without sticking.
Have you ever struggled with a drawer that jams or falls off? Properly attaching these slides can prevent that frustration and save you time fixing issues later.
Building The Drawer Box
Start with the sides, front, and back pieces of your drawer box. Use wood glue along the edges before fastening them with screws or nails to create a sturdy frame.
Next, add the bottom panel by sliding it into grooves or securing it to the frame. This part needs to be flush and strong to hold your kitchen items safely.
Think about the material you use here—solid wood offers strength, while plywood can be lighter and more affordable. What kind of load do you expect your drawer to hold? Choosing the right materials makes a big difference in longevity.
Installing The Drawer Slides
Attach the drawer slides to both the cabinet and the drawer carefully. Ensure they are level for smooth movement and secure with screws. Check alignment before fully tightening to avoid sticking or wobbling.
Installing drawer slides might seem daunting, but with the right guidance, it's a task you can confidently tackle. The process involves precise alignment and careful mounting to ensure smooth operation. Let's dive into the essential steps to mount and align your drawer slides like a pro.
Mounting Slides To The Cabinet
Begin by choosing the type of drawer slides suitable for your cabinet. Common options include side-mounted, under-mounted, and center-mounted slides. Once you've got your slides, gather the necessary tools: a screwdriver, measuring tape, and a level. First, position the slides inside the cabinet. Attach them using screws, ensuring they're straight and level. This is crucial for smooth drawer operation. Consider using a spacer to maintain consistency in slide placement, especially if you’re installing multiple drawers.
Aligning Slides Properly
Proper alignment of the slides is key to avoiding wobbly or stuck drawers. Measure and mark the spots where the slides will be mounted on the drawer. Double-check your measurements to ensure accuracy. Attach the slides to the drawers, making sure they're parallel to the edges. A helpful tip is to temporarily place the drawer inside the cabinet to check the alignment. Adjust if necessary to achieve a perfect fit. Have you ever struggled with a drawer that wouldn't close properly? Ensuring perfect alignment can save you from that hassle. Take your time, and be meticulous. The reward is a drawer that glides effortlessly every time.
Inserting The Drawer
Inserting the kitchen drawer into its frame is a key step in the installation process. It requires care and accuracy to ensure the drawer fits well and moves smoothly. This step brings together all the previous work and prepares the drawer for daily use. Follow these instructions to secure the drawer properly and check its movement.
Securing The Drawer To Slides
Align the drawer sides with the metal slides inside the cabinet. Gently push the drawer into the slides until you hear a click. This sound means the locking mechanism has engaged. Use screws to fasten the drawer to the slides through the pre-drilled holes. Tighten the screws firmly but avoid over-tightening to prevent damage. Check both sides to make sure the drawer is secured evenly.
Testing The Drawer Movement
Pull the drawer out slowly and push it back in to test its movement. It should glide smoothly without sticking or wobbling. If the drawer feels tight, adjust the screws slightly or reposition the slides. Listen for any unusual noises like scraping or grinding. Make sure the drawer opens fully and closes flush with the cabinet. Repeat the test several times to confirm consistent performance.
:strip_icc()/bhg-kitchen-drawer-slides_8pmLpaOPqRL84F5AQsbK3g-c0889a5c5ff04b5eafdc8bcd9018236c.jpg)
Credit: www.bhg.com
Adjusting For A Perfect Fit
Adjusting the kitchen drawer ensures it fits smoothly and looks neat. This step is key for easy opening and closing. Small tweaks make a big difference in performance and appearance.
Leveling The Drawer Front
Start by checking if the drawer front is straight. Use a level tool to see if it tilts up or down. Adjust the screws on the drawer slides to raise or lower the front panel. Make sure the drawer front sits flush with the cabinet face. This prevents gaps and keeps the drawer aligned with other drawers.
Tightening Screws And Final Checks
After leveling, tighten all screws firmly but avoid over-tightening. Loose screws cause wobbling, and too tight screws may strip the holes. Open and close the drawer several times to test smooth movement. Look for any sticking or rubbing against the cabinet. Adjust the slides or screws if needed. The drawer should glide quietly and fit perfectly in its space.
Troubleshooting Common Issues
Installing a kitchen drawer can sometimes lead to small problems. These issues can make the drawer hard to use or cause it to look uneven. Fixing these common problems helps the drawer work smoothly and last longer. Below are simple ways to solve frequent drawer troubles.
Fixing Drawer Misalignment
Misaligned drawers do not close properly and look crooked. Check the drawer slides first. Loose screws can cause the drawer to shift out of place. Tighten all screws on both the drawer and the cabinet.
Next, remove the drawer and inspect the slides for damage or dirt. Clean any debris and wipe the slides with a dry cloth. Damaged slides should be replaced to restore smooth movement.
Make sure the drawer is inserted straight. Push it gently but firmly so it fits evenly on both sides. Test by opening and closing the drawer several times.
Resolving Sticking Or Jamming
Sticking or jamming makes the drawer hard to open or close. Check for any objects blocking the drawer path. Remove items that are too large or improperly placed inside the drawer.
Apply a small amount of lubricant to the drawer slides. Use a silicone-based spray or wax. Avoid oil-based products that attract dust and dirt.
Inspect the drawer bottom and sides for warping or swelling. Wood can expand with moisture, causing the drawer to stick. Sand rough edges lightly and allow the wood to dry in a warm area.
Adjust the drawer slides if the problem continues. Moving them slightly can improve the fit and reduce jamming. Test the drawer after each adjustment.

Credit: www.familyhandyman.com
Frequently Asked Questions
How Do I Measure For A Kitchen Drawer Installation?
Measure the drawer opening width, height, and depth accurately. Check the cabinet interior to ensure proper fit and smooth operation. Use a tape measure and note all dimensions before buying or installing.
What Tools Are Needed To Install A Kitchen Drawer?
You need a screwdriver, drill, tape measure, level, pencil, and mounting screws. These tools help align and secure the drawer slides and drawer box efficiently.
How Do I Align Kitchen Drawer Slides Correctly?
Attach slides to cabinet sides at the same height. Use a level to ensure they are straight. Proper alignment ensures smooth drawer movement and prevents sticking.
Can I Install Kitchen Drawers Without Professional Help?
Yes, with basic tools and clear instructions, you can install drawers yourself. Take measurements carefully and follow step-by-step guides for best results.
Conclusion
Installing a kitchen drawer can be simple and quick. Follow each step with care and patience. Use the right tools for better results. Measure twice to avoid mistakes. Test the drawer to ensure it slides smoothly. A well-installed drawer improves kitchen use and looks neat.
Enjoy your new drawer and the extra storage it brings. Keep practicing, and your skills will grow. Small projects like this build confidence for bigger tasks.