

Are you tired of struggling with cluttered kitchen drawers that just won’t slide smoothly? Installing a sliding kitchen drawer can transform the way you organize your space, making everything easier to find and access.
Imagine opening your drawer effortlessly, with your utensils or spices right where you need them. In this guide, you’ll discover simple, step-by-step instructions to install sliding kitchen drawers yourself—even if you’ve never done it before. Keep reading, and you’ll be amazed at how this small change can make a big difference in your daily kitchen routine.
Choose The Right Drawer Slides
Choosing the right drawer slides is crucial to ensure your sliding kitchen drawer works smoothly and lasts long. The right slides support your drawer’s weight, fit perfectly, and match your kitchen’s style. Understanding the types, how to measure, and weight limits will help you avoid common mistakes and get professional results.
Types Of Slides
There are several types of drawer slides, each with unique features and benefits. The most common are:
- Side-mount slides:Attached to the drawer sides, they are visible when the drawer is open but offer strong support.
- Under-mount slides:Hidden underneath the drawer, these provide a clean look and often include soft-close mechanisms.
- Center-mount slides:Installed under the drawer’s center, they are easier to install but may not hold as much weight.
Have you noticed how some drawers glide so effortlessly? Most likely, they use under-mount slides. Choosing the right type affects both the drawer’s function and appearance.
Measuring For Fit
Accurate measurements are key to a smooth installation. Measure the drawer box’s width, height, and depth carefully. Don’t forget to measure inside the cabinet space too.
Subtract about 1/2 inch from the drawer width to allow space for side-mount slides. For under-mount slides, check the manufacturer’s guidelines since dimensions vary. Double-checking your measurements can save you from buying the wrong size and save hours of frustration.
Weight Capacity Considerations
Think about what you’ll store in the drawer. Heavy pots and pans need slides with higher weight capacities, often 100 pounds or more. Light utensils and dish towels might only require slides rated for 50 pounds.
Choosing slides with a higher weight rating than your estimated load adds a safety margin. This prevents sagging or jamming over time. What’s the heaviest item you plan to keep in your drawer? Use that to guide your choice and keep your kitchen running smoothly.
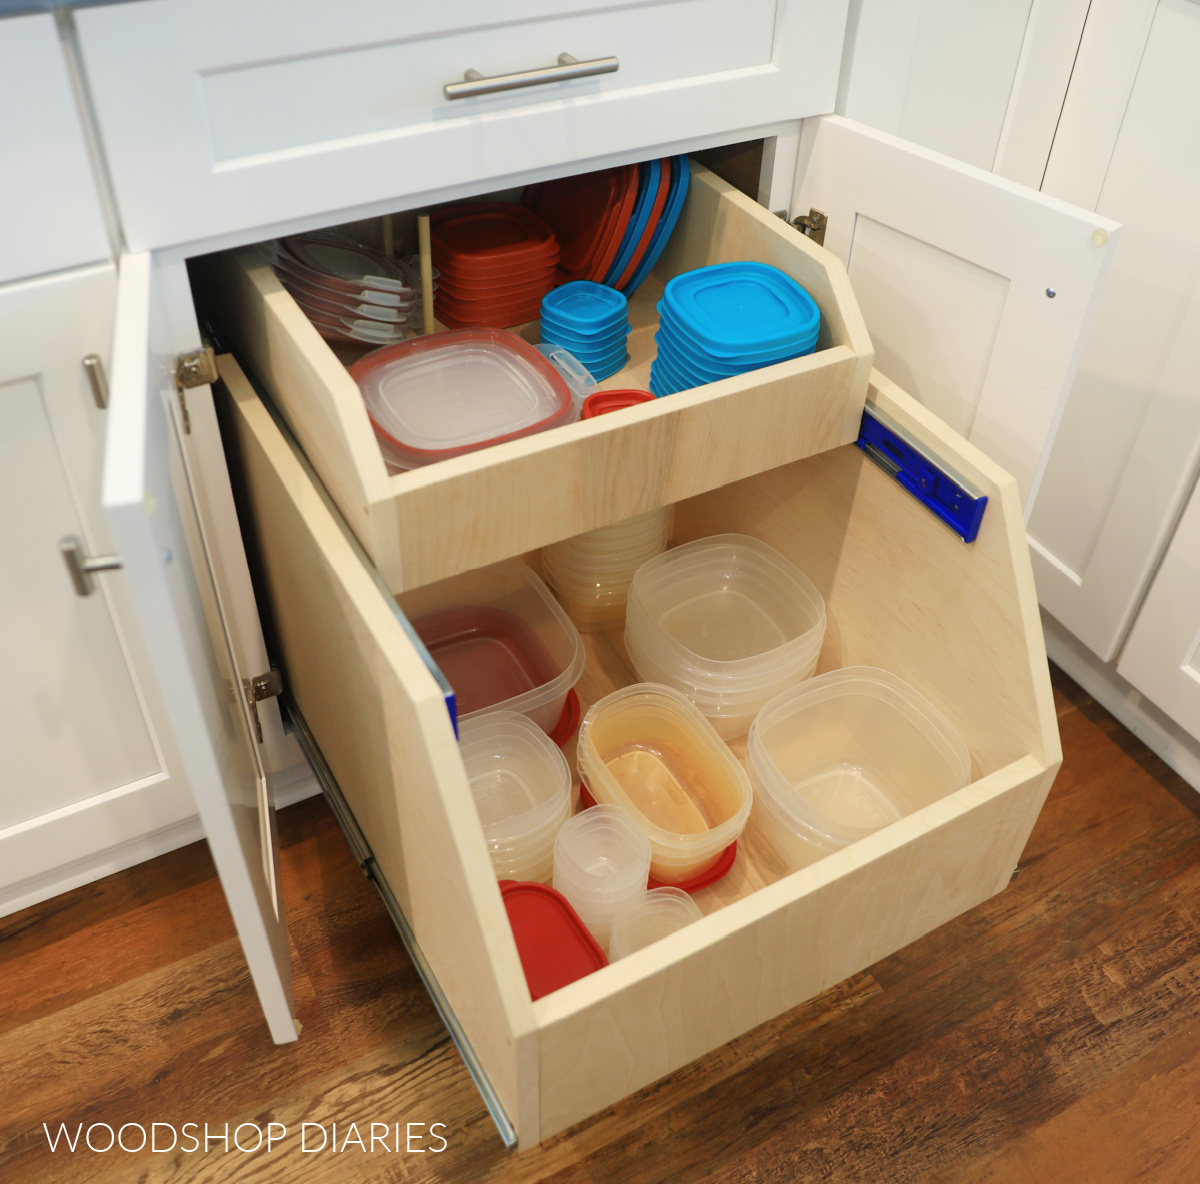
Credit: www.woodshopdiaries.com
Gather Necessary Tools And Materials
Before you start installing your sliding kitchen drawer, it’s crucial to have all the right tools and materials ready. Missing a key item midway can cause frustration and delay your project. Gathering everything upfront not only saves time but also ensures a smooth installation process.
Essential Tools List
- Measuring tape:Accuracy is key when fitting drawers perfectly.
- Power drill with drill bits:You’ll need this for making pilot holes and securing screws.
- Screwdriver (Phillips and flathead):Useful for tightening screws and adjustments.
- Level:Ensures your drawer slides are perfectly horizontal, preventing jams.
- Pencil:For marking drill points and alignment.
- Clamps:Helpful to hold parts steady during installation.
- Safety glasses:Protect your eyes while drilling or cutting.
Have you ever tried to install something only to realize you didn’t have the right screwdriver? That small oversight can turn a quick job into a frustrating afternoon. Double-checking your tool list can prevent this.
Recommended Materials
- Sliding drawer rails:Choose heavy-duty rails rated for your drawer’s weight.
- Drawer box:Make sure it fits the size specifications of your cabinet.
- Screws:Use the correct size and type, often included with the rails.
- Wood glue (optional):Adds extra strength if you’re assembling or reinforcing the drawer.
- Drawer stops:Prevent the drawer from sliding out completely, enhancing safety.
Consider the material quality carefully. Have you noticed how cheap rails can wear out quickly or cause the drawer to wobble? Investing in durable materials upfront saves headaches down the line.
Prepare The Cabinet And Drawer
Clear the cabinet and drawer space completely. Check for damage or dirt, and clean the surfaces well. Measure carefully to ensure the sliding drawer fits perfectly.
Preparing your cabinet and drawer is a crucial first step in installing sliding kitchen drawers. This process ensures that everything fits perfectly and operates smoothly. By taking the time to prepare, you set the stage for a seamless installation experience. Let's dive into how to get your cabinet and drawer ready for their new sliding feature.
Remove Existing Hardware
Start by carefully removing any existing hardware from the cabinet and drawer. This includes handles, knobs, and any internal components like rails or tracks. Use a screwdriver to gently unscrew each piece. Keep a small container nearby to collect screws and small parts—you don't want to lose them. Removing old hardware allows you to start with a clean slate, ensuring nothing gets in the way of your new sliding system.
Clean And Inspect Surfaces
Once the hardware is removed, it's time to clean and inspect the surfaces. Wipe down the cabinet and drawer with a damp cloth to remove dust and grime. Look closely for any signs of damage or wear that might interfere with the new installation. Are there any rough spots or splinters? Sand them down to ensure smooth edges. This is also a good opportunity to make any necessary repairs. Addressing these issues now will save you time and frustration later. Proper preparation can mean the difference between a flawless installation and a frustrating one. Isn't it satisfying to know that a little prep work can make such a big difference in the outcome?
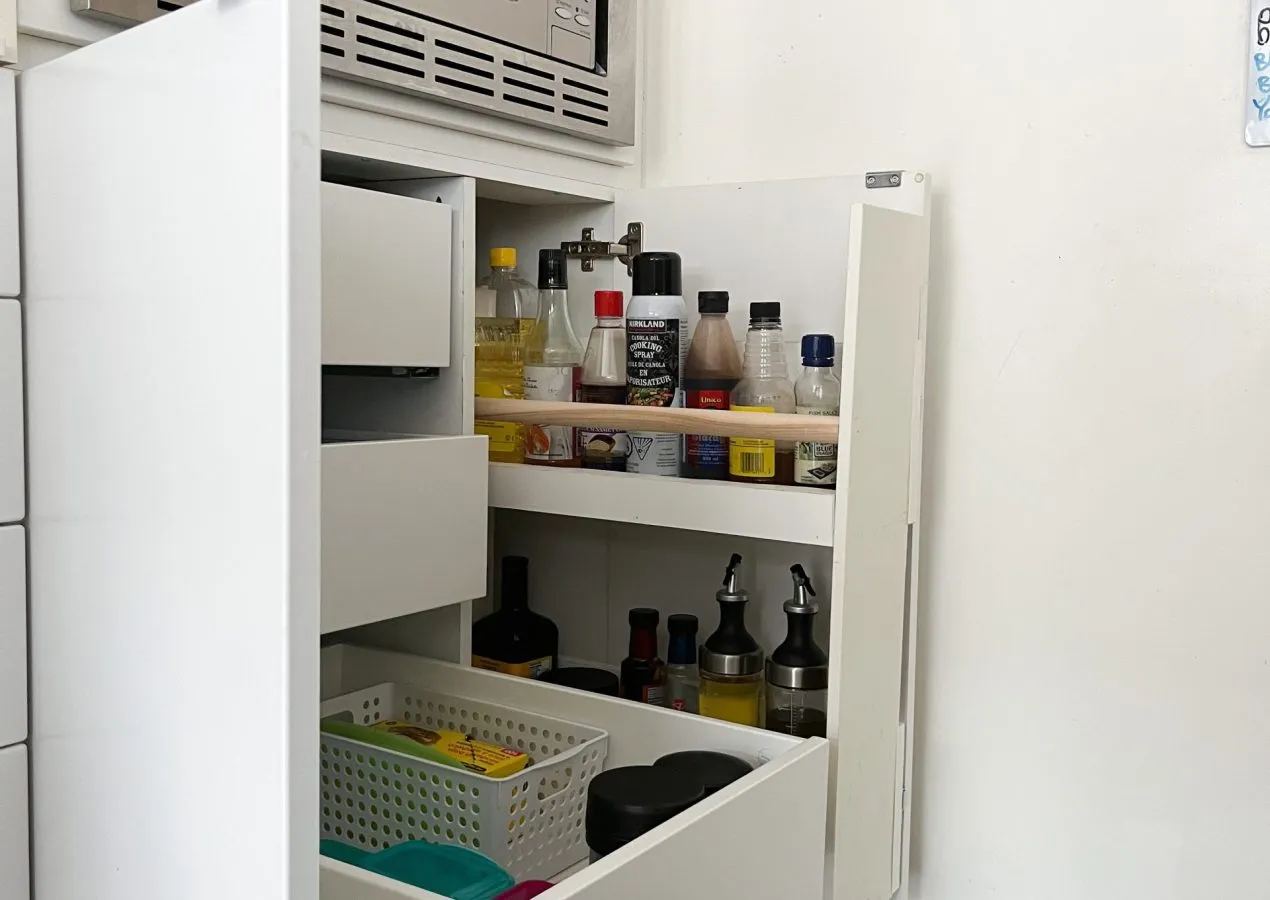
Credit: hanashappyhome.com
Install Drawer Slides On Cabinet
Installing drawer slides on your kitchen cabinet is a crucial step for smooth drawer operation. Proper placement and securing ensure the drawer moves easily and lasts long. Take your time to align the slides carefully for the best results.
Marking Slide Positions
Start by measuring the height inside the cabinet where the slides will go. Use a pencil to mark the exact spot on both sides. Make sure the marks are level and at the same height. Use a ruler or level tool for accuracy. Marking correctly prevents uneven sliding later.
Securing Slides Properly
Hold the drawer slide against the marked spots inside the cabinet. Check again that it is straight and aligned with your marks. Use screws that fit the slide holes well. Screw the slides tightly but avoid over-tightening to prevent damage. Secure all screw points for firm attachment. Proper securing keeps the drawer steady and easy to open.
Attach Slides To Drawer
Attaching the slides to your kitchen drawer is a crucial step that determines how smoothly your drawer will open and close. This part demands precision and care to avoid misalignment that can cause jamming or uneven movement. Let’s dive into how you can securely attach the slides to ensure your drawer operates flawlessly.
Aligning Slides Accurately
Start by laying the drawer on a flat surface. Place the slide on the side of the drawer so the front edge aligns perfectly with the drawer’s front face. Double-check that the slide is straight and level before proceeding.
Use a pencil to mark screw holes gently—this helps prevent mistakes during fastening. Small misalignments can cause the drawer to stick or wobble, so take your time to measure twice and position the slides carefully. Are you sure your drawer sides are perfectly parallel? This can impact the alignment of your slides.
Fastening Techniques
Choose screws that fit snugly into the slide’s holes—too long or too short screws can weaken the hold. Begin fastening screws at the front to hold the slide in place, then add the remaining screws while ensuring the slide doesn’t shift.
Use a screwdriver rather than a drill to avoid over-tightening and stripping the screws. If you find the slide moves during fastening, pause and realign before continuing. Have you noticed how a loose screw can make your drawer feel unstable? Secure fastening is key for durability and smooth function.
Assemble Drawer And Test Fit
Assembling your sliding kitchen drawer and testing its fit is a key moment in your project. It’s where all your previous efforts come together, and you get to see if everything functions as planned. Taking time here saves you from future frustrations with sticking or misaligned drawers.
Sliding Drawer In And Out
Start by carefully sliding the drawer into the rails. You want to feel a smooth glide without forcing it. If it feels tight or catches, stop and check the alignment.
Pay attention to whether the drawer sits evenly on both sides. Uneven placement can cause unnecessary wear on the slides. Test the drawer fully in and fully out several times to spot any inconsistencies.
Adjusting For Smooth Operation
If the drawer doesn’t move smoothly, small adjustments can make a big difference. Loosen the screws on the slides slightly, then nudge the drawer left or right until it glides perfectly.
Check that the drawer front is flush with the cabinet face. If not, adjust the mounting brackets or the drawer box itself. Even a millimeter off can create drag or cause the drawer to not close properly.
Have you ever thought about how a simple tweak in alignment can turn a frustrating drawer into a joy to use? This hands-on adjustment is where you make the drawer truly yours. Don’t rush it—take your time to find the sweet spot for smooth, quiet operation.
Troubleshoot Common Issues
Troubleshooting common problems during sliding kitchen drawer installation saves time and frustration. Simple fixes often restore smooth drawer movement. Identifying the cause quickly helps maintain kitchen function and appearance. Here are two frequent issues and ways to solve them.
Drawer Sticking Or Jamming
Sticky or jammed drawers usually result from dirt, damage, or poor alignment. Clean the drawer slides and tracks thoroughly with a damp cloth. Remove dust, crumbs, and grease buildup. Check for bent or broken parts that block drawer movement.
Lubricate the metal slides using a silicone-based lubricant for smoother action. Avoid oil-based lubricants as they attract dirt. Test the drawer by opening and closing it several times to ensure it slides easily.
Misalignment Fixes
Misaligned drawers often cause uneven gaps and hinder smooth sliding. First, check if the drawer is seated correctly on the tracks. Loosen screws slightly to adjust the drawer’s position.
Use a level to ensure the drawer is straight both horizontally and vertically. Tighten screws once aligned properly. Inspect the slides on both sides for equal height and placement. Adjust as needed for perfect alignment.
:strip_icc()/bhg-kitchen-drawer-slides_8pmLpaOPqRL84F5AQsbK3g-c0889a5c5ff04b5eafdc8bcd9018236c.jpg)
Credit: www.bhg.com
Maintain Sliding Drawers
Maintaining your sliding kitchen drawers is key to keeping them working smoothly and extending their lifespan. Regular care prevents common issues like sticking or squeaking, saving you time and frustration later. Let's look at simple ways you can care for your drawers to keep them sliding effortlessly every day.
Cleaning Tips
Dust and dirt can build up inside the drawer tracks, causing them to jam or slow down. Take a few minutes each month to remove the drawer and wipe down the tracks with a dry cloth. If you notice sticky residue, use a mild soap solution and a soft cloth to clean the rails gently, then dry thoroughly.
Check for crumbs or small debris inside the drawer itself that may fall into the tracks when you open and close it. Avoid using harsh chemicals or abrasive materials, as these can damage the metal or plastic parts. Keeping the tracks clean prevents unnecessary wear and ensures your drawers glide smoothly.
Lubrication Recommendations
Proper lubrication is crucial for smooth sliding action. Choose a lubricant designed specifically for drawer slides, such as silicone spray or a light machine oil. Avoid heavy greases, which can attract dust and grime, making the problem worse.
Apply lubricant sparingly along the tracks and the moving parts of the drawer slides. Open and close the drawer several times to work the lubricant evenly through the mechanism. If you hear squeaking or feel resistance, it’s a sign more lubrication is needed.
How often you lubricate depends on usage and environment. In a busy kitchen, every 3 to 6 months is usually enough. Regular maintenance not only keeps your drawers working well but also helps you avoid costly repairs or replacements.
Frequently Asked Questions
What Tools Are Needed To Install A Sliding Kitchen Drawer?
You need a drill, screwdriver, measuring tape, level, pencil, and mounting hardware. These tools ensure precise and secure installation.
How Do I Measure For A Sliding Kitchen Drawer?
Measure the drawer width, depth, and height. Also, check the cabinet opening to ensure a proper fit.
Can I Install Sliding Drawers Without Professional Help?
Yes, many sliding drawers come with easy-to-follow instructions. Basic DIY skills and proper tools make installation manageable.
How To Maintain Sliding Kitchen Drawers For Smooth Operation?
Clean tracks regularly, avoid overloading drawers, and lubricate slides with silicone spray to maintain smooth sliding action.
Conclusion
Installing a sliding kitchen drawer is easier than it seems. Follow each step carefully and take your time. Measure twice, drill once. Use the right tools for a smooth fit. A well-installed drawer saves space and adds convenience. Enjoy a kitchen that works better for you.
Keep practicing, and your skills will improve. Small changes can make a big difference in your home. Ready to organize your kitchen? Start installing today!