
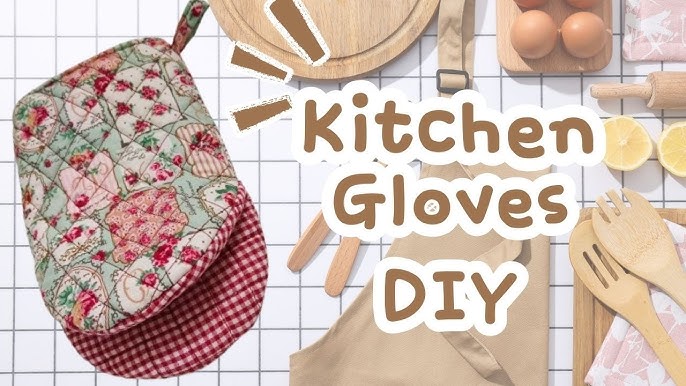
Have you ever struggled to find the perfect kitchen gloves that fit just right and protect your hands while cooking? What if you could make your own gloves tailored exactly to your needs?
Making kitchen gloves yourself is easier than you think, and it gives you control over comfort, style, and safety. In this guide, you’ll discover simple steps to create gloves that keep your hands safe from heat and mess, while adding a personal touch to your kitchen routine.
Ready to learn how to make kitchen gloves that work perfectly for you? Let’s get started!
Materials Needed
Gathering the right materials is the first step in making kitchen gloves that are both functional and comfortable. The quality of your final product depends heavily on what you choose to work with. Let’s look at what you’ll need to create gloves that protect your hands and stand up to heat and wear.
Choosing The Right Fabric
Opt for fabrics that resist heat and are durable. Thick cotton or canvas works well because they are breathable yet sturdy enough to protect from hot surfaces. Consider adding a layer of heat-resistant material like silicone or neoprene for extra safety.
Think about the glove’s purpose: will you mostly use it for handling hot pots or for cleaning? Each use might need a different fabric choice. Have you tried mixing fabrics to balance comfort and protection?
Essential Tools
- Sewing machine:Speeds up stitching and ensures strong seams.
- Scissors:Sharp enough to cut through thick fabric layers cleanly.
- Measuring tape:For accurate sizing to fit your hands perfectly.
- Pins or clips:To hold fabric pieces together while sewing.
- Heat-resistant batting or padding:Adds an insulating layer inside the glove.
Having the right tools makes the process smoother and your gloves last longer. Do you already have some of these tools at home, or will you need to invest in them?
Optional Add-ons
Adding extra features can make your gloves more practical and personalized. You might sew on a loop for hanging or add a non-slip grip using silicone paint or textured fabric patches. Some choose to line their gloves with fleece for extra softness.
Think about how you use kitchen gloves daily—what little enhancements would make your cooking or baking easier? These small touches can transform a simple glove into your favorite kitchen tool.
Preparing The Pattern
Preparing the pattern is a crucial part of making kitchen gloves that fit well and feel comfortable. It sets the foundation for your entire project, ensuring your gloves match your hand’s unique shape. Taking time here saves you from frustration later when the gloves don’t fit right or feel awkward.
Measuring Your Hand
Start by measuring your hand carefully. Use a flexible tape measure or a piece of string to capture the circumference around your palm, just below the knuckles. Don’t forget to measure from the tip of your middle finger to your wrist to get the glove’s length.
Write down these numbers clearly. You can also measure the width of your palm and the length of each finger if you want a more tailored fit. These measurements help create a pattern that fits snugly without being too tight or too loose.
Creating A Template
Once you have your measurements, draft a basic glove shape on paper or cardboard. Trace your hand with fingers slightly spread apart to avoid a cramped fit. Add about half an inch around the outline for seam allowance—this extra space is essential for stitching.
Keep the template simple but accurate. You can cut it out and place it on your fabric to check the size. Adjust the shape if it feels off or if any finger looks too narrow or wide.
Adjusting For Comfort
Think about how you will use the gloves. Will you need extra padding on the palms? Should the fingers be longer to accommodate movement? Add small adjustments to your pattern to increase flexibility and comfort.
Try making a test glove from an old fabric or scrap material. Wear it around the house and notice if any areas pinch or feel too loose. Use this trial to tweak your pattern until the fit feels just right for your hand.
Cutting The Fabric
Cutting the fabric is a crucial step in making kitchen gloves. It sets the foundation for a perfect fit and durability. If your fabric pieces aren’t cut accurately, the gloves might end up too tight, too loose, or uncomfortable to use.
Transferring The Pattern
Start by placing your paper pattern on the fabric. Use pins or pattern weights to hold it steady. Trace around the edges with a fabric marker or tailor’s chalk to mark the cutting lines clearly.
Make sure to include seam allowances if your pattern doesn’t already have them. I learned the hard way that skipping this step can make the gloves too small. Do you want to risk your glove shrinking before you even sew?
Cutting Techniques
Use sharp fabric scissors for clean cuts. Dull scissors can snag or fray the fabric, ruining the edges. Cut slowly and steadily, following the traced lines precisely.
If you’re cutting multiple layers, pin them together carefully to prevent shifting. I find it helpful to cut one glove piece at a time when working with slippery fabrics to avoid mistakes. How much time could you save by cutting carefully the first time?
Ensuring Accuracy
Double-check your cut pieces against the pattern before moving on. Lay them out side by side and compare shapes and sizes. Small differences might seem harmless but can cause uneven seams or discomfort.
Keep your workspace well-lit and free of distractions to maintain focus. Even small inaccuracies can lead to frustration later. What’s your strategy to stay precise during cutting tasks?

Credit: www.amazon.in
Sewing The Pieces
Carefully join fabric pieces to shape the kitchen gloves. Sew edges with strong stitches for durability and a neat finish. Ensure all layers are aligned before stitching to avoid gaps.
Sewing the pieces together is a crucial step in making kitchen gloves. This stage requires attention to detail and patience. Proper sewing ensures durability and functionality.
Stitch Types For Durability
Choose strong stitches for long-lasting kitchen gloves. Consider using a straight stitch for a clean finish. A zigzag stitch can add flexibility and strength. Both stitches work well on thick fabrics like cotton or denim.
Joining Fabric Sections
Align the fabric pieces carefully. Make sure the thumb pieces align perfectly with the palm sections. Pin the fabric to hold it in place. Sew along the edges using your chosen stitch. Keep the seam allowance consistent for a neat look.
Adding Reinforcements
Reinforce stress points for added durability. Focus on the thumb and finger areas. Use extra stitching or patching for these sections. Reinforcements prevent wear and tear over time. Your gloves will last longer and perform better.
Adding Protective Layers
Adding protective layers to your kitchen gloves is key to enhancing their safety and durability. These layers serve as barriers against heat, moisture, and sharp objects, making your gloves more reliable. Let’s break down how you can effectively add these layers to improve your glove’s performance.
Inserting Padding
Padding cushions your hands and absorbs impact, which is vital when handling hot pots or heavy cookware. Use materials like foam or thick felt between the inner and outer fabric layers. You can cut padding pieces to fit the glove shape and sew them securely in place.
Think about how a chef’s glove feels when you wear it—does it provide enough comfort and protection? If not, adding extra padding can make a huge difference in both safety and comfort.
Heat-resistant Materials
Heat resistance is crucial for kitchen gloves. Materials such as silicone, Kevlar, or aluminized fabric can block intense heat. You can add a layer of these materials on the outer side or sandwich them between other fabric layers.
Have you ever touched a hot pan and felt your glove wasn’t enough? Adding heat-resistant layers can prevent burns and let you handle hot dishes with confidence.
Waterproofing Tips
Wet gloves lose their protective power and become uncomfortable fast. Adding a waterproof layer helps keep your hands dry while cooking or washing dishes. Use materials like laminated fabric or apply a waterproof spray on your glove’s outer layer.
Make sure the waterproof layer doesn’t reduce breathability too much, or your hands may sweat excessively. Balancing protection and comfort is the secret to perfect kitchen gloves.
Finishing Touches
Finishing touches can make all the difference in your homemade kitchen gloves. They not only improve the fit and comfort but also add a professional look. Paying attention to these details ensures your gloves are both functional and stylish.
Trimming Excess Fabric
After sewing, check for any extra fabric around the edges. Trimming these carefully prevents bulkiness and helps your gloves fit snugly. Use sharp scissors to cut close to the seam without damaging your stitches.
Keep the cuts clean and even; uneven edges can fray quickly and reduce glove durability. Have you noticed how small fabric scraps can make the final product look messy? Taking time here saves you from future repairs.
Adding Elastic Or Straps
Elastic bands or straps keep your gloves securely in place during use. Measure your wrist and cut the elastic accordingly, then sew it into the glove's opening for a comfortable fit. If you prefer, Velcro straps offer adjustable tightness and easy removal.
Think about how you use your gloves—do you need a tighter fit or quick removal? Adding these features improves functionality and prevents slipping when handling hot pots or sharp knives.
Decorative Options
Decorations can personalize your gloves and brighten up your kitchen routine. Consider sewing on simple buttons, patches, or using fabric paint for designs. You could also add contrasting stitching along the edges to make the gloves stand out.
Have you tried adding a small pocket for a spoon or towel? These creative touches don’t just look good—they make your gloves more practical. Let your style shine through while keeping your hands protected.
Care And Maintenance
Proper care and maintenance keep your kitchen gloves safe and long-lasting. Clean gloves perform better and protect your hands from heat and dirt. Follow simple steps to wash, store, and know when to replace your gloves.
Washing Instructions
Rinse kitchen gloves with warm water after each use. Use mild soap or detergent to remove stains and grease. Avoid bleach or harsh chemicals that can damage the material. Gently scrub with a soft brush or cloth. Rinse thoroughly and air dry completely before storing. Do not use a dryer or direct sunlight to dry gloves.
Storage Tips
Store gloves in a cool, dry place away from heat and sunlight. Avoid folding or crushing gloves to prevent damage. Hang them or keep them flat in a drawer. Keep gloves away from sharp objects that can cause tears. Use a breathable bag or container to avoid moisture buildup.
When To Replace
Replace kitchen gloves if you see holes, cracks, or thinning areas. If gloves lose flexibility or become stiff, it is time for new ones. Gloves that smell bad after cleaning need replacement. Regularly check gloves for signs of wear to protect your hands. Using worn gloves can cause burns or injuries.
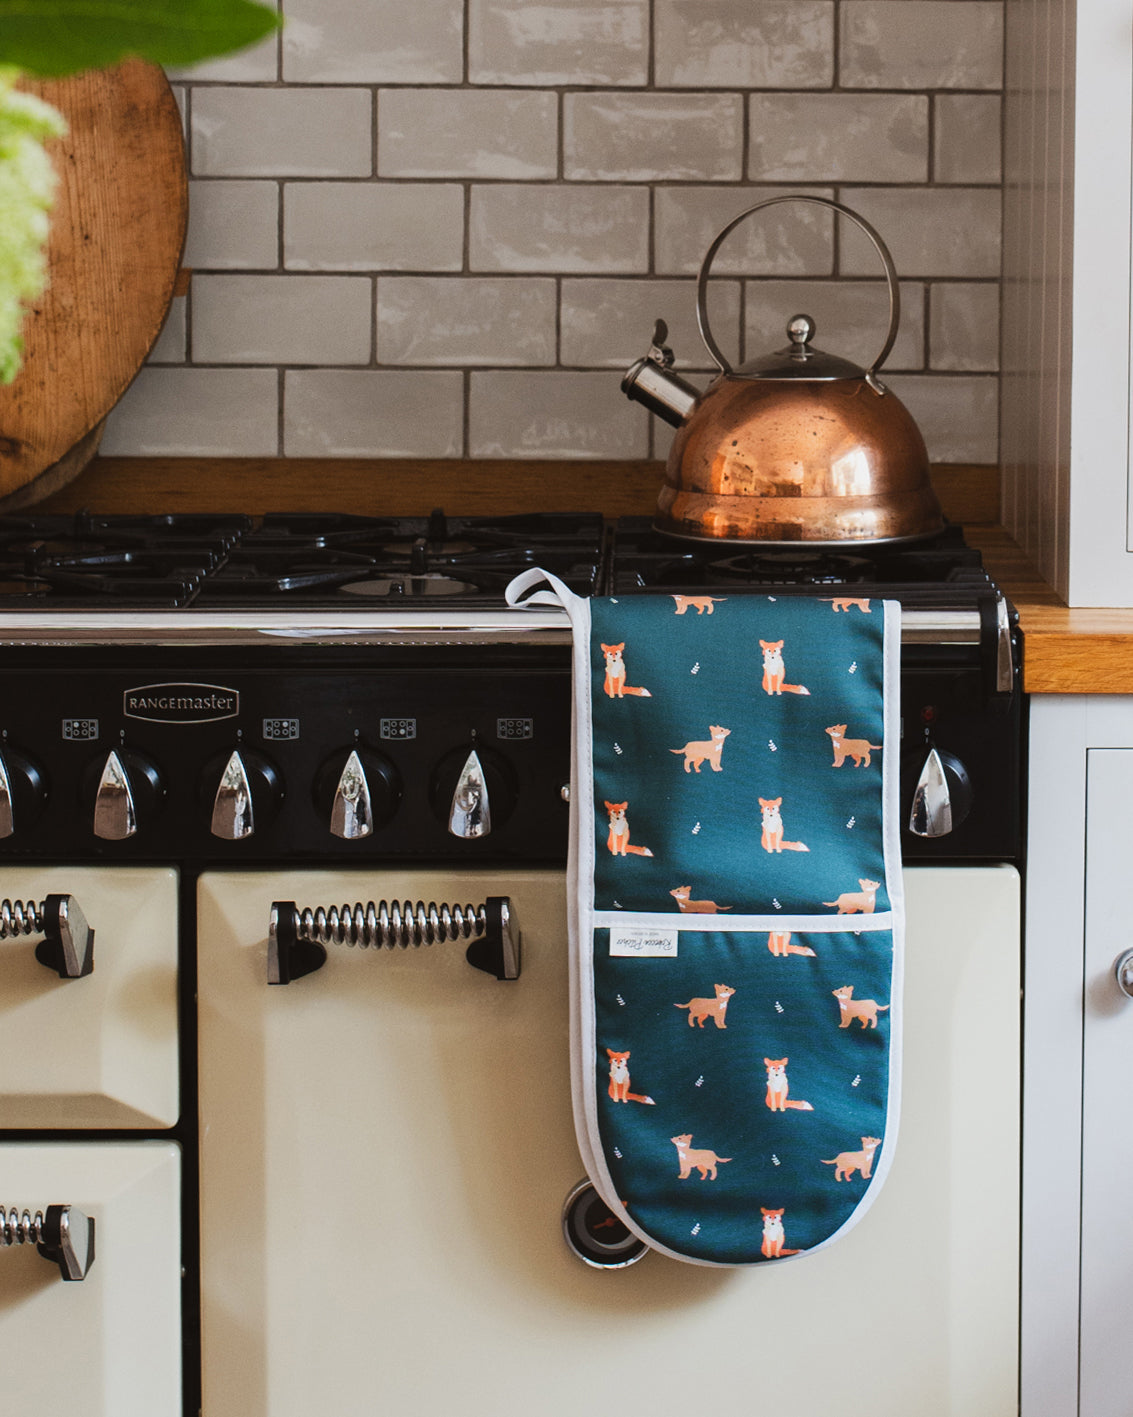
Credit: www.rebeccapitcher.co.uk

Credit: www.youtube.com
Frequently Asked Questions
What Materials Are Best For Making Kitchen Gloves?
The best materials for kitchen gloves are heat-resistant fabrics like silicone, neoprene, or cotton with heatproof lining. These materials provide safety and comfort while handling hot items. They also offer flexibility and durability, essential for kitchen tasks.
How Do I Sew Kitchen Gloves At Home?
To sew kitchen gloves, use heat-resistant fabric and follow a glove pattern. Cut two pieces per glove, sew edges inside out, and turn them right side out. Add extra padding or lining for heat protection. Finish with a secure stitch around the edges.
Can Kitchen Gloves Protect Against Heat And Cuts?
Yes, kitchen gloves can protect against heat and minor cuts if made with proper materials. Silicone and neoprene resist heat, while reinforced fabrics help prevent cuts. Always choose gloves designed specifically for kitchen safety to ensure maximum protection.
How To Clean And Maintain Homemade Kitchen Gloves?
Clean homemade kitchen gloves by hand washing with mild soap and warm water. Avoid harsh chemicals or machine washing, which can damage materials. Let gloves air dry completely before storing. Regular cleaning keeps gloves hygienic and extends their lifespan.
Conclusion
Making your own kitchen gloves is simple and fun. You only need a few materials and some patience. Homemade gloves fit well and protect your hands from heat. You can choose colors and designs you like. This project saves money and adds a personal touch to your kitchen.
Try making gloves today and enjoy cooking safely and comfortably. Small steps like this make your kitchen time better. Give it a go!