
Have you ever tossed kitchen scraps into the trash, not realizing they could grow into fresh, new plants? Imagine turning your everyday food waste into a mini garden right on your windowsill.
You don’t need a green thumb or a big backyard to start regrowing vegetables and herbs from scraps you already have. You’ll discover simple, step-by-step ways to bring life back to your kitchen leftovers. Ready to save money, reduce waste, and enjoy homegrown freshness?
Keep reading to learn how easy it is to regrow kitchen scraps and transform your cooking routine.
Credit: www.gardenary.com
Choosing The Right Scraps
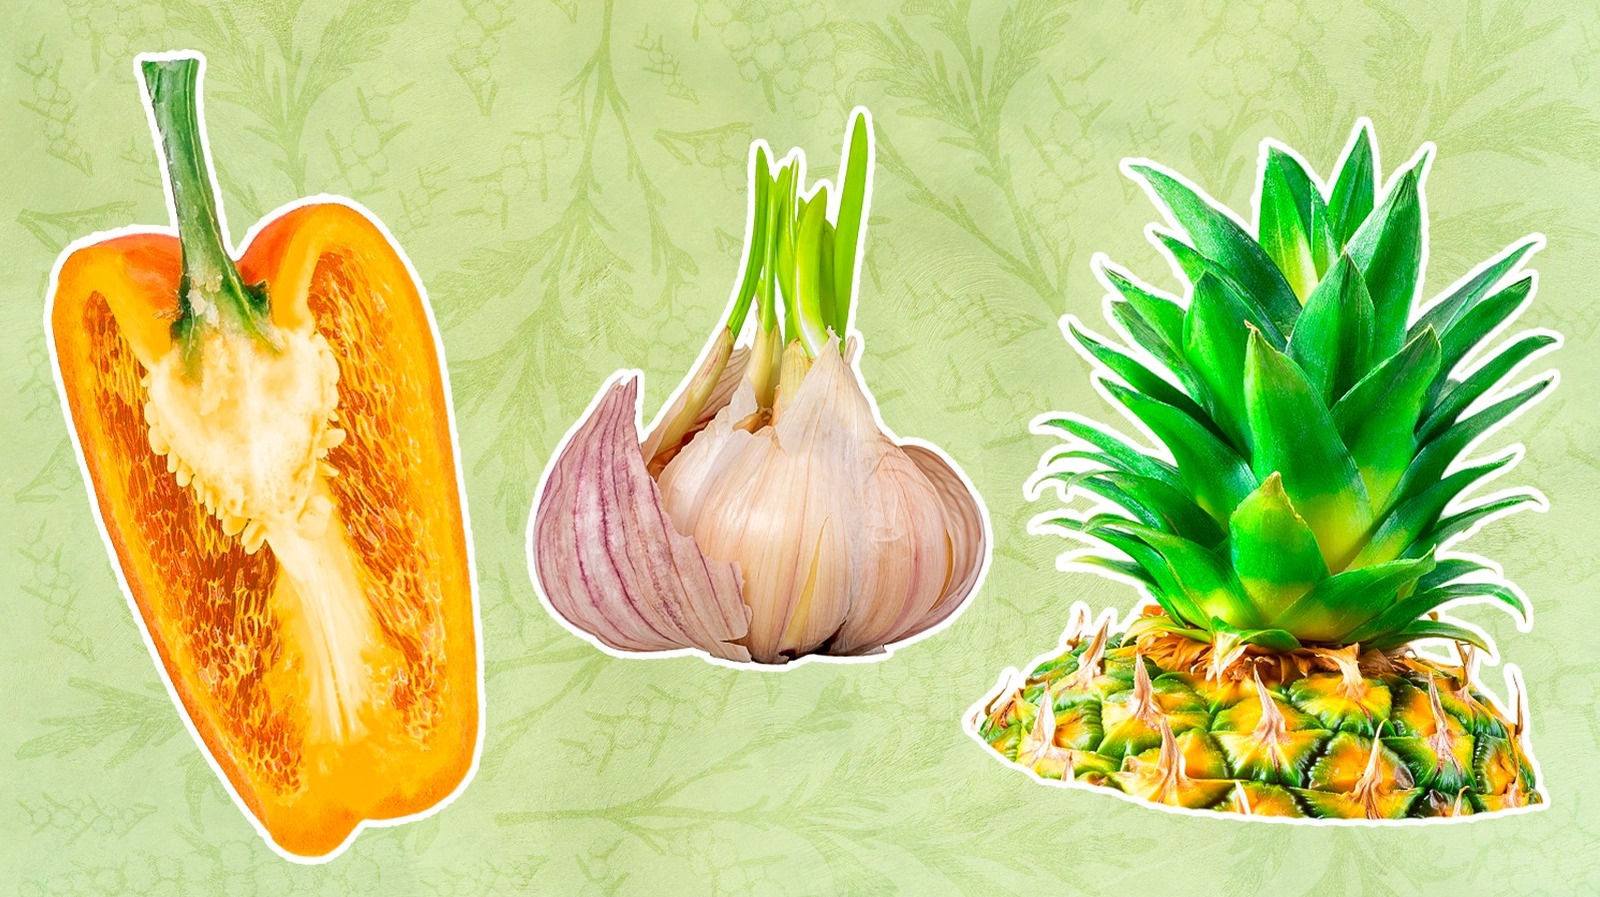
Choosing the right kitchen scraps is the foundation of successful regrowth. Not all scraps will sprout new plants, so knowing which ones to keep can save you time and effort. Picking scraps that regenerate quickly and easily can turn your kitchen waste into a fresh supply of veggies.
Best Vegetables For Regrowth
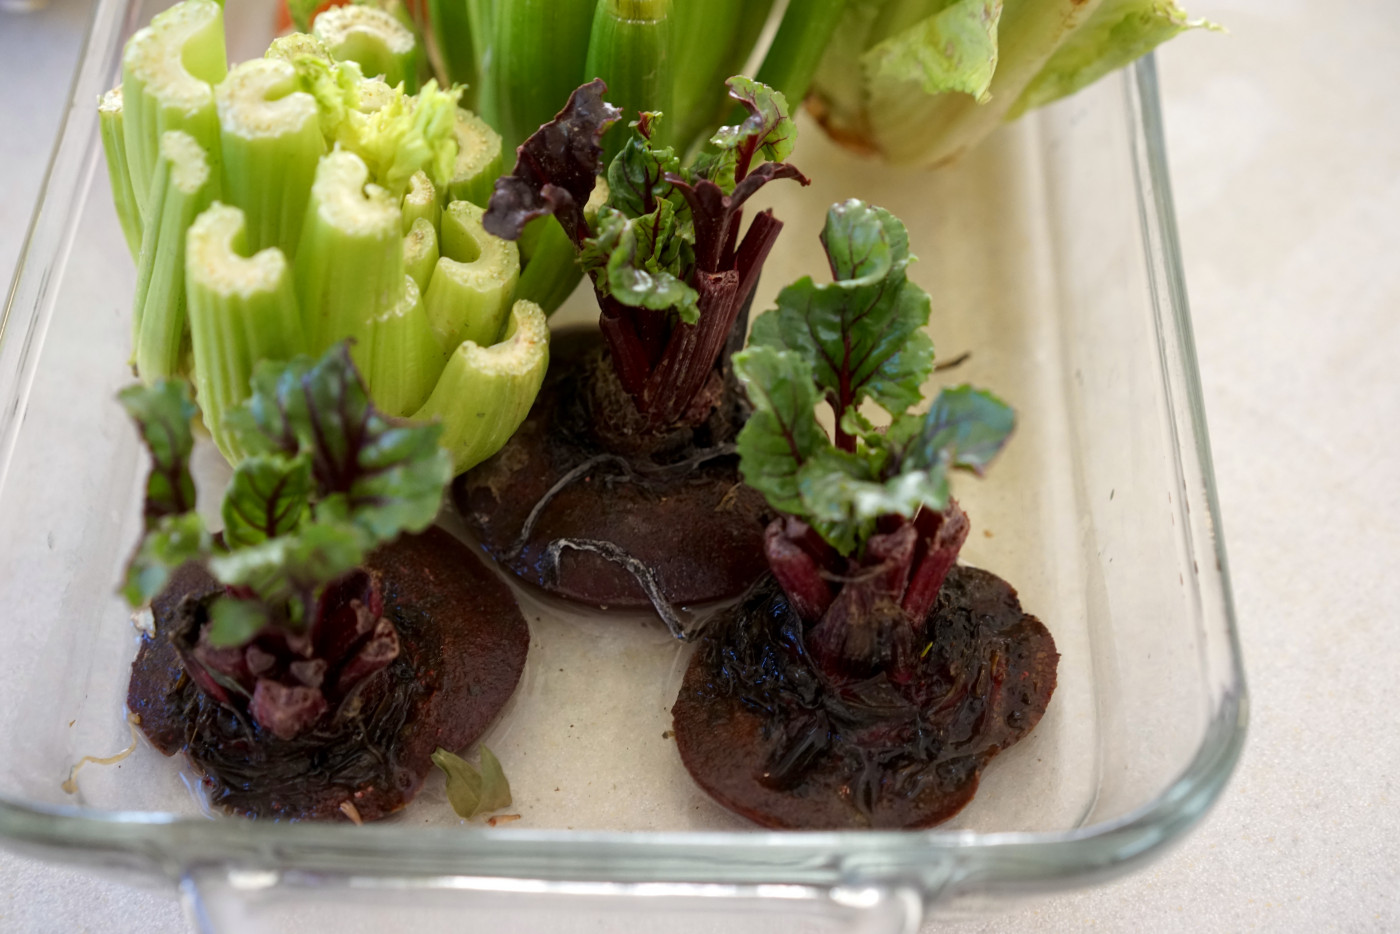
Some vegetables regrow better than others, especially those with sturdy bases or bulbs. Green onions are a favorite—they bounce back from just the white root ends in water within days. Lettuce and celery also regrow well when you place their bases in shallow water.
Here’s a quick list of top regrowers you can try right away:
- Green onions
- Lettuce
- Celery
- Garlic (cloves sprout new shoots)
- Leeks
- Bok choy
- Carrot tops (for greens, not new carrots)
These scraps often produce edible greens in just a week or two. Have you noticed how your green onions keep growing even after cutting them? That’s the kind of regrowth you want to encourage.
Avoiding Non-regrowable Scraps
Not every scrap is worth saving. Some vegetables don’t regrow well or at all once cut. For example, root vegetables like potatoes and sweet potatoes need specific conditions and more time, so they’re tricky to start from scraps.
Also, avoid scraps from vegetables like cucumbers or tomatoes, as their cut ends usually won’t sprout new plants in water or soil. Throwing these scraps into your compost bin is often a better option.
Identifying scraps that won’t regrow helps you focus on what works, saving you frustration. What’s the point in waiting weeks for a plant that won’t grow back?
Preparing Scraps For Planting
Preparing kitchen scraps for planting is the first step in regrowing your own vegetables at home. Proper preparation helps scraps grow healthy roots and shoots quickly. Clean scraps reduce the risk of mold or rot. Trimming encourages new growth and removes damaged parts.
Cleaning And Trimming
Rinse scraps gently under cool water to remove dirt and bacteria. Avoid scrubbing too hard to protect delicate parts. Pat dry with a clean towel or paper towel. Cut away any brown, soft, or moldy sections. Trim leaves and stems to about 2-3 inches. Remove excess outer layers if they look dry or tough.
Using Water Or Soil Methods
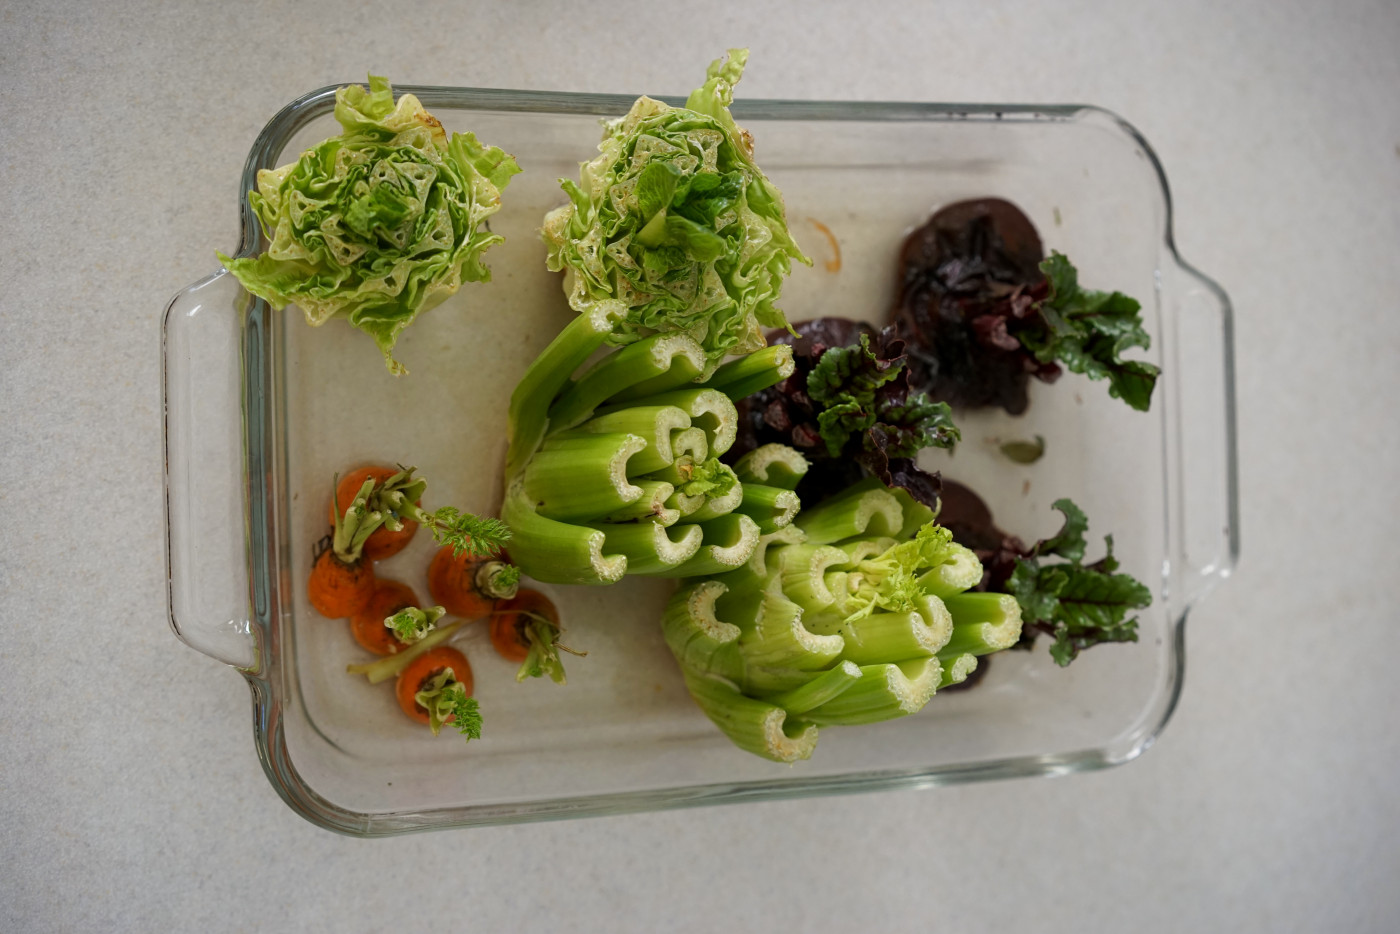
Choose water or soil to regrow scraps depending on the plant type. Water method works well for green onions, celery, and lettuce bases. Place the trimmed scrap in a shallow container with water. Change water every 2-3 days to prevent bacteria. Soil method suits root vegetables and herbs better. Plant trimmed scraps into small pots filled with moist potting soil. Keep soil damp but not soaked. Put pots in a sunny window for best growth.
Setting Up Your Regrowth Station
Setting up a regrowth station turns kitchen scraps into fresh plants. This simple space helps you save money and reduce waste. It fits easily on a windowsill or countertop. The right setup boosts plant growth and keeps your kitchen tidy.
Choosing Containers
Select containers that hold water well and support the scraps. Glass jars and small bowls work great. Clear containers help you watch root growth. Use shallow dishes for scraps like green onions. Deeper containers suit celery and leeks. Make sure containers are clean to avoid mold. Drainage holes are not needed for water regrowth.
Light And Temperature Needs
Place your regrowth station near a bright window. Most scraps grow best with indirect sunlight. Avoid direct sun that can dry the scraps. Keep the temperature between 65 and 75 degrees Fahrenheit. Too cold slows growth. Too hot can damage the plants. Keep the area draft-free and stable for best results.

Credit: www.everydaycheapskate.com
Watering And Care Tips
Keep kitchen scraps moist but not soaked to prevent rotting. Place them in indirect sunlight and change water regularly for healthy growth.
Watering and taking care of your regrowing kitchen scraps is crucial to ensure their healthy growth. With the right techniques, you can transform a simple kitchen leftover into a thriving plant. Below, you'll find some essential tips to help you nurture these green wonders.
Maintaining Moisture Levels
Ensuring your kitchen scraps have the right amount of water is vital. Too much water can drown them, while too little can dry them out. Use a spray bottle to mist the scraps daily, keeping the soil or water they are in consistently moist but not soggy. Check the moisture level by gently touching the soil or water. If it feels dry, add a bit more water. Remember, different scraps may have different water needs, so observe and adjust accordingly.
Preventing Mold And Rot
Mold and rot can quickly ruin your regrowing efforts. Avoid this by ensuring good air circulation around the scraps. Place them in a well-ventilated area and avoid overcrowding. Change the water regularly if your scraps are in a jar or glass. Stagnant water can become a breeding ground for mold. Trim off any parts of the scrap that look slimy or unhealthy, and don't hesitate to start over if mold becomes an issue. By giving your kitchen scraps the attention they need, you can watch them thrive and grow. What new plant will you try regrowing next?
Harvesting Fresh Greens
Harvesting fresh greens from your regrown kitchen scraps is both rewarding and practical. It allows you to enjoy crisp, nutritious leaves while giving your plants a chance to produce more. Knowing the right time and technique to harvest can make all the difference in maintaining a healthy, thriving mini garden on your windowsill or countertop.
When To Harvest
Look for leaves that are bright green and firm. Avoid harvesting when leaves start to yellow or wilt, as this indicates the plant is past its peak. Typically, you can begin harvesting once the plant reaches about 4 to 6 inches tall.
Cut the leaves carefully with scissors or your fingers, taking only what you need. This helps the plant keep growing without stressing it. Have you noticed how harvesting just the outer leaves lets the inner ones keep growing?
Encouraging Continuous Growth
After harvesting, make sure to give your greens plenty of sunlight—at least 4 to 6 hours a day. Fresh water is essential too; change it regularly if you’re regrowing in water.
Try trimming the leaves above a new set of growth points to stimulate more leaves. This simple action keeps your greens producing longer. Have you experimented with pinching or pruning your regrown greens to see how they respond?
Credit: www.gardenary.com
Troubleshooting Common Issues
Troubleshooting is a key part of regrowing kitchen scraps. Problems happen even with the best care. Knowing how to fix common issues helps plants grow strong and healthy. Watch your plants daily. Early action prevents bigger problems. Use simple solutions for common challenges. Keep patience and try different approaches if needed.
Dealing With Pests
Pests can harm your regrowing scraps quickly. Small insects like aphids or spider mites are common. Check leaves and stems for tiny bugs or sticky residue. Remove pests by gently washing plants with water. Use a mild soap solution if needed:
- Mix one teaspoon of mild liquid soap with one quart of water.
- Spray the affected parts carefully.
- Rinse after a few hours to avoid soap buildup.
Introduce natural predators like ladybugs if possible. Keep plants clean and remove dead leaves. Avoid using harsh chemicals to keep kitchen scraps safe for eating.
Reviving Wilting Plants
Wilting means plants need immediate care. It often shows from too little water or poor light. Check soil moisture by touching it. Dry soil needs watering but avoid overwatering.
Place plants where they get enough sunlight. Too much direct sun can also cause wilting. Move plants to indirect light if leaves look sunburned.
Trim damaged or yellow leaves to help plants focus on healthy growth. Use a balanced liquid fertilizer to boost energy. Watch for root problems if wilting continues. Repot in fresh soil if roots look crowded or dark.
Creative Uses For Regrown Greens
Regrown kitchen scraps offer more than just fresh greens. They bring new life to your cooking and home decor. Using these greens creatively makes your kitchen more sustainable and fun. Here are some ideas to enjoy your regrown plants beyond the garden.
Recipes And Meal Ideas
Regrown greens add fresh flavor to many dishes. Use them in salads for a crisp bite. Toss them into soups and stews for a nutrient boost. Chop regrown herbs and sprinkle on pasta or pizza. Blend them into smoothies for extra vitamins.
- Make a simple salad with regrown lettuce and tomatoes.
- Add green onion tops to scrambled eggs or omelets.
- Use basil leaves in homemade pesto sauce.
- Mix regrown spinach into stir-fries or rice dishes.
These ideas save money and reduce food waste. Plus, they make meals tastier and healthier.
Decor And Gifts
Regrown greens brighten up any space. Place small pots on windowsills or kitchen counters. They add natural color and fresh scents indoors. Use regrown herbs in handmade gift baskets for friends. Wrap a pot of fresh rosemary or mint as a thoughtful present.
- Create centerpieces with regrown lettuce or kale leaves.
- Use green onion stalks as natural plant markers in pots.
- Decorate jars with sprigs of fresh thyme or oregano.
- Give regrown plants as eco-friendly housewarming gifts.
These simple touches bring warmth and personality to homes. They show care for the environment and loved ones.
Frequently Asked Questions
How Can I Regrow Kitchen Scraps Easily At Home?
Regrow kitchen scraps by placing cut ends in water or soil. Use scraps like green onions, celery, or lettuce. Change water regularly and provide sunlight. Within days, new shoots or roots will appear for planting or cooking reuse.
Which Kitchen Scraps Are Best For Regrowing?
Green onions, celery, lettuce, garlic, and potatoes are ideal. These scraps regrow quickly with minimal effort. They require water and sunlight to sprout roots and shoots. Easily grown indoors or outdoors, they save money and reduce waste.
How Long Does It Take For Scraps To Regrow?
Most kitchen scraps regrow within 7 to 14 days. Green onions and lettuce show new growth fastest. Root development may vary depending on the vegetable type and conditions. Regular watering and sunlight speed up the process.
Can I Regrow Scraps Without Soil?
Yes, many scraps regrow in water alone. Green onions and celery thrive in water. Change water every few days to prevent rot. Once roots form, transfer to soil for better growth and nutrient access.
Conclusion
Regrowing kitchen scraps saves money and reduces waste. It also brings fresh greens right to your home. Small efforts can grow into big results over time. Try starting with easy scraps like green onions or lettuce. Watching plants grow from scraps feels rewarding and fun.
Keep learning and experimenting with different vegetables. Gardening at home connects you to nature every day. Start small, stay patient, and enjoy the process. Your kitchen scraps have more life than you think.