
Are you struggling to remove your kitchen ceiling light cover without causing damage? You’re not alone.
Many people find this simple task frustrating and confusing. But don’t worry—removing your kitchen ceiling light cover can be quick and easy when you know the right steps. You’ll discover clear, step-by-step instructions that anyone can follow. By the end, you’ll have the confidence to tackle this job yourself and get your kitchen lighting ready for cleaning, repairs, or upgrades.
Keep reading to learn how to do it safely and effortlessly.

Credit: www.familyhandyman.com
Tools Needed
Removing a kitchen ceiling light cover requires just a few simple tools. Having the right tools on hand makes the task easier and safer. You do not need many items, but each plays a key role.
These tools help you reach the light fixture and handle it carefully. Some light covers screw off, while others snap in place. Using the correct tools prevents damage to the cover or ceiling.
Flathead Screwdriver
A flathead screwdriver helps to gently pry off snap-in covers. It fits into small gaps between the cover and ceiling. Use it carefully to avoid scratching the surface.
Ladder Or Step Stool
A sturdy ladder or step stool helps you reach the ceiling safely. Choose one tall enough to give you good access without stretching. Always place it on a flat surface for balance.
Gloves
Gloves protect your hands from sharp edges or dirt. They also improve your grip when handling smooth or slippery covers. Choose lightweight gloves for better control.
Soft Cloth Or Towel
A soft cloth cushions the cover during removal. Use it to hold the glass or plastic cover securely. It also prevents fingerprints and smudges on the cover’s surface.
Safety Precautions
Before you start removing your kitchen ceiling light cover, safety should be your top priority. Handling electrical fixtures can be risky if you don’t take the right precautions. Taking a moment to prepare can save you from potential shocks, injuries, or damage to your light fixture.
Turn Off The Power
Always switch off the power at the circuit breaker before touching the light fixture. Simply flipping the wall switch might not be enough because some fixtures are wired to multiple switches. Confirm the power is off by trying to turn the light on after switching off the breaker.
Use A Sturdy Ladder
Choose a stable ladder that allows you to reach the light comfortably without stretching. Avoid standing on chairs or unstable surfaces. A solid ladder reduces the risk of falls and helps you keep your hands free for handling the light cover.
Wear Safety Gear
Protect your eyes with safety glasses to guard against dust or debris that may fall when removing the cover. Wearing gloves can improve your grip and prevent cuts from sharp edges. These simple accessories often get overlooked but add an important layer of safety.
Handle Glass Covers Carefully
Many kitchen ceiling light covers are made of glass and can break easily. Support the cover with both hands as you remove it to avoid dropping. If the cover feels stuck, avoid forcing it; instead, check for hidden clips or screws.
Keep Your Workspace Clear
Clear the area around you to prevent tripping or knocking over objects while working. Place tools within easy reach but away from your immediate workspace. A tidy area helps you focus and reduces accidents.
Have you ever underestimated the importance of turning off the power, only to realize it the hard way? Taking these safety steps seriously changes the entire experience and keeps your kitchen project stress-free and safe.
Preparing The Area
Preparing the area before removing your kitchen ceiling light cover is key to a smooth and safe process. Taking a few simple steps can protect your kitchen and make the task easier. Have you ever started a project only to realize halfway that you forgot to clear the space or turn off the power? Avoid that hassle by setting up properly first.
Clear The Surrounding Space
Remove any furniture or items directly below the light fixture. This prevents accidental damage and gives you room to work comfortably. If moving large items isn’t possible, cover them with a drop cloth or old sheet to catch dust and debris.
Gather Necessary Tools And Supplies
Before you start, collect tools like a sturdy ladder, screwdriver, and gloves. Having everything within reach avoids interruptions and keeps you focused. You might also want a flashlight handy if your kitchen lighting is limited once the cover is off.
Turn Off The Power
Safety first: switch off the light at the wall and then at the circuit breaker. This step protects you from electrical shocks. Double-check by trying to turn the light on after switching off to confirm the power is completely cut.
Set Up Proper Lighting
Since the ceiling light will be off, arrange alternative lighting so you can see clearly. A portable lamp or flashlight works well. Good visibility reduces mistakes and helps you work faster.
Wear Protective Gear
Put on safety glasses and gloves to guard against falling dust or accidental scrapes. This might seem like extra effort, but it keeps you safe and comfortable. Have you ever dealt with itchy eyes or cuts from a simple task? Proper gear saves you from that.
Identifying The Light Cover Type
Removing a kitchen ceiling light cover begins with knowing its type. Different covers need different handling. Identifying the cover prevents damage and makes removal easier.
Light covers come in various shapes, sizes, and materials. Some are glass domes, others are plastic panels or metal cages. Each type has its unique way to detach from the fixture.
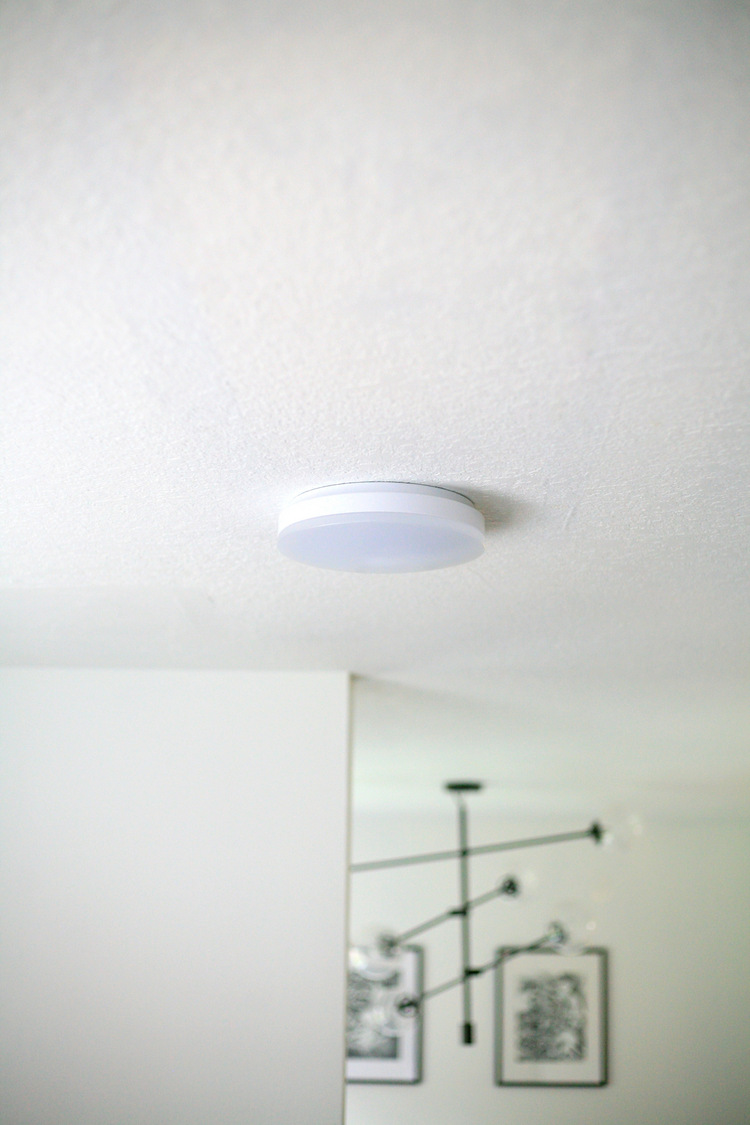
Flush Mount Light Covers
Flush mount covers sit close to the ceiling. They often have clips or screws around the edge. These covers are common in kitchens with low ceilings.
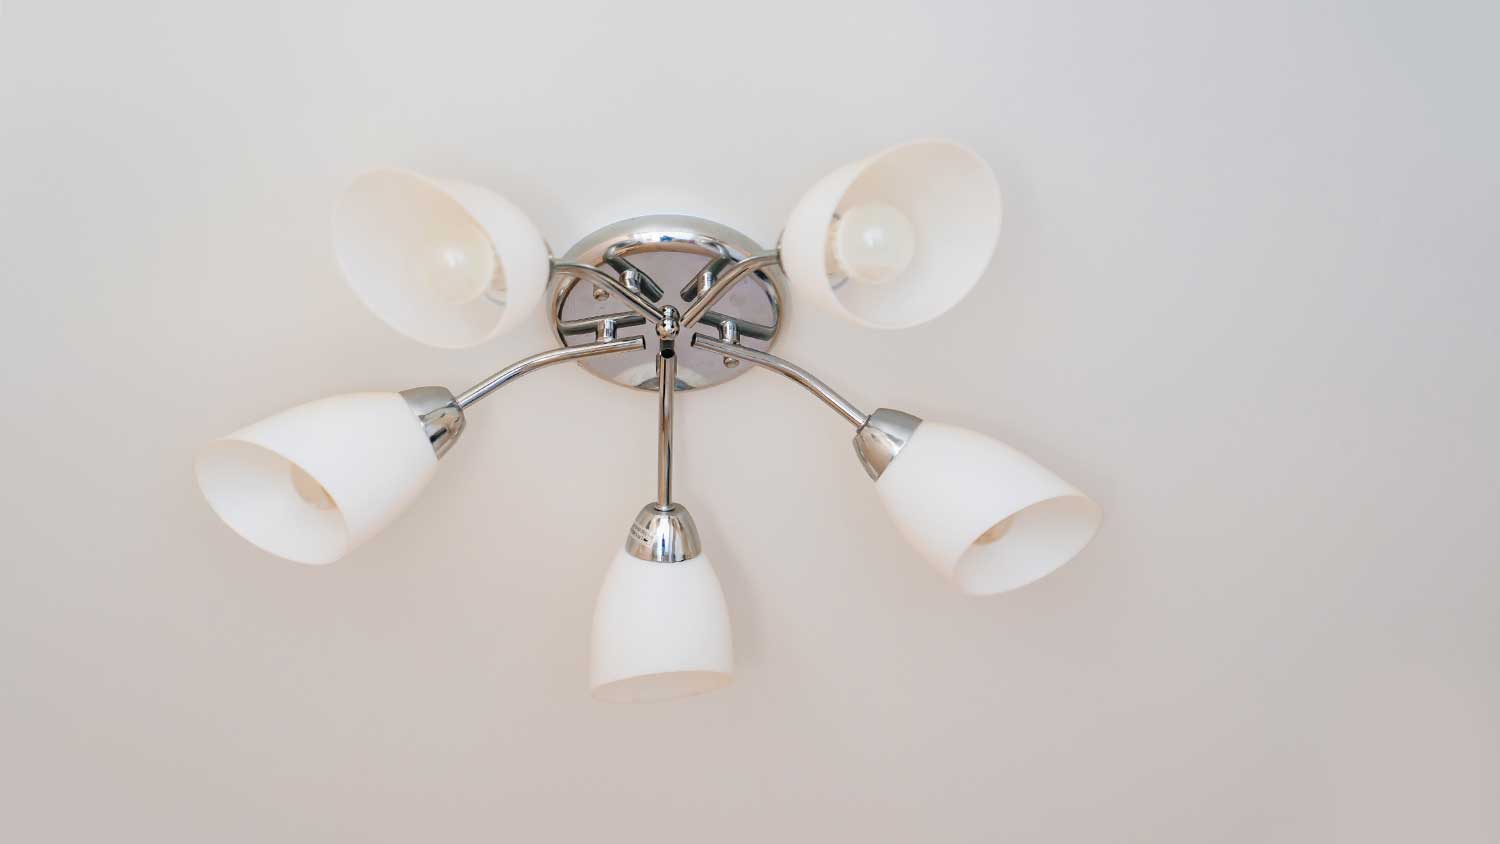
Drop Or Dome Light Covers
Drop or dome covers hang slightly below the fixture base. They usually twist or lift off. These covers are often made of glass or acrylic.
Clip-on Light Covers
Clip-on covers use small metal clips to hold them in place. Clips can be squeezed or pried gently to release the cover. This type is common in older kitchens.
Screw-on Light Covers
Screw-on covers attach with screws around the frame. A screwdriver is needed to remove these screws safely. This cover type offers a secure fit.
Magnetic Light Covers
Some modern covers use magnets to stay attached. These covers easily pull away from the fixture. Magnets allow quick removal for cleaning or bulb changes.
Removing Screws Or Clips
Remove screws or clips carefully to avoid damage. Use a screwdriver or gently press clips to release the light cover. Keep screws safe for reassembly.
Sometimes, removing a kitchen ceiling light cover can feel like an unexpected puzzle. The key is often in the screws or clips that hold it in place. Understanding how to handle these elements can make your task easier and prevent any accidental damage.
Identifying The Type Of Fastener
First, take a close look at your light fixture. Is it held in place by screws or by clips? Screws are usually visible and require a screwdriver, while clips might be hidden, holding the cover snugly in place. Careful observation will help you determine the right tools to use, reducing the risk of damaging the fixture.
Gathering The Right Tools
Once you've identified the fastener, gather your tools. A standard screwdriver set is essential if screws are involved. For clips, you might need a simple flathead screwdriver to gently pry them open. Having the correct tools on hand saves time and ensures a smooth process.
Unscrewing The Cover
For screw-secured covers, gently insert the screwdriver into the screw head. Turn it counterclockwise to loosen and remove each screw. Keep a hand under the cover to support it and prevent it from falling once the last screw is out.
Handling Clip-secured Covers
Clip-secured covers can be tricky. Gently press or pull the clips as needed, using a flathead screwdriver if necessary. Listen for the clip's release, then carefully lower the cover with both hands.
Storing Screws And Clips Safely
Once removed, store screws and clips in a small container or plastic bag. This ensures they won’t get lost during cleaning or maintenance. Being organized will make reassembling the fixture much easier.
Ensuring A Stable Work Area
Before starting, ensure your workspace is stable and well-lit. Use a sturdy ladder or step stool to reach the ceiling comfortably. Safety first; a stable work area prevents accidents and allows you to work with confidence. Have you ever tried removing a light cover and found a hidden surprise, like a long-lost screw from a previous attempt? Small challenges like these keep DIY tasks exciting and a bit unpredictable!
Credit: www.angi.com
Detaching The Light Cover
Detaching the kitchen ceiling light cover can seem tricky, but it often requires just a bit of patience and the right approach. Knowing exactly how your light cover is fixed will save you from unnecessary force and potential damage. Let’s look at how to safely and effectively remove it.
Identify The Type Of Light Cover Attachment
Before you start pulling or twisting, take a close look at how the cover is held in place. Some covers snap into a frame, while others screw on or are held by clips.
Checking this first can prevent you from breaking the glass or plastic cover. Have you noticed small screws or visible clips around the edge? Those are your clues.
Gather The Right Tools For The Job
Sometimes your hands are all you need. But in other cases, a screwdriver or a ladder might be necessary.
Make sure you have a stable step stool or ladder to reach the light comfortably. A flat-head screwdriver often helps to gently pry covers held by clips.
Gently Release The Cover
If the cover snaps on, try pressing gently on one side while pulling on the opposite side. Avoid forcing it straight down unless it clearly slides off.
For screw-on covers, carefully unscrew each fastener and place them somewhere safe. Don’t rush—slow and steady prevents accidents.
Handle The Cover With Care After Removal
Once off, place the cover on a soft surface to avoid scratches or cracks. This is where I learned to always use a towel or cushion—it saved me from a broken cover once!
Inspect the cover for any damage or dirt before cleaning or replacing it.
Cleaning And Maintenance Tips
Cleaning and maintaining your kitchen ceiling light cover keeps it bright and safe. Dust and grease build up fast in kitchens. Regular care prevents damage and extends the cover’s life. Follow simple tips to keep your light cover spotless and working well.
Gather The Right Cleaning Supplies
Use soft cloths or sponges that won’t scratch the cover. Mild dish soap and warm water work best. Avoid harsh chemicals that can damage the material. Have a step stool or ladder ready for safe reach.
Remove Dust And Grease Gently
Start by wiping the cover with a dry cloth to remove dust. Next, dip the cloth in soapy water to clean grease spots. Rinse with a damp cloth and dry thoroughly. Be gentle to avoid cracks or scratches.
Check For Damage And Wear
Inspect the cover for cracks or loose parts during cleaning. Replace if you find serious damage. A damaged cover can be unsafe and reduce light quality.
Reinstall The Cover Securely
After cleaning, place the cover back carefully. Make sure it fits tightly and locks into place. A secure cover stops dust from entering and keeps the light stable.
Establish A Cleaning Routine
Clean the light cover every few months. More often if your kitchen is very busy or greasy. A routine keeps the cover clear and bright for longer.

Credit: www.doityourself.com
Replacing Or Reinstalling The Cover
Replacing or reinstalling your kitchen ceiling light cover is a simple task that can refresh your space in minutes. Whether you’re putting back a cover after cleaning or swapping it for a new design, the process demands care to avoid damage. You’ll also want to ensure the cover fits securely to prevent any safety hazards.
Checking The Cover For Damage
Before reinstalling, closely inspect the cover for cracks or chips. Even small damage can weaken the structure and cause the cover to fall unexpectedly. If you spot any issues, consider replacing the cover rather than reinstalling it.
Aligning The Cover Correctly
Proper alignment is key to a secure fit. Look for tabs, clips, or screw holes that guide the cover into place. Gently position the cover so these features line up perfectly with the fixture before pressing or screwing it back on.
Securing The Cover In Place
Depending on your light fixture, you may need to twist, snap, or screw the cover back on. Apply even pressure to avoid cracking the cover, and don’t force it if it feels stuck. If screws are involved, tighten them just enough to hold the cover firmly without over-tightening, which can cause damage.
Testing Stability And Light Function
Once reinstalled, gently tap or shake the cover to check its stability. It should stay firmly in place without wobbling. Finally, turn on the light to ensure the cover doesn’t interfere with the bulb or wiring and that everything works safely.
When To Call A Professional
If the cover won’t fit back properly or you notice wiring issues while handling the fixture, it’s safer to stop and contact an electrician. Electrical components can be tricky and dangerous if you’re unsure. Your safety is more important than saving a few minutes of DIY time.
Frequently Asked Questions
How Do I Safely Remove A Kitchen Ceiling Light Cover?
Turn off the power at the circuit breaker first. Use a sturdy ladder to reach the light. Gently twist or unclip the cover, depending on the fixture type. Always handle glass covers carefully to avoid breakage or injury.
What Tools Are Needed To Remove Ceiling Light Covers?
Typically, you need a ladder, screwdriver, and gloves. A flathead or Phillips screwdriver helps with screws. Gloves protect your hands from sharp edges. Sometimes, no tools are needed if the cover twists off.
How Can I Prevent Damage When Removing Light Covers?
Support the cover firmly with both hands while removing. Avoid using excessive force or twisting too hard. Place a soft cloth underneath to catch falling parts. Take your time to prevent cracks or scratches.
Why Won’t My Kitchen Light Cover Come Off?
It may be secured by hidden screws or clips. Some covers require a slight twist or push to release. Check for locking mechanisms or consult the fixture’s manual. For stubborn covers, avoid forcing to prevent damage.
Conclusion
Removing a kitchen ceiling light cover can be simple and safe. Always turn off the power before starting. Use gentle pressure and the right tools to avoid damage. Clean the cover carefully once removed. Putting it back is just as easy when done right.
Take your time, and don’t rush the process. You can keep your kitchen light bright and clean with these easy steps. Try it yourself and see how simple this task can be.