
Are your kitchen drawers looking tired or outdated? Changing the drawer fronts can completely transform the look of your kitchen without the need for a full renovation.
If you’ve ever wondered how to replace drawer fronts on kitchen drawers yourself, you’re in the right place. In this guide, you’ll discover simple, step-by-step instructions that save you time and money. Imagine opening your drawers to a fresh, stylish new look that makes your kitchen feel brand new.
Keep reading, and you’ll learn exactly how to do it—even if you’re not an expert. Your kitchen makeover starts here.
Tools And Materials Needed
Replacing drawer fronts on your kitchen drawers can give your space a fresh, updated look without a full remodel. Before you dive in, gathering the right tools and materials is key to making the process smooth and effective. Missing a crucial tool can turn a simple job into a frustrating one, so let's get you set up with everything you need.
Essential Tools
- Screwdriver set:Both Phillips and flathead screwdrivers are needed to remove and attach screws.
- Power drill:Makes driving screws easier and faster, especially if you’re installing new drawer fronts.
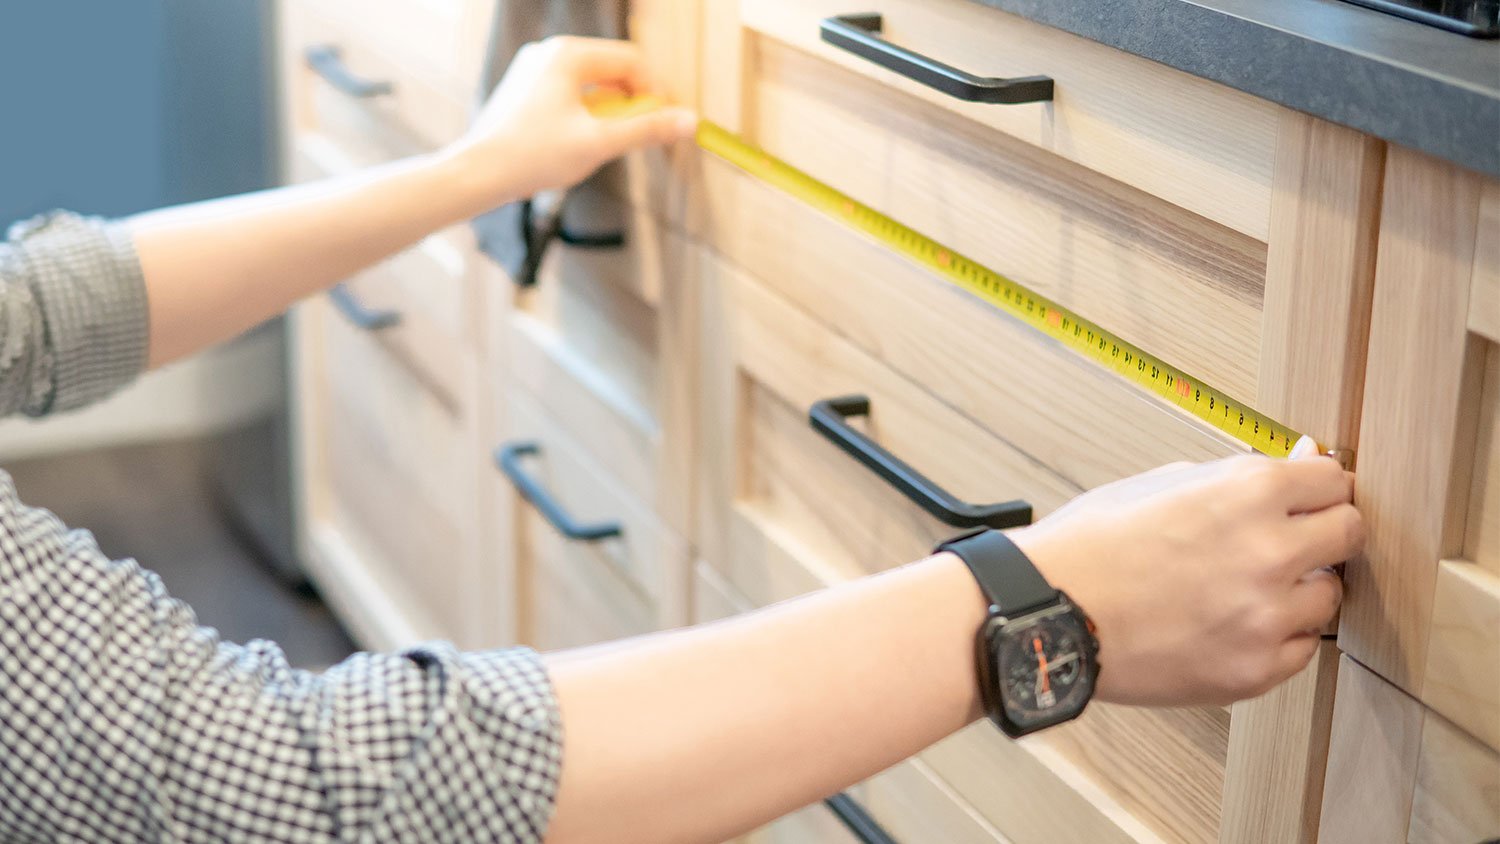
- Measuring tape:Ensures your new drawer fronts fit perfectly; accuracy saves you from costly mistakes.
- Clamps:Hold the drawer front in place while you secure it, preventing shifting and misalignment.
- Wood glue:Adds extra strength to joints or helps fix minor splits or cracks.
- Level:Helps you check that the drawer fronts are perfectly horizontal, avoiding a crooked look.
I once tried replacing drawer fronts without clamps, and the fronts kept slipping, making the job take twice as long. Having the right tools makes a noticeable difference.
Choosing Replacement Drawer Fronts
You can find replacement drawer fronts in various materials like solid wood, MDF, or laminate. Consider the style of your kitchen—do you want a modern, sleek look or something more traditional? Matching the color and finish with your cabinets can be tricky but worth the effort.
Think about durability too. Solid wood fronts are sturdier but more expensive, while MDF is budget-friendly and easy to paint. Have you checked if your local hardware store stocks the exact size you need? Custom sizes are an option but may increase costs and lead times.
Additional Supplies
- Screws:Get the right size and type to avoid damaging your drawers or fronts.
- Sandpaper:Useful for smoothing edges or prepping surfaces for painting.
- Paint or stain:If you want to customize or refresh the finish of your new drawer fronts.
- Painter’s tape:Keeps paint lines clean when finishing your drawer fronts.
- Protective gloves:To keep your hands safe from splinters, glue, or paint.
Having these extras on hand means you won’t have to pause your project to run to the store. What’s your plan for finishing the new fronts—painting, staining, or leaving them natural?
:strip_icc()/bhg-kitchen-drawer-slides_8pmLpaOPqRL84F5AQsbK3g-c0889a5c5ff04b5eafdc8bcd9018236c.jpg)
Credit: www.bhg.com
Preparing Your Workspace
Preparing your workspace is key to a smooth drawer front replacement. A clutter-free, protected, and well-organized area helps you avoid mistakes and reduces frustration. Before you start, take time to set up your space thoughtfully.
Clearing The Area
Remove everything from around your kitchen drawers. This includes countertop items, nearby appliances, and anything that could get in your way. A clear space lets you move freely and prevents accidental damage to your belongings.
Think about how much room you’ll need to handle drawer fronts comfortably. If your kitchen is tight, consider moving the drawers to a larger surface like a dining table. Have you noticed how much easier a project becomes with just a little extra space?
Protecting Surfaces
Protect your countertops and floors before taking out drawer fronts. Use drop cloths, old towels, or cardboard sheets to shield surfaces from scratches and spills. This simple step can save you from costly repairs later.
I once skipped this step and ended up with a scratched countertop that was a pain to fix. Don’t let a small oversight ruin your kitchen’s look. Taking a few minutes now to cover surfaces is a smart move.
Organizing Parts
As you remove drawer fronts and hardware, keep everything organized. Use small containers or labeled bags to store screws, knobs, and hinges. This prevents lost pieces and speeds up reassembly.
Consider laying out parts on a tray or magnetic mat. This way, you can see all components at a glance and avoid mixing them up. What’s your system for staying organized during home projects?
Removing Old Drawer Fronts
Removing old drawer fronts is a key step in updating your kitchen drawers. It lets you work cleanly and prepares the surface for attaching new fronts smoothly. Taking your time here can save you a lot of hassle later.
Removing Drawers From Cabinet
Start by pulling the drawer out completely. Some drawers have a release lever or clips on the sides—check for these before trying to force it out. If you don't see any, gently wiggle the drawer while pulling to avoid damaging the slides.
Once the drawer is free, set it on a flat surface where you have plenty of room to work. This makes detaching the drawer front easier and safer. Have you noticed how much easier repairs become with a clean, organized workspace?
Detaching Drawer Fronts
Look inside the drawer to find screws holding the front panel in place. These are often located near the corners or along the inside edges. Use a screwdriver to carefully remove them—keeping track of screw sizes and locations helps during reassembly.
If the drawer front is glued or nailed on, gently use a putty knife or pry bar to loosen it. Work slowly to prevent splitting the wood or damaging the drawer box. What tools do you usually reach for when handling delicate parts like this?
Handling Hardware
Remove any handles, knobs, or pulls attached to the drawer front before taking it off. Keep all hardware together in a labeled container so you don’t lose any pieces. If you plan to reuse them, check their condition and clean them thoroughly.
Sometimes hardware hides screws or fasteners—make sure everything is detached before pulling the front off. This step may seem small, but skipping it can cause unexpected damage. How do you keep your small parts organized during projects?
Measuring And Selecting New Fronts
Measure the width and height of your current drawer fronts carefully. Choose new fronts that match these dimensions for a perfect fit. Double-check measurements to avoid mistakes before buying replacements.
Replacing drawer fronts can refresh your kitchen's look. It’s essential to measure and select the right fronts. This ensures a perfect fit and match for your cabinets. Let’s explore how to measure and choose new drawer fronts effectively.
Taking Accurate Measurements
Accurate measurements are crucial. Use a tape measure for precision. Measure the width of the drawer first. Record the number in inches or centimeters. Next, measure the height from top to bottom. Note this measurement as well. Double-check both dimensions to avoid errors. Even small mistakes can cause problems.
Matching Style And Finish
New fronts should match your kitchen style. Look at your current cabinet design. Is it modern, classic, or rustic? Choose a style that complements it. Consider the finish too. Glossy, matte, or wood grain finishes are popular. Matching the finish helps create a cohesive look.
Ordering Or Cutting Fronts
You can order fronts online or from local stores. Provide your exact measurements to suppliers. This ensures a snug fit. If you prefer, cut your own fronts. Use quality materials like wood or MDF. Ensure your cuts are straight and smooth. Proper ordering or cutting is vital for a neat appearance.
Attaching New Drawer Fronts
Attaching new drawer fronts is a crucial part of updating kitchen drawers. It gives your cabinets a fresh, clean look. This step requires careful attention to ensure the fronts are straight and secure. Proper attachment helps the drawers open and close smoothly and improves the kitchen’s overall appearance.
Aligning Fronts Properly
Start by holding the new drawer front against the drawer box. Check that it is centered and level. Use a ruler or a level tool for accuracy. Make small marks with a pencil to guide placement. Ensuring proper alignment prevents gaps and uneven edges.
Securing With Screws
Attach the drawer front using screws from inside the drawer box. Pre-drill small holes to avoid splitting the wood. Use screws long enough to hold the front firmly but not too long to go through the surface. Tighten screws evenly to keep the front flush with the drawer box.
Checking Fit And Adjustments
After securing, open and close the drawer several times. Look for any wobbling or misalignment. Adjust screws slightly if needed to improve the fit. Make sure the drawer front sits flush with the surrounding cabinetry. Proper fit ensures durability and a polished look.
Reinstalling Drawers
Reinstalling your kitchen drawers after replacing the fronts can feel like the final puzzle piece snapping into place. This step is crucial to ensure everything fits well and operates smoothly. Pay attention to each detail as you slide the drawers back in and test their motion, so your hard work truly shows.
Sliding Drawers Back In
Carefully align the drawer slides on the drawer with the tracks inside the cabinet. Gently push the drawer straight in, making sure the slides engage fully without forcing them. If you feel resistance, pull the drawer out and check the alignment again to avoid bending or damaging the hardware.
Take your time here—rushing can cause misalignment that leads to sticking drawers later on. You might find it helpful to hold the drawer level while sliding it in to keep it from tilting or catching on the edges.
Testing Drawer Operation
Once the drawers are in place, open and close each one several times to check for smooth movement. Listen for any squeaks or catches that could indicate misaligned slides or loose screws. If you notice any issues, adjust the drawer front or slides until the motion feels effortless.
Have you ever ignored a small squeak only to find it turning into a bigger problem? Catching these early saves you from future frustration and keeps your kitchen looking and feeling professional.
Final Touches
After confirming the drawers slide perfectly, tighten any loose screws on the fronts or slides. Use a level to ensure the drawer fronts are straight and make minor adjustments if necessary. Adding a little wax or silicone spray to the slides can enhance smoothness and prolong the hardware's life.
Don’t forget to wipe down the drawer fronts to remove fingerprints or dust from installation. This simple step refreshes the look and highlights your newly replaced drawer fronts beautifully.
Tips For A Professional Finish
Achieving a professional finish on your kitchen drawer fronts makes a big difference. Small details create a clean, polished look. Paying attention to painting, hardware, and care ensures your drawers look great for years. Here are simple tips to help you finish like a pro.
Painting Or Staining Tips
- Sand the surface smoothly before applying paint or stain.
- Use a primer to help paint stick better and last longer.
- Choose paint or stain made for wood for a durable finish.
- Apply thin, even coats and let each dry completely.
- Use a fine brush or foam roller to avoid brush marks.
- Lightly sand between coats for a smooth feel.
Hardware Upgrades
- Choose hardware that matches your kitchen’s style and color.
- Upgrade knobs and pulls to freshen the drawer’s look instantly.
- Measure carefully for proper placement and alignment.
- Use a template to keep hardware installation even and straight.
- Tighten screws firmly but avoid overtightening to prevent damage.
Maintaining Drawer Fronts
- Clean drawer fronts regularly with a soft, damp cloth.
- Avoid harsh chemicals that can damage paint or stain.
- Fix scratches or chips quickly to keep the finish intact.
- Check hardware periodically and tighten loose screws.
- Use drawer liners to protect the interior and reduce wear.

Credit: www.familyhandyman.com

Credit: www.familyhandyman.com
Frequently Asked Questions
How Do I Remove Old Drawer Fronts Safely?
To remove old drawer fronts, unscrew the mounting screws from inside the drawer. Use a putty knife to gently separate glued fronts. Work carefully to avoid damaging the drawer box or surrounding cabinetry. Keep all screws for reuse or replacement.
What Tools Are Needed To Replace Drawer Fronts?
You will need a screwdriver, drill, measuring tape, clamps, and wood glue. Sandpaper helps smooth edges. Optional tools include a level for alignment and a utility knife for precise trimming.
How Do I Measure For New Drawer Fronts?
Measure the width and height of the existing drawer front. Add or subtract based on desired overlap with the cabinet frame. Double-check all dimensions before ordering or cutting new fronts.
Can I Reuse Old Hardware On New Drawer Fronts?
Yes, old handles, knobs, and hinges can often be reused. Ensure screw holes align with the new fronts. If not, drill new holes carefully to avoid splitting the wood.
Conclusion
Replacing drawer fronts can refresh your kitchen’s look quickly. The steps are clear and easy to follow. Choose the right materials and tools before starting. Take your time to remove old fronts carefully. Attach new fronts firmly for a smooth finish.
Small changes make a big difference in your space. Enjoy the satisfaction of updating your kitchen by yourself. Simple updates like this save money and add style. Give your drawers a fresh, clean appearance today.