
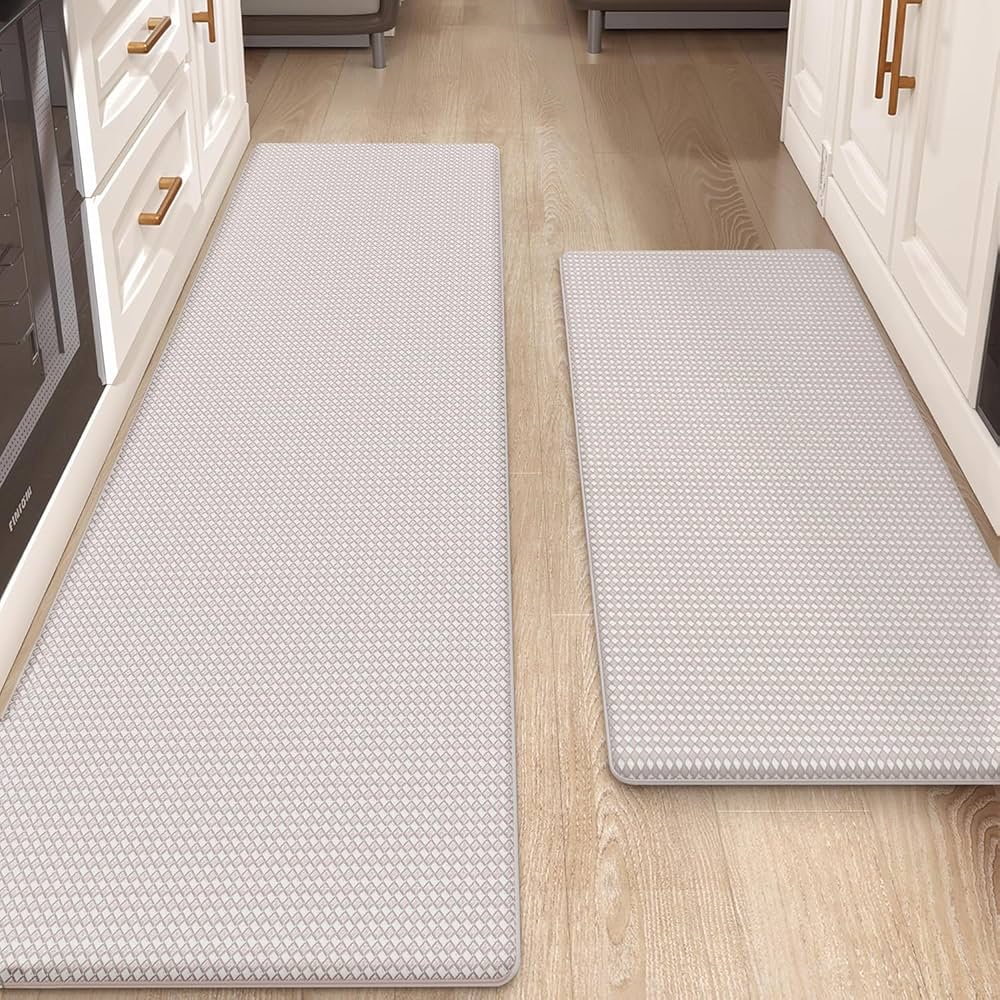
Your foam kitchen mat is a cozy spot where you stand while cooking or washing dishes. But over time, spills, crumbs, and dirt can make it look dull and feel less comfortable.
You might wonder how to clean it without damaging the soft foam or making it soggy. If you want your mat to stay fresh, safe, and inviting, this guide will show you simple, effective steps to bring it back to life.
Keep reading, and you’ll learn how easy it is to keep your kitchen mat clean and comfy every day.

Credit: www.amazon.ca
Choosing The Right Cleaning Supplies
Choosing the right cleaning supplies for your foam kitchen mat is crucial to keep it fresh and damage-free. Harsh chemicals or rough tools can wear down the foam, making your mat lose its cushioning and look. Picking gentle yet effective products ensures your mat stays comfortable and clean for a long time.
Safe Cleaners For Foam Mats
Not all cleaners work well on foam surfaces. Avoid bleach, ammonia, or strong solvents because they can break down the foam material.
Opt for mild detergents or dish soap mixed with warm water. These are gentle enough to clean without causing harm.
You can also use a vinegar solution—mix one part white vinegar with three parts water—to tackle odors naturally. It’s a safe option that kills bacteria but won’t damage your mat.
Tools You’ll Need
- Soft sponge or microfiber cloth:Perfect for wiping the surface without scratching.
- Soft-bristle brush:Helps to scrub away dirt from textured areas without tearing the foam.
- Spray bottle:Makes it easy to apply cleaning solutions evenly.
- Towel or air-drying rack:Essential for drying your mat properly to avoid mildew.
Have you ever noticed how a rough scrubber ruins your mat’s softness? Using the right tools not only cleans but protects your investment.
Preparing The Mat For Cleaning
Preparing your foam kitchen mat properly before cleaning is essential to maintain its comfort and durability. Taking a few moments to get it ready can make the cleaning process more effective and protect your mat from damage. Let’s look at two key tasks to focus on: removing loose debris and checking for damage.
Removing Loose Debris
Start by shaking your mat outside to get rid of crumbs, dust, and other loose dirt. You’ll be surprised how much debris can hide in the foam’s crevices. If shaking isn’t enough, use a vacuum cleaner with a soft brush attachment to gently lift away stubborn particles.
Think about the last time you skipped this step. Did the dirt just smear around when you cleaned? Removing loose debris first prevents dirt from embedding deeper into the foam during washing. It also helps avoid clogging your drain if you rinse the mat with water.
Checking For Damage
Before you apply any water or cleaning solutions, inspect your mat closely for tears, holes, or worn areas. Foam mats can weaken over time, and cleaning might worsen existing damage if not handled carefully. Small cuts can be patched, but large holes may require replacement.
Ask yourself: Is your mat still providing the cushioning and support you need? If you spot any damage, decide whether it’s worth repairing or if it’s time for a new mat. This step ensures your cleaning efforts don’t turn into a bigger problem later on.
Washing The Foam Mat
Washing your foam kitchen mat properly is key to keeping it fresh and extending its life. Foam mats can trap dirt, crumbs, and spills, which can lead to stains and odors if not cleaned regularly. Knowing how to wash your foam mat correctly ensures it stays comfortable and hygienic without causing damage.
Hand Washing Techniques
Hand washing gives you full control over how gently you clean your foam mat. Start by filling a large basin or bathtub with warm water and a mild detergent designed for delicate fabrics.
Submerge the mat and gently scrub it using a soft cloth or sponge, paying special attention to any stained areas. Avoid harsh scrubbing, which can tear or compress the foam.
After rinsing thoroughly with clean water, press the mat to remove excess water but don't wring it out. Hang it flat or drape it over a railing to air dry completely before placing it back in your kitchen.
Using A Washing Machine Safely
If you prefer machine washing, choose a front-loading washer with a gentle cycle. Top-loading machines with agitators can damage the foam, so avoid them.
Use cold water and a small amount of mild detergent. Place the mat inside a large mesh laundry bag to protect it from excessive agitation during the wash.
Skip the dryer entirely; instead, lay the mat flat to dry in a well-ventilated area. Have you noticed how drying foam mats in direct sunlight can cause them to become brittle? Keeping them in the shade preserves their softness longer.
Drying The Mat Properly
Air-dry the foam kitchen mat in a well-ventilated area to avoid mold and bad smells. Ensure it is completely dry before placing it back on the floor. Proper drying keeps the mat fresh and lasts longer.
Drying a foam kitchen mat properly is crucial for maintaining its longevity and comfort. After cleaning, it's important to dry the mat thoroughly to prevent mold and unpleasant odors. Below are some effective strategies for air drying and avoiding heat damage to ensure your mat stays in great condition.
Air Drying Tips
Allow the mat to air dry in a well-ventilated area. Hang it over a clothesline or a railing to let both sides dry evenly. Ensure the mat is flat to prevent deformation. Direct sunlight speeds up the drying process, but avoid prolonged exposure. Too much sun can fade the mat's colors.
Avoiding Heat Damage
Never use a dryer for foam mats. The heat can cause warping or melting. Avoid placing the mat near heaters or radiators. High temperatures can damage the foam material. Instead, opt for natural drying methods to preserve the mat's integrity.
Maintaining A Spotless Foam Mat
Keeping a foam kitchen mat clean helps it last longer and look fresh. Regular care prevents dirt buildup and unpleasant smells. A spotless mat keeps your kitchen safe and comfortable to stand on. Simple habits make maintenance easy and effective.
Regular Cleaning Schedule
Set a weekly time to clean your foam mat. Shake off loose crumbs and dust outside. Use a soft brush or cloth to wipe the surface. For deeper cleaning, wash with mild soap and warm water. Avoid harsh chemicals that can damage the foam. Let the mat air dry completely before placing it back.
Preventing Stains And Odors
Clean spills immediately to stop stains from setting. Blot liquids with a clean cloth instead of rubbing. Sprinkle baking soda on the mat to absorb smells. Leave it for 15 minutes, then vacuum or shake off. Avoid eating or drinking directly over the mat to reduce mess. Keep pets’ paws clean to prevent dirt and odors.
Credit: infrakraft.com

Credit: www.amazon.ca
Frequently Asked Questions
How Often Should I Clean A Foam Kitchen Mat?
Clean your foam kitchen mat every 1-2 weeks. Frequent cleaning removes dirt, bacteria, and food debris. Regular care maintains hygiene and mat durability.
Can I Machine Wash A Foam Kitchen Mat?
Most foam mats are not machine washable. Hand wash with mild soap and warm water. Avoid harsh detergents to prevent damage.
What Is The Best Cleaning Solution For Foam Mats?
Use mild soap or dish detergent mixed with warm water. Avoid bleach or strong chemicals as they degrade foam material.
How Do I Dry A Foam Kitchen Mat Properly?
Air dry your foam mat flat or hang it. Avoid direct sunlight and heat sources to prevent warping or cracking.
Conclusion
Cleaning a foam kitchen mat keeps your kitchen fresh and safe. Regular washing removes dirt and germs quickly. Use gentle soap and water for best results. Avoid harsh chemicals that can damage the foam. Let the mat dry completely before use.
A clean mat lasts longer and feels better underfoot. Small efforts make a big difference in kitchen hygiene. Keep your kitchen mat fresh with simple care steps. Easy to do, easy to maintain.