
Are your kitchen cabinets looking outdated or worn out? You might be wondering, “Can I cover my kitchen cabinets instead of replacing them?” The good news is, yes—you can transform the look of your kitchen without spending a fortune or going through a full renovation.
Imagine giving your cabinets a fresh, stylish makeover that fits your taste and budget. You’ll discover simple and effective ways to cover your kitchen cabinets, making your kitchen feel brand new. Keep reading to find out how easy it can be to breathe new life into your space!
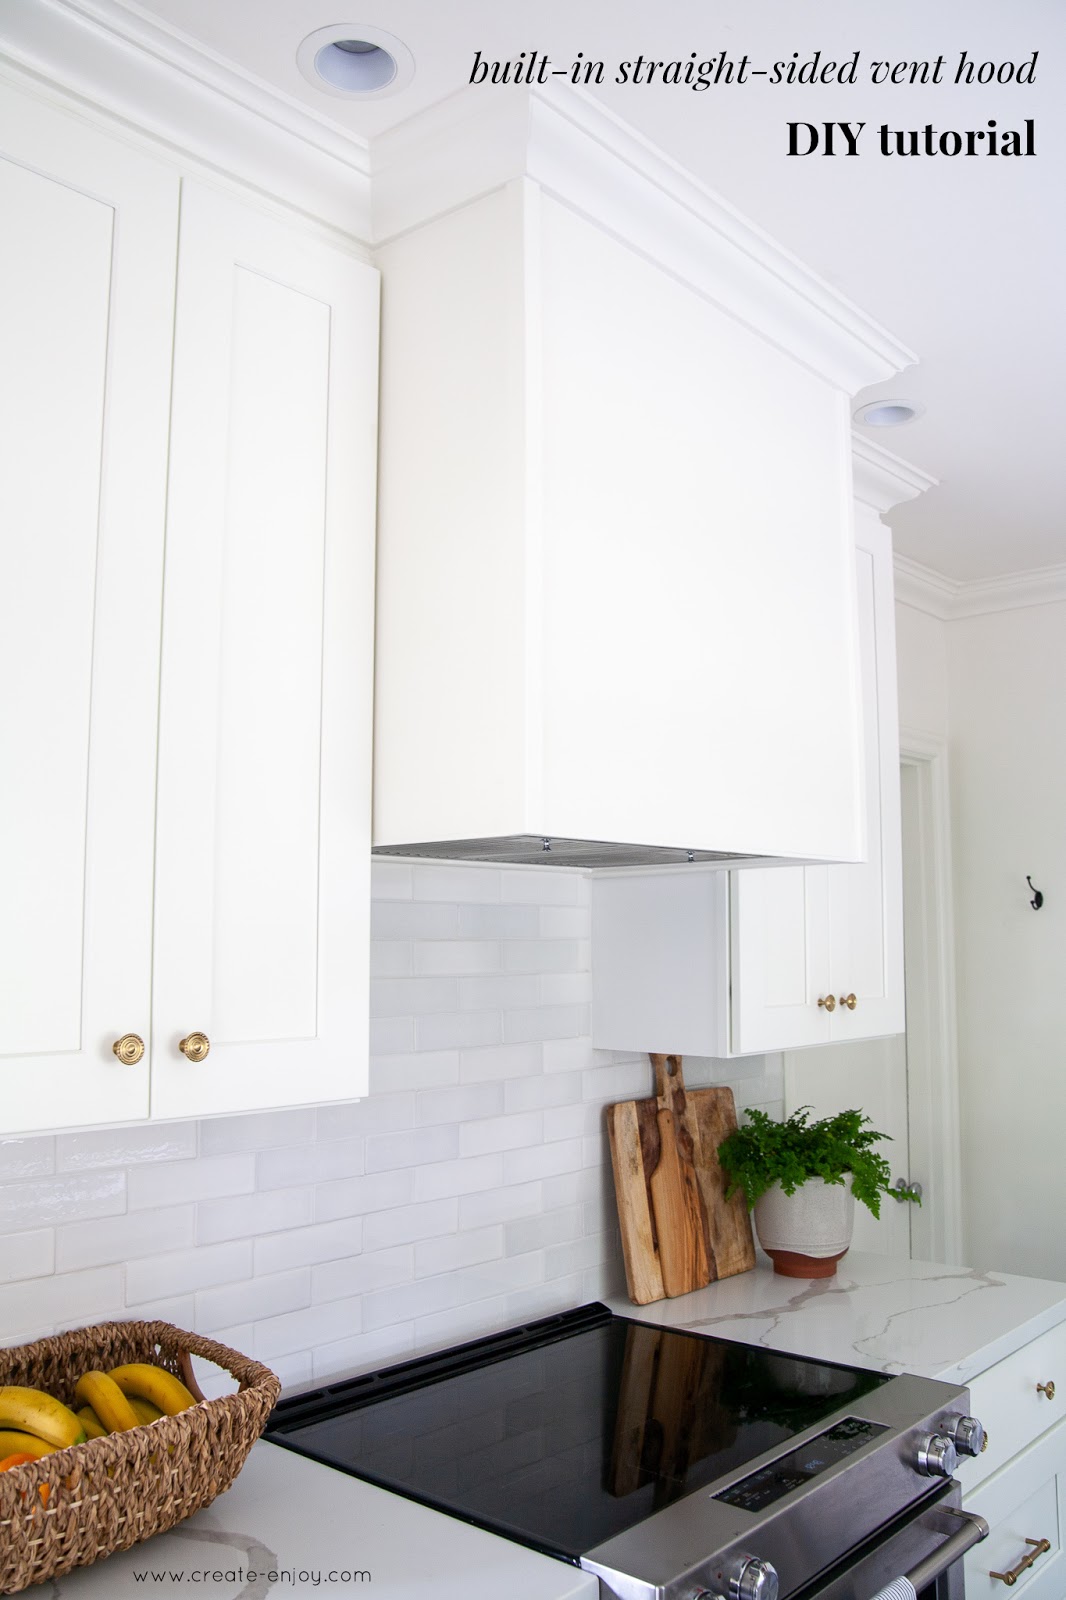
Credit: www.apartmenttherapy.com
Choosing The Right Covering Material
Choosing the right covering material for your kitchen cabinets can transform your space without a full remodel. The material you pick affects durability, look, and maintenance. Think about how much time you spend cooking and cleaning, and how much wear your cabinets get daily. This will help you decide what fits your lifestyle and style best.
Vinyl Wraps And Films
Vinyl wraps are a popular choice because they're easy to apply and come in many colors and patterns. They can mimic wood, metal, or solid colors, giving you design flexibility. Plus, vinyl is water-resistant, making it a practical option for kitchens.
One thing to consider: vinyl wraps need a smooth surface to stick well. If your cabinets have lots of texture, the wrap might peel or bubble over time. Have you checked your cabinet surfaces for smoothness before choosing this option?
Paint And Primer Options
Painting your cabinets offers endless color choices and lets you refresh your kitchen at a low cost. Use a good primer first to help the paint stick and prevent peeling. Semi-gloss or satin finishes work well since they’re easier to clean and stand up to kitchen messes.
Remember, painting takes time and patience. You’ll need to sand, prime, and paint multiple coats for the best results. Are you ready to invest the effort for a long-lasting finish?
Wood Veneers And Laminates
Wood veneers bring a real wood look without the price or weight of solid wood. They add warmth and texture that paint or vinyl can’t quite match. Laminates, on the other hand, offer a wide range of colors and patterns and are very durable.
Both options require careful installation to avoid bubbles or peeling. They also need smooth, clean surfaces and sometimes professional help. Would you prefer a natural wood feel or the durability of laminate for your kitchen style?
Contact Paper Pros And Cons
Contact paper is a budget-friendly way to cover cabinets and comes in many fun patterns and colors. It’s easy to apply and remove, making it great for renters or short-term updates. However, it’s less durable than other options and can peel or tear with heavy use.
Think about your kitchen activity level before choosing contact paper. It’s perfect for light use but might not hold up in a busy household. Are you looking for a quick fix or a long-term solution for your cabinets?

Credit: danismidlife.com
Prepping Cabinets For Covering
Prepping your kitchen cabinets properly ensures a smooth and lasting finish. This stage sets the foundation for any covering project, making the final look neat and professional. Taking time to prepare cabinets well prevents peeling, bubbling, or uneven surfaces.
Cleaning And Sanding Surfaces
Start by cleaning all cabinet surfaces thoroughly. Remove grease, dirt, and dust using a mild cleaner and a soft cloth. Clean surfaces help coverings stick better and last longer.
After cleaning, sand the cabinets lightly. Use fine-grit sandpaper to roughen shiny surfaces. This step improves adhesion by creating texture for paint or adhesive films.
Removing Hardware
Remove all knobs, handles, and hinges carefully. This makes covering easier and prevents damage to hardware. Keep screws and parts safe in a labeled container for reassembly later.
Removing hardware also allows full access to cabinet surfaces. It helps achieve a smooth, even finish without bumps or gaps.
Fixing Damages And Imperfections
Inspect cabinets for cracks, holes, or dents. Use wood filler to fill small damages and smooth surfaces. Let the filler dry completely before sanding it flat.
Fixing imperfections creates a flawless base. This step ensures coverings look even and professional after installation.
Step-by-step Covering Techniques
Covering your kitchen cabinets can dramatically change the look of your space without a full remodel. The key to success lies in mastering the right techniques. Whether you choose vinyl wraps, paint, or veneers, each method demands careful preparation and precise application to achieve a polished finish.
Applying Vinyl Wraps Smoothly
Vinyl wraps offer a quick and versatile way to refresh your cabinets. Start by cleaning the surface thoroughly to remove grease and dirt; this ensures the vinyl sticks properly. Use a heat gun or hairdryer to warm the vinyl slightly, making it more flexible and easier to mold around edges.
Work slowly, pressing the vinyl down with a squeegee or a soft cloth to avoid air bubbles. If you spot any bubbles, gently lift the vinyl and reapply, or use a pin to release trapped air. Patience here pays off—rushing can cause wrinkles and an uneven surface.
Painting Cabinets Like A Pro
Painting cabinets requires more than just slapping on color. Begin by removing all hardware and sanding the cabinet surfaces to create a smooth base. Use a high-quality primer to cover old stains and ensure the paint adheres well.
Choose a paint designed for cabinets or furniture, as it will withstand frequent use. Apply thin, even coats with a good brush or roller, allowing each coat to dry completely before adding the next. Think about how a fresh coat of paint can brighten your kitchen—what color would make you excited to cook every day?
Installing Veneers With Precision
Veneers provide a natural wood look and are surprisingly easy to install with the right tools. Measure your cabinet panels carefully and cut the veneer sheets to size using a sharp utility knife. Before gluing, test fit each piece to avoid mistakes.
Use wood glue or contact cement evenly on both the cabinet surface and the veneer. Press firmly and clamp or weight the veneer down to prevent bubbles and ensure strong adhesion. Consider where seams will be most visible and plan your cuts accordingly for a seamless finish.
Choosing Colors And Finishes
Choosing the right colors and finishes for your kitchen cabinets can transform your cooking space from mundane to magnificent. It’s not just about aesthetics—colors and finishes can affect the mood and functionality of your kitchen. Whether you're looking to refresh your current cabinets or planning a complete makeover, understanding the trends and options can help you make the right choice.
Trending Color Palettes
Today's color palettes reflect a blend of timeless elegance and modern flair. Neutral tones like whites, grays, and beiges continue to be popular for their versatility and clean look. However, bold colors like navy blue and forest green are making a statement, adding depth and richness to the kitchen space.
Consider how these colors will complement your countertops and appliances. You want a cohesive look that ties the room together, rather than clashing elements. If you're hesitant about bold colors, try them on a smaller scale, like the island or upper cabinets, to test the waters.
Matte Vs Glossy Finishes
The finish you choose plays a crucial role in the overall look and maintenance of your cabinets. Matte finishes offer a contemporary, understated elegance that hides fingerprints and smudges, making them ideal for busy kitchens. They create a soft, muted effect that can make your space feel calm and inviting.
In contrast, glossy finishes add a sleek, modern touch with their reflective surfaces. They can make smaller kitchens appear larger by bouncing light around the room. However, glossy surfaces can show fingerprints and smudges more easily, so consider your lifestyle and cleaning habits when deciding.
Customizing With Stencils And Decals
Customization is key to making your kitchen uniquely yours. Stencils and decals offer an affordable and creative way to personalize your cabinets without a major renovation. These can range from intricate patterns to simple geometric shapes, allowing you to express your style effortlessly.
Have you ever thought about adding a playful touch or a bit of whimsy to your cabinets? Stencils and decals can do just that, and they are easy to change if your tastes evolve. This DIY approach is perfect for renters or anyone looking for a temporary change with a big impact.
Maintaining Covered Cabinets
Maintaining covered kitchen cabinets keeps them looking fresh and extends their life. Simple care routines protect the covering material and the cabinet surface underneath. Small efforts prevent damage and keep your kitchen attractive.
Cleaning Tips
Use a soft cloth with mild soap and water to clean covers. Avoid harsh chemicals that can damage the finish or peel the covering. Dry the surface quickly to prevent moisture from seeping underneath.
- Wipe spills immediately to avoid stains.
- Use gentle circular motions when cleaning.
- Test cleaning solutions on a small area first.
Handling Wear And Tear
Daily use can cause scratches and peeling on covered cabinets. Address small issues early to stop them from growing. Use touch-up kits or adhesive patches for minor repairs.
- Keep sharp objects away from cabinet surfaces.
- Avoid excessive moisture that weakens adhesives.
- Check edges for lifting or curling regularly.
When To Reapply Or Replace Coverings
Replace coverings if they show heavy damage or wear. Signs include large tears, fading, and persistent peeling. Reapplying coverings can refresh the look and protect cabinets better.
- Remove old covering carefully to avoid cabinet damage.
- Measure cabinets accurately before buying new material.
- Choose coverings designed for kitchen use and durability.
Budgeting Your Cabinet Makeover
Budgeting your kitchen cabinet makeover helps you control costs and plan wisely. Knowing the expenses involved lets you avoid surprises. It also helps you choose the best options for your budget and style. Careful budgeting can turn a simple update into a stunning transformation.
Cost Comparison Of Materials
Materials affect your budget a lot. Some options are cheaper, others cost more but last longer. Here’s a simple comparison:
| Material | Average Cost per Cabinet | Durability |
|---|---|---|
| Laminate | $50 - $100 | Moderate |
| Vinyl Wrap | $80 - $150 | Good |
| Wood Veneer | $150 - $300 | High |
| Paint | $30 - $70 | Low to Moderate |
Choosing the right material can save money and still improve your kitchen look.
Diy Vs Professional Help
Doing it yourself cuts labor costs. It requires time and some skill. Mistakes can be costly and time-consuming. Hiring a professional ensures quality and saves time. Professionals have tools and experience to do it right. Weigh the cost against your skill level and schedule.
Saving Money Without Sacrificing Quality
- Buy materials during sales or clearance events.
- Reuse cabinet frames and only update doors or fronts.
- Choose paint instead of replacing doors for a fresh look.
- Combine DIY with professional help for complex tasks.
- Shop around for quotes and compare prices carefully.
Smart choices help you get a great kitchen update without overspending.
Common Mistakes To Avoid
Covering your kitchen cabinets can transform your space, but there are common mistakes that can turn a simple upgrade into a frustrating project. Avoiding these pitfalls not only saves you time and money but also ensures your cabinets look professional and last longer. Understanding these errors before you start will help you achieve the best results.
Skipping Surface Prep
Many people rush to cover their cabinets without properly cleaning and sanding the surface first. Dirt, grease, or old finishes can prevent paint or adhesive materials from sticking well. Taking the time to thoroughly clean and lightly sand will help your new finish adhere better and last longer.
If you skip this step, you might notice peeling or bubbling within weeks. Have you ever wondered why a fresh coat of paint chips off so quickly? Proper preparation is often the missing link.
Choosing Incompatible Materials
Not all materials work well together. Using a paint or cover material that doesn’t bond with your cabinet surface can lead to cracking or warping. For example, applying oil-based paint over a laminate surface without proper priming usually causes problems.
Think about what your cabinets are made of before selecting your cover. Would you use a glue designed for wood on metal cabinets? Matching materials correctly makes your kitchen makeover durable and smooth.
Ignoring Drying And Curing Times
It’s tempting to rush the process and use your cabinets right after covering them. However, many paints, adhesives, and finishes need enough time to dry and cure fully. Skipping or shortening this waiting period can result in sticky surfaces or damaged finishes.
Have you experienced smudged paint or peeling covers after a quick project? Patience here ensures your hard work stays intact and your kitchen stays beautiful for years to come.

Credit: www.reddit.com
Frequently Asked Questions
Can I Cover Kitchen Cabinets Instead Of Replacing Them?
Yes, covering kitchen cabinets is a cost-effective way to update their look. Options include painting, vinyl wraps, or installing new doors. This approach saves time and money compared to full replacements while enhancing your kitchen’s appearance.
What Materials Are Best For Covering Kitchen Cabinets?
Popular materials for covering cabinets include vinyl wraps, contact paper, and laminate sheets. These are easy to apply, durable, and available in many styles. Paint is also a great option for a smooth, long-lasting finish.
How Long Does Covering Kitchen Cabinets Take?
Covering cabinets usually takes a few hours to a couple of days. The time depends on the method, surface prep, and drying times. Proper preparation ensures a smooth, durable finish and extends the life of your cabinets.
Is It Better To Paint Or Cover Kitchen Cabinets?
Painting offers a customizable, durable finish but requires more prep and drying time. Covering with vinyl or laminate is quicker and less messy but may not last as long. Choose based on budget, style, and durability needs.
Conclusion
Covering kitchen cabinets can refresh your space without a full remodel. Choose materials that fit your style and budget. Measure carefully before starting to avoid mistakes. Simple steps can give your kitchen a fresh look. This project saves time and money compared to replacing cabinets.
Think about durability and ease of cleaning when picking covers. A little effort can make a big difference. Your kitchen can look new with just a few changes. Give your cabinets a fresh face and enjoy your kitchen more.