
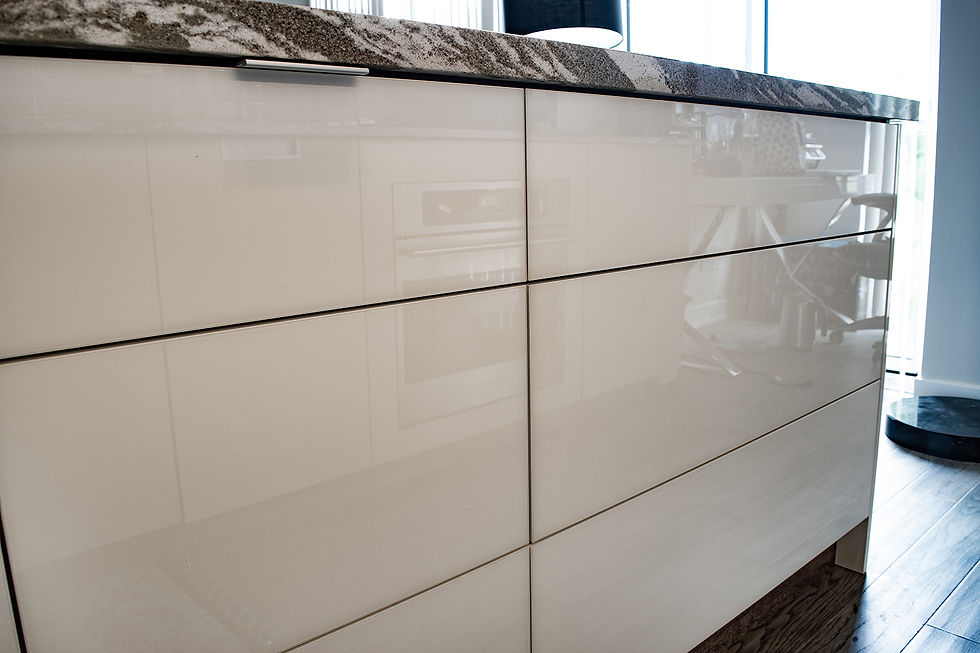
Are your high gloss kitchen cabinets looking tired or outdated? You might think they’re impossible to change without a full remodel.
But what if you could transform their look quickly and affordably? In this guide, you’ll discover simple, effective ways to cover your shiny cabinets and give your kitchen a fresh new style. Whether you want a subtle update or a bold makeover, these tips will help you achieve the look you want without the hassle.
Keep reading to find out how easy it is to breathe new life into your kitchen!

Credit: www.mutfakdolabi.com
Choosing The Right Materials
Choosing the right materials for covering high gloss kitchen cabinets is crucial to achieving a smooth, durable finish that lasts. The shiny surface of these cabinets can be tricky to work with, so selecting materials designed to adhere well and resist wear is key. You want a solution that not only looks great but also stands up to daily use without peeling or chipping.
Paint Types For Glossy Surfaces
Not all paints stick well to glossy cabinets. Look for paints labeled as "bonding" or "adhesion" primers paired with durable topcoats like acrylic enamel or polyurethane-based paints. These paints create a strong bond on slick surfaces and provide a smooth, long-lasting finish.
Spray paints formulated for cabinets can offer even coverage without brush marks. Have you tried sanding lightly to help the paint grip? It often makes a huge difference in how your paint holds up over time.
Adhesive Vinyl Options
Adhesive vinyl is a popular choice for a quick cabinet makeover. It’s easy to apply and comes in many colors and patterns, including wood grain and metallic finishes. Choose vinyl with a strong adhesive designed for smooth surfaces to avoid bubbling or peeling.
Matte or satin finishes usually hide fingerprints better than glossy vinyl, which is something to consider for kitchen cabinets. Have you checked if the vinyl is heat resistant? That’s important near stoves or dishwashers.
Peel-and-stick Wallpaper Choices
Peel-and-stick wallpaper can add unique textures and designs to your cabinets without the mess of paint. Vinyl-based wallpapers work best because they’re moisture-resistant and easy to clean. Avoid paper-based options that might peel in humid kitchen environments.
Make sure the wallpaper has a strong adhesive and a smooth backing for better contact with glossy surfaces. You might want to test a small patch first—how it sticks can surprise you!
Preparing Cabinets For Covering
Preparing high gloss kitchen cabinets for covering is a crucial step. It ensures the new finish sticks well and lasts long. Proper preparation avoids peeling, bubbling, and uneven surfaces.
Start by removing dirt and grease. Then, roughen the glossy surface to help adhesion. Finally, apply a primer to create a strong base for paint or coverings.
Cleaning And Degreasing
Remove all dirt, dust, and grease from the cabinet surface. Use a gentle cleaner or a mix of warm water and mild soap. Wipe down cabinets with a soft cloth. For tough grease, try a degreaser made for kitchens. Rinse with clean water and let dry completely. Clean surfaces help paint or covering stick better.
Sanding Glossy Surfaces
Glossy surfaces are smooth and shiny, which makes paint slip off easily. Lightly sand the cabinets using fine-grit sandpaper (around 220 grit). Sand just enough to dull the shine and create tiny scratches. These scratches help primer and paint grip the surface. After sanding, wipe away dust with a damp cloth or tack cloth. Sanding is key to a smooth, long-lasting finish.
Priming For Better Adhesion
Apply a quality primer designed for glossy surfaces. Primer seals the surface and improves paint adhesion. Use a brush or roller to spread a thin, even coat. Allow the primer to dry fully, as per product instructions. Priming prevents peeling and uneven color. It also creates a uniform base for paint or other coverings.
Painting High Gloss Cabinets
Covering high gloss kitchen cabinets requires proper cleaning and sanding for paint to stick well. Use a primer designed for glossy surfaces, then apply smooth, even coats of paint for a fresh look.
Painting high gloss kitchen cabinets can refresh your space. It brings a vibrant and modern look. Achieving a flawless finish requires care and attention. Let's explore the steps to paint high gloss cabinets effectively.
Selecting Brushes And Rollers
Choose the right tools for a smooth finish. Use high-quality brushes for precision. Soft bristle brushes work best. They reduce streaks and lines. For large areas, use foam rollers. They provide even coverage. Ensure your tools are clean and lint-free. It prevents imperfections on the surface.
Applying Paint In Thin Layers
Apply the paint in thin, even coats. Thick layers can cause drips and uneven texture. Start with a primer to help the paint stick better. Use long, steady strokes with your brush. Allow each coat to dry before adding the next. This builds a smooth, durable finish. Patience is key for a polished look.
Drying And Curing Time
Let the paint dry thoroughly between coats. Check the paint can for drying times. Generally, it takes a few hours. Complete curing might take a few days. Avoid using the cabinets during this time. This ensures the paint sets properly. It prevents smudges and damage. A well-cured finish lasts longer.
Using Adhesive Vinyl Wraps
Using adhesive vinyl wraps is a popular and budget-friendly way to transform high gloss kitchen cabinets. This option lets you change the look without sanding or painting, saving time and avoiding mess. Plus, vinyl wraps come in many colors and finishes, so you can find one that fits your style perfectly.
Measuring And Cutting Vinyl
Start by carefully measuring each cabinet door and drawer front. Accuracy here is key—too small and the vinyl won’t cover properly, too large and you’ll waste material. Write down your measurements and add about an inch extra on all sides to make sure you have enough to wrap around edges.
When cutting the vinyl, use a sharp utility knife or scissors. Cutting on a flat surface helps keep edges straight. You can cut the vinyl into manageable pieces based on your measurements, which makes handling easier during application.
Applying Vinyl Smoothly
Peel a small section of the backing off and align the vinyl with the cabinet surface. Use a plastic squeegee or a credit card to press the vinyl down, starting from the center and moving outward to avoid trapping air. Slowly pull away more backing as you smooth the vinyl, working in small sections for better control.
Try to keep the vinyl taut but don’t stretch it too much, or it might distort. Take your time—rushing often leads to wrinkles or bubbles that are harder to fix later. How much time you spend here really affects the final look.
Handling Air Bubbles And Wrinkles
Air bubbles can sneak in even with careful smoothing. Use a pin or needle to gently prick the bubble, then press out the trapped air with your squeegee. For wrinkles, lift the vinyl slowly and reapply, smoothing it out as you go.
Some bubbles may disappear over a day or two as the vinyl settles, but bigger ones need immediate attention. Have patience and keep adjusting until the surface feels smooth. You’ll be amazed how much a flawless finish can change your kitchen’s vibe.
Installing Peel-and-stick Wallpaper
Installing peel-and-stick wallpaper is a simple way to refresh high gloss kitchen cabinets. It offers a fast makeover without sanding or painting. This wallpaper type sticks directly to the cabinet surface. It works well on smooth, glossy finishes and hides scratches or marks. The process requires careful preparation and patience for best results.
Choosing Durable Wallpaper
Pick wallpaper made for high moisture areas like kitchens. Look for vinyl or waterproof materials. These resist steam and spills. Choose a design that matches your kitchen style. Thicker wallpaper lasts longer and hides imperfections better. Check product reviews to ensure durability and ease of removal.
Aligning Patterns Correctly
Start by cleaning cabinet surfaces thoroughly. Measure cabinet panels to cut wallpaper accurately. Align patterns before peeling the backing paper. Use a level or straight edge to guide placement. Work slowly to avoid bubbles or wrinkles. Match patterns at cabinet edges for a seamless look.
Smoothing And Trimming Edges
Use a squeegee or credit card to smooth wallpaper firmly. Press from the center outward to push out air bubbles. Trim excess wallpaper carefully with a sharp utility knife. Cut along cabinet edges and around handles for a neat finish. Double-check all edges stick well to avoid peeling later.

Credit: dremaxcabinets.com
Adding Decorative Touches
Adding decorative touches can transform high gloss kitchen cabinets into a stylish focal point. Small changes create big visual impact. These details personalize your kitchen and complement its overall design.
Replacing Cabinet Hardware
Swap out old knobs and pulls with new hardware. Choose materials like brushed nickel or matte black for contrast. Unique handles add charm and update the look quickly. Hardware changes require no special tools and give instant style.
Using Stencils For Designs
Use stencils to add patterns or shapes on cabinet surfaces. Select simple designs like stripes or geometric shapes for subtle elegance. Stencils help create a custom look without painting the entire cabinet. They are easy to apply and remove.
Incorporating Accent Colors
Introduce accent colors on cabinet doors or edges. Pick shades that match your kitchen’s color palette. Accent colors break the gloss and add depth. Use painter’s tape to keep lines clean and sharp.
Maintaining Covered Cabinets
Maintaining covered kitchen cabinets keeps your kitchen fresh and stylish. Regular care extends the life of painted, vinyl, or wallpapered surfaces. Gentle cleaning and quick repairs help avoid costly replacements. Proper attention preserves the cabinet’s new look and feel.
Cleaning Tips For Painted Surfaces
Use a soft cloth dampened with warm water for daily cleaning. Avoid harsh chemicals that can damage the paint. Mild dish soap works well for stubborn stains. Wipe gently to prevent scratches or peeling. Dry the surface with a clean, dry cloth to avoid water spots.
Caring For Vinyl And Wallpaper
Dust vinyl or wallpaper cabinets regularly with a microfiber cloth. Clean spills immediately to prevent staining. Use a non-abrasive cleaner mixed with water for deeper cleaning. Test any cleaner on a small hidden area first. Avoid excessive moisture that can cause peeling or bubbling.
Repairing Minor Damages
Fix small scratches on painted cabinets with touch-up paint. For vinyl or wallpaper, use adhesive to reattach any loose edges. Small dents can be gently pressed out if accessible. Keep repair kits handy for quick fixes. Early repairs prevent bigger problems later on.
Credit: www.ikea.com
Frequently Asked Questions
How Do You Prep High Gloss Kitchen Cabinets For Painting?
Start by cleaning cabinets with a degreaser. Lightly sand the surface using fine-grit sandpaper. Remove dust with a tack cloth. Apply a primer designed for glossy surfaces before painting.
What Paint Works Best On High Gloss Kitchen Cabinets?
Use an oil-based or high-quality acrylic latex paint. These paints adhere well and provide a durable finish. Choose semi-gloss or satin for a smooth, lasting appearance.
Can I Use Spray Paint On High Gloss Kitchen Cabinets?
Yes, spray paint offers a smooth, even coat. Use paint designed for cabinetry or furniture. Ensure proper ventilation and apply several thin layers for best results.
How Long Does It Take To Paint High Gloss Cabinets?
It typically takes 2-3 days including prep, painting, and drying. Allow each paint layer to dry fully before applying the next for durability.
Conclusion
Covering high gloss kitchen cabinets can refresh your space quickly. Choose the right materials and prepare surfaces carefully. Paint or adhesive films work well for a smooth finish. Take your time to avoid bubbles and streaks. Small steps lead to big changes in your kitchen.
Enjoy a new look without a full remodel. This project saves money and adds style easily. Try it yourself and see the difference today.