
How to Fix a Broken Kitchen Drawer Front: Is your kitchen drawer front broken or loose? It can be frustrating when something you use every day doesn’t work properly.
But don’t worry—you don’t have to replace the whole drawer or call a costly professional. With a few simple steps and some basic tools, you can fix it yourself quickly and easily. Keep reading, and you’ll learn exactly how to bring your kitchen drawer back to life, saving both time and money.
Your kitchen deserves to look and work its best, and you’re just a few fixes away from making that happen.
Identify The Damage
Identifying the damage is the first step to fix a broken kitchen drawer front. It helps you understand what repairs are needed. Careful inspection saves time and avoids extra work. Check every part of the drawer front closely. Small issues can become bigger if ignored.
Check For Cracks And Splits
Look closely at the surface of the drawer front. Tiny cracks can weaken the wood over time. Splits may run along the grain or across the surface. Run your fingers gently to feel for rough edges. Mark any cracks or splits for repair later. These flaws can cause the drawer front to break further.
Assess Loose Or Missing Hardware
Examine all screws, handles, and brackets on the drawer front. Loose screws can make the front unstable. Missing hardware leaves parts unsupported and prone to damage. Try to wiggle handles and see if they move easily. Note any parts that need tightening or replacement. Proper hardware keeps the drawer front secure.
Look For Water Damage Or Warping
Water damage weakens wood and causes stains or discoloration. Check for swollen or soft spots on the drawer front. Warping twists or bends the wood out of shape. Hold the drawer front straight and see if it curves oddly. Water damage and warping may require special treatment or replacement. Catching these signs early prevents bigger problems.

Credit: practicalshomes.com
Gather Repair Tools
Gathering the right tools is the first step to fixing a broken kitchen drawer front. Having everything prepared makes the job easier and faster. It also helps avoid frustration during the repair process. Below is a clear guide on what tools and materials to collect before starting your repair.
Essential Tools List
- Screwdriver set (flathead and Phillips)
- Hammer or rubber mallet
- Clamps to hold pieces together
- Measuring tape or ruler
- Utility knife or chisel
- Sandpaper (medium and fine grit)
- Drill with drill bits (optional for added support)
Recommended Adhesives And Fillers
- Wood glue for strong bonding
- Epoxy putty for filling gaps or cracks
- Wood filler to smooth surface imperfections
- Painter’s tape to protect areas during repair
Safety Gear To Use
- Protective gloves to avoid splinters and glue contact
- Safety goggles to protect eyes from dust and debris
- Dust mask to prevent inhaling sawdust
- Work apron or old clothes to stay clean
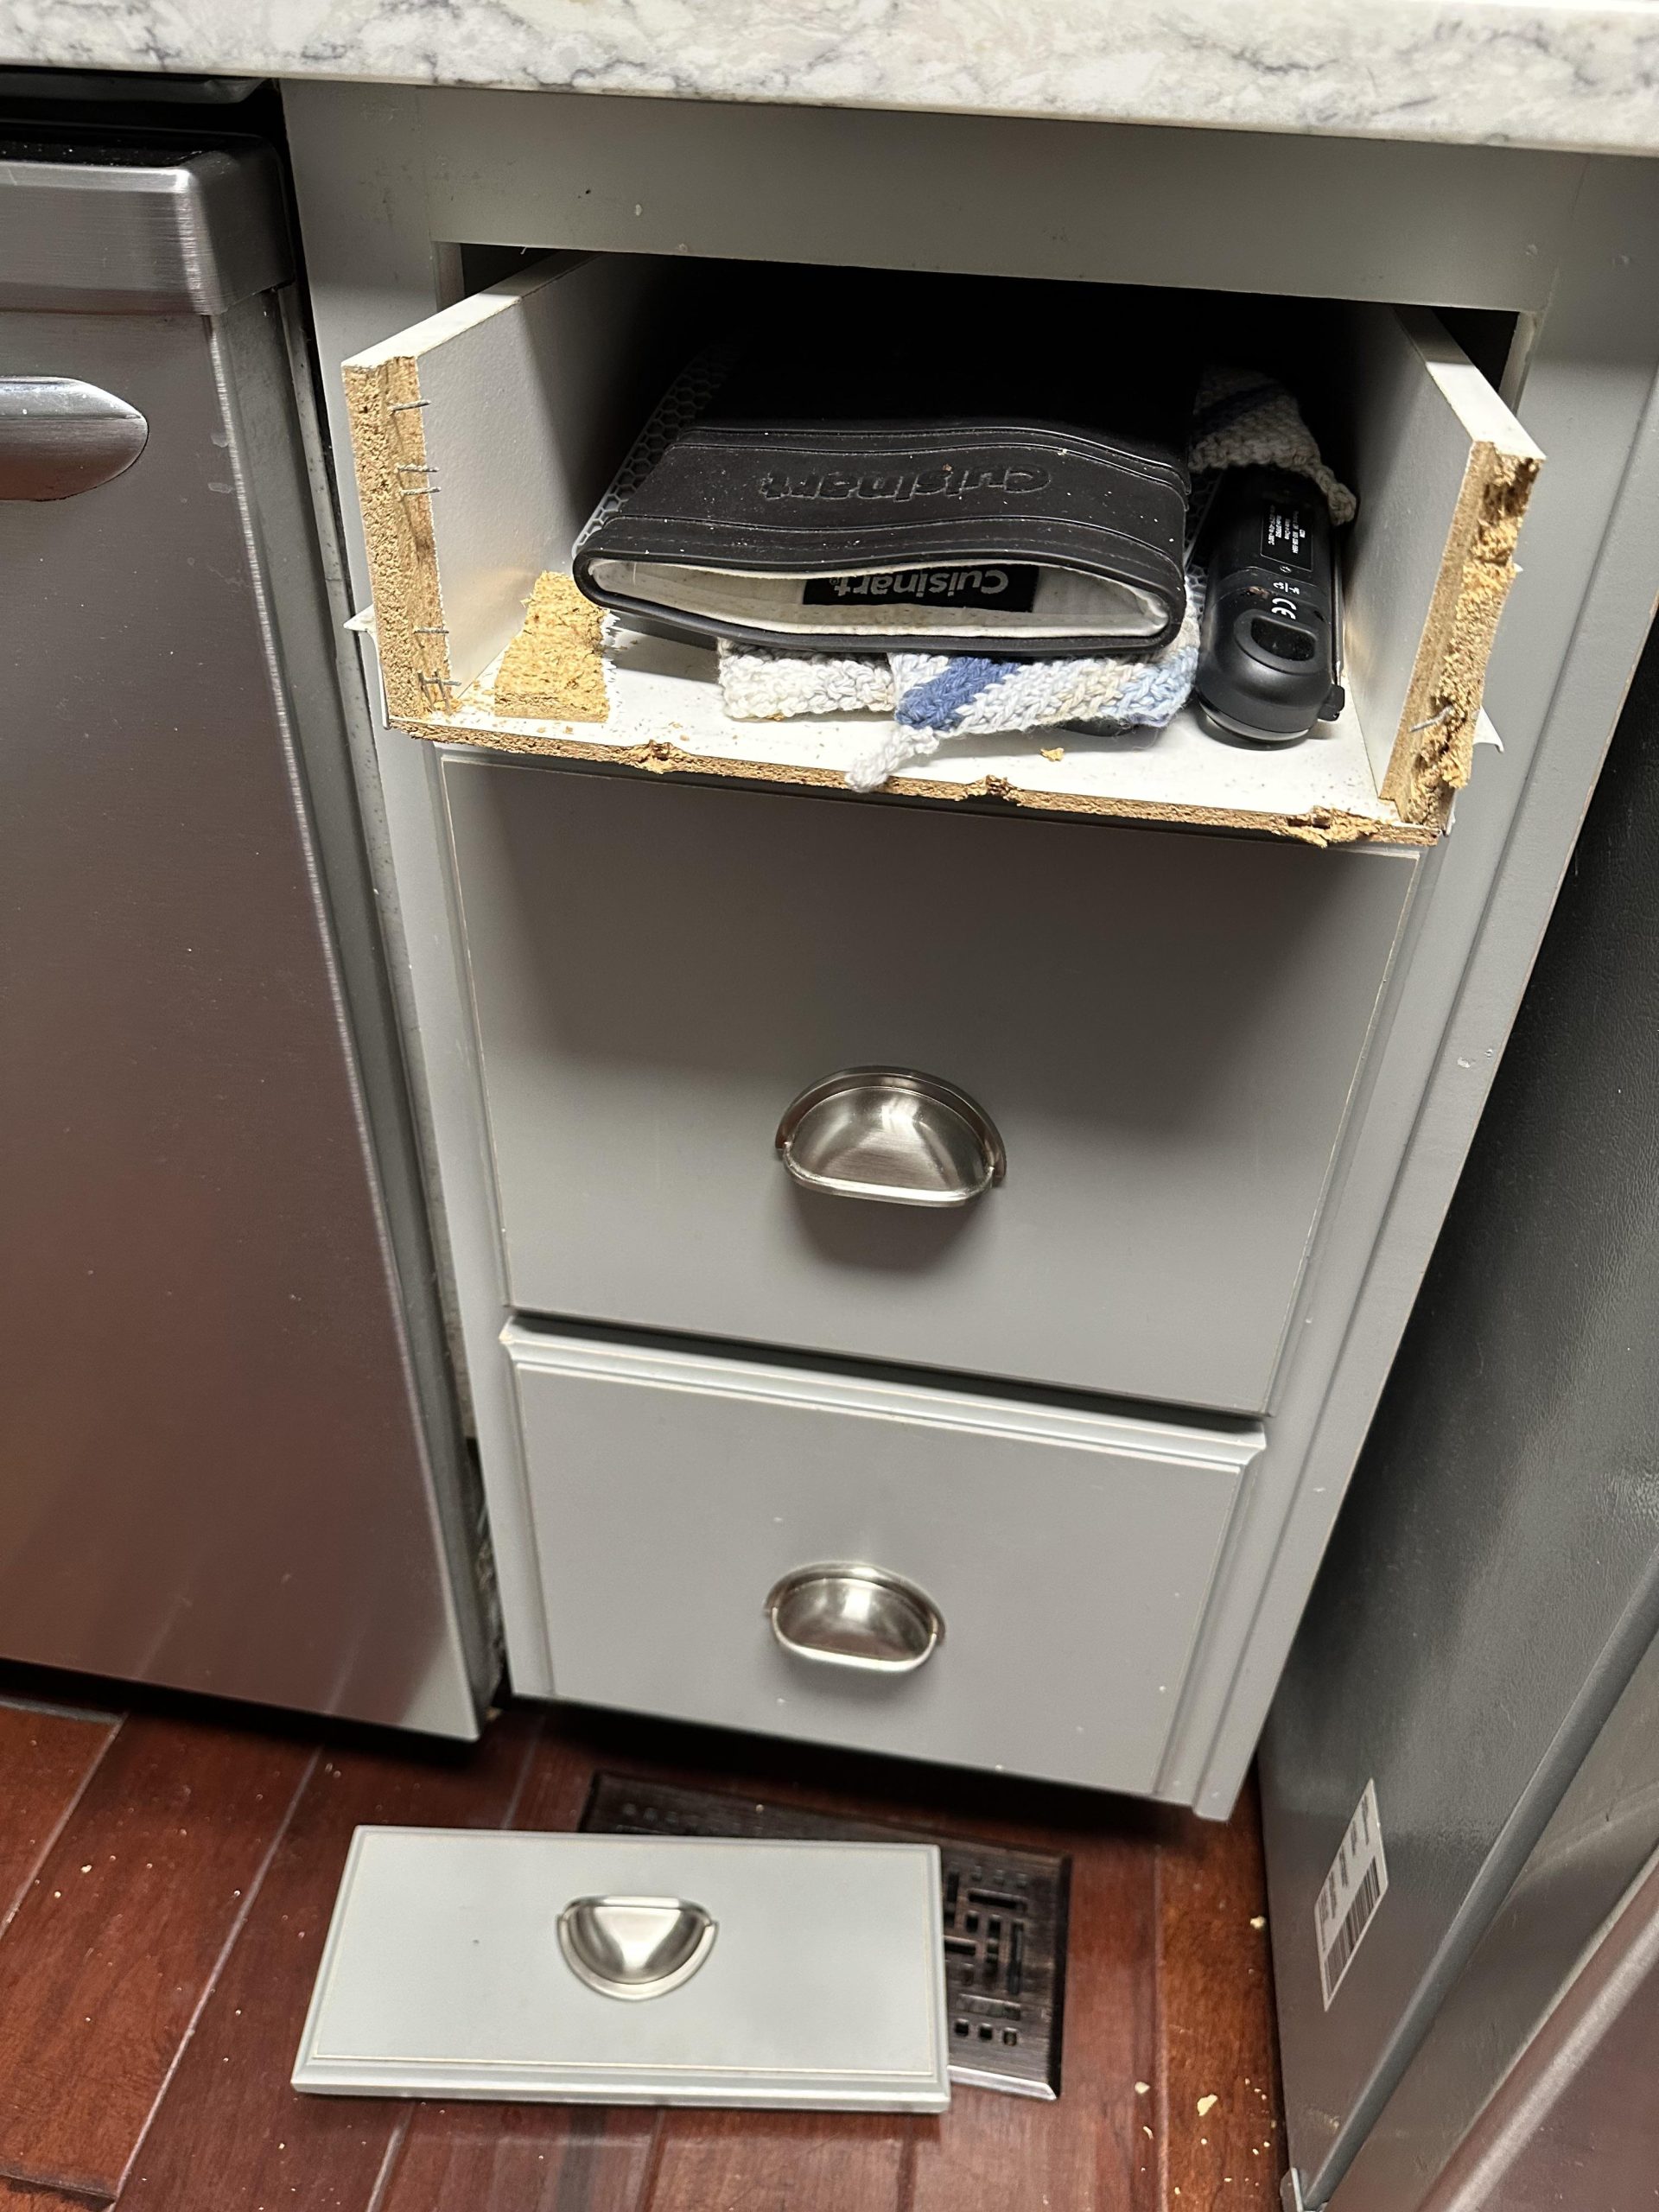
Remove The Drawer Front
Removing the drawer front is crucial for fixing a broken kitchen drawer. First, use a screwdriver to remove any screws securing the front. Gently pull the front away from the drawer box, ensuring no damage to the wood or surrounding areas.
Removing the drawer front from your kitchen drawer might seem like a daunting task, but with the right approach, it's a straightforward process. It's all about taking small, careful steps and ensuring each part is handled with care. Whether you're fixing a crack or replacing the entire front, the removal process is crucial for a successful repair.
Detach Screws And Fasteners
Start by identifying all the screws and fasteners that hold the drawer front in place. Most drawer fronts are attached using screws that are accessible from the inside of the drawer. Use a screwdriver to carefully remove each screw, making sure to keep them in a safe spot. You might find it helpful to use a small container to avoid losing these tiny parts. Once the screws are out, gently pull the drawer front away from the drawer box. If it's stuck, a slight wiggle should help. Remember, patience is key here.
Handle Fragile Parts Carefully
Some drawer fronts might have decorative elements that are delicate. Pay extra attention to these parts during removal to prevent damage. If your drawer has a glass or mirrored front, consider wearing gloves to protect both your hands and the material. Think about the last time you accidentally broke something valuable. That moment of regret can be avoided by handling each part with the utmost care. As you proceed, ask yourself: Is there a better way to secure or protect these fragile parts for the future? This proactive approach can save you time and trouble down the line.

Credit: www.amazon.com
Fix Cracks And Splits
Cracks and splits in your kitchen drawer front can be frustrating to deal with, but fixing them doesn’t have to be complicated. These imperfections not only affect the drawer’s appearance but can also weaken its structure over time. Tackling these issues early keeps your kitchen looking sharp and extends the life of your cabinetry.
Apply Wood Glue Correctly
Start by cleaning the cracked area to remove any dust or debris. Then, carefully apply wood glue into the crack using a small brush or toothpick to ensure the glue penetrates deep inside. Avoid over-applying; a thin, even layer works best to bond the wood surfaces without making a mess.
Clamp And Let Dry
Once the glue is applied, use clamps to hold the cracked pieces tightly together. If you don’t have clamps, heavy books or weights can work as a substitute. Let the glue dry completely—usually at least 24 hours—to achieve a strong, lasting bond.
Fill Gaps With Wood Filler
After the glue has dried and the clamps are removed, check for any remaining gaps or uneven areas. Use wood filler to fill these spots, smoothing it out with a putty knife. Once dry, sand the area lightly until it’s flush with the surrounding surface, ready for painting or staining.
Replace Or Tighten Hardware
Replacing or tightening hardware can restore your kitchen drawer front quickly. Loose screws or broken handles often cause drawer fronts to wobble or fall off. Fixing these parts helps the drawer look neat and work well again.
Check all screws, handles, hinges, and mounting brackets carefully. Tightening old screws can solve many problems. Sometimes, replacing worn hardware gives better results. Use matching parts for a clean, uniform look.
Find Matching Handles And Screws
Start by identifying the type of handles and screws used. Look for similar designs and sizes at hardware stores or online. Matching handles keep your kitchen drawer front consistent with other cabinets.
Use a small container to hold removed screws. Bring one screw or handle to the store for a perfect match. Choose screws that fit snugly to avoid future loosening.
Secure Hinges And Mounting Brackets
Inspect hinges and mounting brackets for damage or looseness. Tighten screws holding these parts with a screwdriver. Replace bent or broken hinges to prevent drawer misalignment.
- Remove old screws carefully to avoid damage.
- Use new screws of the same size and length.
- Check the drawer front's alignment after tightening.
Secure hinges and brackets firmly to ensure smooth drawer movement. Properly fixed hardware extends the drawer's life and improves safety.
Sand And Smooth Surfaces
Sanding and smoothing surfaces is a key step in fixing a broken kitchen drawer front. It helps remove old paint, rough spots, and imperfections. This process creates a clean, even surface. A smooth surface improves paint or stain adhesion. It also makes the drawer front look neat and fresh. Proper sanding ensures your repair lasts longer and looks professional.
Choose The Right Sandpaper Grit
Select sandpaper grit based on the drawer’s condition. Use coarse grit (60-80) to remove old paint or rough wood. Medium grit (120-150) works well for smoothing surfaces after coarse sanding. Fine grit (220-320) is perfect for the final sanding before painting or staining. Avoid skipping grits to prevent scratches. Always sand with the wood grain direction for the best finish.
Prepare For Painting Or Staining
After sanding, clean the surface thoroughly. Use a damp cloth to remove dust and debris. Let the drawer dry completely before painting or staining. Check for any remaining rough spots and sand again if needed. A clean, dry surface ensures the paint or stain sticks well. This step helps achieve a smooth, even finish on your drawer front.
Refinish The Drawer Front
Refinishing the drawer front is a vital step to restore its look and protect it from future damage. It gives your kitchen a refreshed feel and can match the rest of your cabinetry perfectly. Taking the time to refinish carefully will make your repaired drawer front look like new.
Select Paint Or Stain
Choosing between paint and stain depends on the existing finish and your kitchen style. Paint offers a wide range of colors and can cover imperfections well. Stain highlights the wood grain and provides a more natural look.
Think about the look you want: Do you prefer a bold, solid color or a warm, wood-toned finish? Also, consider the type of wood and whether it’s been previously painted or stained to ensure better adhesion.
Apply Coats Evenly
Applying paint or stain evenly is key to avoiding blotches and streaks. Use a high-quality brush or foam applicator designed for your chosen finish. Thin, even coats dry faster and look smoother.
Allow each coat to dry fully before adding the next one. This prevents peeling and gives you a professional-looking result. Take your time—rushing this step can ruin your hard work.
Seal For Durability
Sealing the drawer front protects your finish from daily wear and moisture. Choose a clear polyurethane or varnish that matches your finish—matte, satin, or glossy. This layer acts like armor, keeping your drawer front looking great for years.
Apply the sealer with a clean brush in thin coats, and sand lightly between layers for smoothness. Ask yourself: How often will this drawer be used? High-traffic drawers benefit from extra durable finishes.
Reattach The Drawer Front
Reattaching the drawer front is a key step in fixing a broken kitchen drawer. It restores the drawer’s look and function. This process needs care to ensure the drawer works smoothly and looks aligned. Follow the steps below to secure the drawer front properly.
Align Properly
Place the drawer front against the drawer box carefully. Check the edges to match perfectly. Use clamps or ask someone to hold it steady. Small misalignment can cause the drawer to stick or look uneven.
Secure With Screws
Choose screws that fit the drawer front and box thickness. Drill pilot holes to avoid splitting the wood. Insert screws slowly and tighten them enough to hold the front firmly. Avoid overtightening, which can damage the wood.
Test For Functionality
Slide the drawer in and out several times. Check for smooth movement and proper fit. Listen for any rubbing or sticking sounds. Make adjustments by loosening screws and realigning if necessary.
Prevent Future Damage
Preventing future damage to your kitchen drawer front is just as important as fixing the current issue. Taking small, consistent steps can extend the life of your drawers and keep them looking great. Are you ready to protect your kitchen investment and avoid costly repairs down the line?
Regular Maintenance Tips
Checking your drawer fronts regularly helps catch problems before they grow. Tighten loose screws and hinges as soon as you notice them. A quick monthly inspection can save you from a major repair later.
Cleaning your drawers gently with a soft cloth prevents dirt buildup that can weaken the wood or hardware. Avoid harsh chemicals that might damage the finish. Have you ever thought about how simple cleaning habits could protect your drawers?
Avoid Excessive Weight
Overloading drawers puts stress on the front panel and slides, leading to cracks or warping. Keep heavy pots and pans in cabinets designed for weight, not in drawers. Think about what you store in your drawers—are they carrying more than they should?
Distributing weight evenly inside the drawer reduces pressure on any one spot. Use organizers to keep items balanced and prevent shifting when you open and close the drawer.
Keep Away From Moisture
Moisture causes wood to swell and can loosen glue or nails in drawer fronts. Wipe spills immediately and avoid placing wet items inside drawers. Does your kitchen have areas where moisture tends to collect near drawers?
Consider using moisture absorbers or dehumidifiers in humid environments. Proper ventilation around cabinets can also help keep drawer fronts dry and strong.

Credit: www.amazon.com
Frequently Asked Questions
How Do I Repair A Cracked Kitchen Drawer Front?
To repair a cracked kitchen drawer front, clean the area, apply wood glue into the crack, clamp it securely, and let it dry for 24 hours. Sand and repaint or refinish the surface to restore its appearance and strength.
What Tools Are Needed To Fix A Broken Drawer Front?
You will need wood glue, clamps, sandpaper, a screwdriver, wood filler, paint or stain, and a putty knife. These tools help you glue, secure, smooth, and finish the drawer front for a professional repair.
Can I Replace A Kitchen Drawer Front Myself?
Yes, replacing a kitchen drawer front is doable with basic tools and patience. Remove the old front, measure carefully, buy a matching replacement, attach it with screws, and finish with paint or stain to match your kitchen decor.
How Long Does It Take To Fix A Broken Drawer Front?
Fixing a broken drawer front typically takes 1 to 3 hours, depending on damage extent. Drying time for glue or filler may add extra hours, so plan accordingly for the best results.
Conclusion
Fixing a broken kitchen drawer front does not have to be hard. Small tools and simple steps can save time and money. Take your time to check the damage carefully. Follow the guide to remove, repair, and reattach the drawer front.
A sturdy drawer looks better and works well. You can enjoy a neat kitchen without buying new cabinets. Try these tips and see the difference yourself. Keep your kitchen drawers strong and reliable every day.