
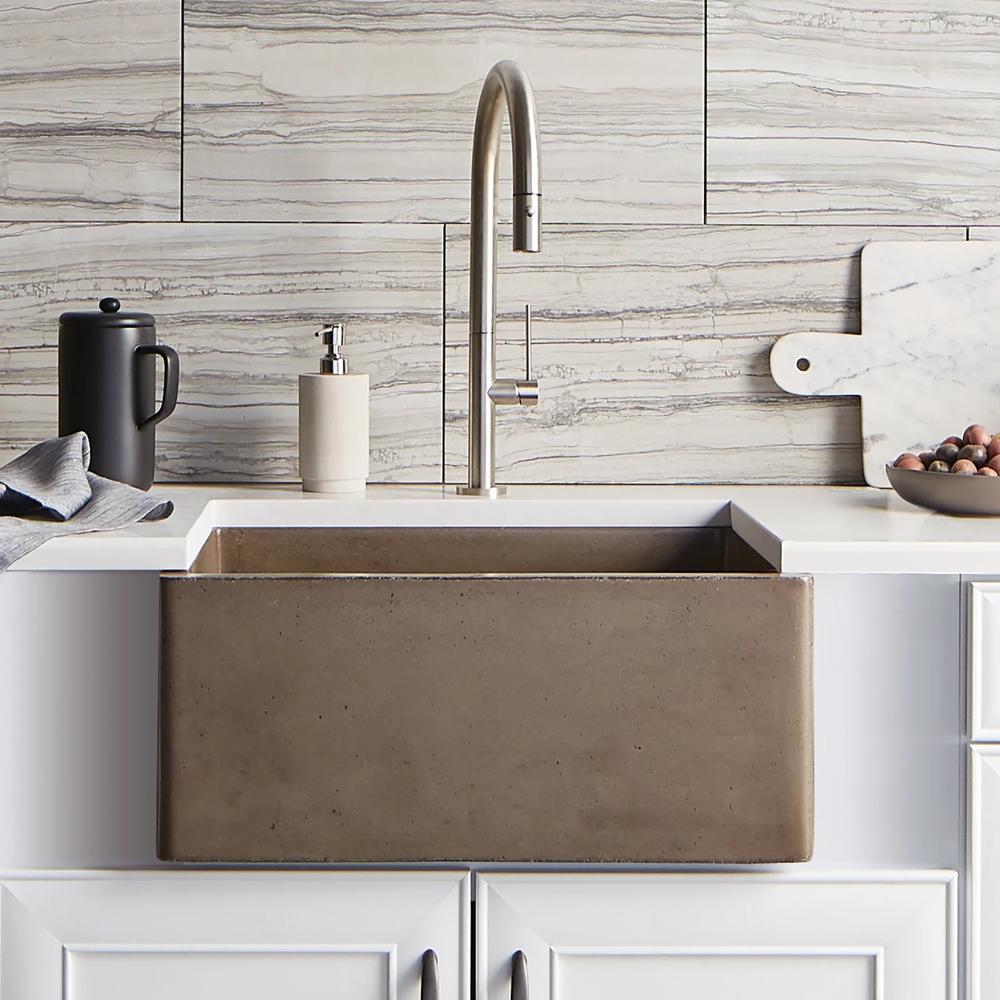
Are you ready to give your kitchen a fresh, stylish upgrade? Installing an apron front kitchen sink can instantly transform the look of your space while adding practical benefits.
But if you’re worried that the installation might be complicated or costly, don’t be. This guide will walk you through each step clearly and simply, so you can tackle the project yourself—even if you’ve never done it before. By the end, you’ll know exactly how to install your new sink with confidence, saving time and money while creating the kitchen you’ve always wanted.
Let’s get started!
Choosing The Right Apron Front Sink
Choosing the right apron front sink sets the foundation for a smooth installation and a stylish kitchen. The sink must fit your space, match your kitchen style, and work well with your cabinets. Careful selection avoids problems later and enhances your kitchen’s look.
Materials And Styles
Apron front sinks come in many materials. Stainless steel is popular for its durability and easy cleaning. Fireclay offers a classic look with strong resistance to scratches and stains. Copper adds warmth and ages beautifully but needs more care. Granite composite is tough and comes in many colors.
The sink style should match your kitchen design. A modern kitchen suits sleek, simple sinks. Traditional kitchens pair well with farmhouse-style, detailed edges. Think about the sink’s shape too. Single bowls offer more space for large pots. Double bowls help separate tasks.
Measuring Your Space
Measure the width, depth, and height of your existing sink area. Check the countertop cutout size to ensure the new sink fits well. Leave room for faucet installation and accessories. Remember to measure inside your cabinet too. Accurate measurements prevent costly mistakes and ensure a smooth fit.
Compatibility With Cabinets
Apron front sinks need special cabinet setups. They often require a modified or open-front cabinet. Check if your current cabinets can support the sink’s weight and size. Some sinks are heavier and may need extra support. Make sure your cabinet doors and drawers do not block the sink apron.
Gathering Necessary Tools And Materials
Before installing an apron front kitchen sink, gather all tools and materials. Proper preparation ensures a smooth installation process. Understanding the necessary items will save time and effort. This step is crucial for a successful project.
Essential Tools
- Tape measure for accurate dimensions.
- Screwdriver set for various screws.
- Jigsaw for cutting countertop.
- Drill with bits for creating holes.
- Level to ensure even placement.
- Caulking gun for sealing edges.
Plumbing Supplies
- Pipe wrench for tightening connections.
- PVC pipes and fittings for drainage.
- Plumber’s tape to prevent leaks.
- Sink strainer to catch debris.
- Silicone sealant for waterproofing.
Safety Equipment
- Safety glasses to protect eyes.
- Gloves to safeguard hands.
- Dust mask for filtering particles.
- Ear protection if using loud tools.
Preparing The Installation Area
Preparing the installation area is a crucial part of fitting your new apron front kitchen sink. This phase sets the foundation for a smooth and successful installation. Taking time here can save you from unexpected problems and extra costs later.
Removing The Old Sink
Start by turning off the water supply to avoid leaks. Disconnect the plumbing carefully, including the drain and water lines. Use a utility knife to cut through any caulk sealing the sink to the countertop.
Once everything is detached, gently lift the old sink out. If it feels stuck, check for hidden screws or clips. Patience here prevents damage to your countertop or cabinets.
Cleaning And Inspecting The Countertop
After removing the sink, clean the countertop thoroughly. Remove all debris, old caulk, and adhesive residues. This ensures a smooth surface for your new sink to sit properly.
Inspect the countertop for any damage or water stains. These could indicate underlying issues that need repair before you proceed. Have you noticed any soft spots or cracks? Addressing them now will extend your sink’s lifespan.
Adjusting Cabinetry If Needed
Apron front sinks often require more space because of their deep front panel. Check if your cabinet front and base can accommodate this design without obstruction. If the cabinet frame blocks the sink, you may need to trim or modify it.
Use a measuring tape to compare your sink dimensions with the cabinet opening. Small adjustments here can make a big difference in fit and finish. Are your cabinets ready to support the weight and shape of the new sink?

Credit: thesinkboutique.com
Installing The Apron Front Sink
Installing an apron front kitchen sink is a rewarding project that can transform your kitchen's look and functionality. It requires careful attention to detail to ensure a perfect fit and a secure hold. Let’s break down the essential steps to get your sink installed correctly and looking great.
Positioning The Sink
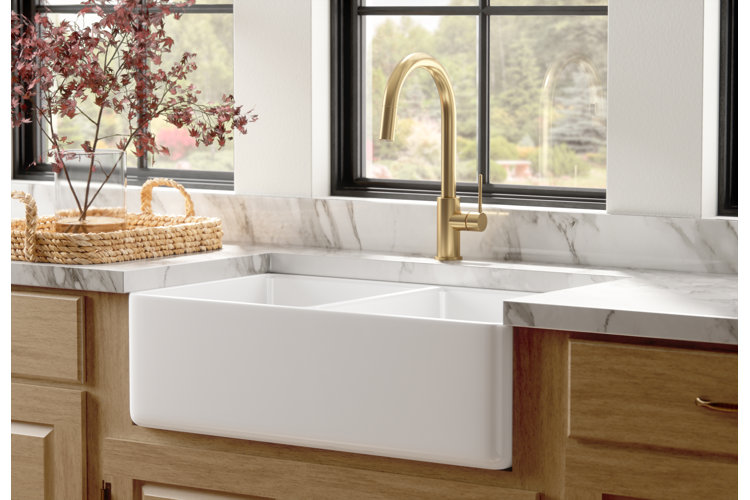
Start by carefully placing the sink into the cutout of your countertop. Make sure the apron front sits flush against the cabinet face for that signature look. Check the sink’s level from side to side and front to back—uneven placement can cause problems later.
Ask yourself: is the sink aligned with your faucet and plumbing? If not, adjust it before moving on. It’s easier to fix positioning now than to deal with leaks or awkward angles later.
Securing The Sink To The Cabinet
Once the sink is properly positioned, it’s time to secure it in place. Most apron front sinks come with mounting clips—attach these under the countertop to hold the sink firmly. Tighten the clips gradually to avoid shifting the sink out of alignment.
If your sink doesn’t have clips, consider using a strong adhesive recommended for kitchen sinks. Remember, a loose sink can cause damage to your cabinets and plumbing over time.
Sealing The Edges
Sealing the edges between the sink and the countertop is crucial to prevent water damage. Apply a bead of waterproof silicone caulk along the seam where the sink meets the countertop. Use a damp finger or a caulk smoothing tool to create a clean, neat line.
Don’t forget to seal around the apron’s edges against the cabinet as well. This extra step guards against moisture sneaking in and causing wood to warp or mold to grow. Have you checked your caulk for gaps or cracks lately? A tight seal makes all the difference.
Connecting The Plumbing
Connecting the plumbing is where your new apron front kitchen sink really starts to come alive. This stage requires careful attention to detail to ensure everything fits perfectly and functions without leaks. Don't rush through it; the right connections mean fewer headaches down the road.
Installing The Faucet And Drain
Begin by securing the faucet to the sink. Most faucets come with a mounting kit—tighten the nuts underneath while holding the faucet steady above. If your sink doesn’t have pre-drilled holes, you may need to drill them carefully to avoid cracking the surface.
Next, attach the drain assembly. Apply plumber’s putty or silicone around the drain flange to create a watertight seal. Tighten the locknut from below, making sure the drain is aligned properly to avoid leaks or slow drainage.
Attaching Water Supply Lines
Connect the hot and cold water supply lines to the corresponding faucet inlets. Use flexible braided hoses for easier handling and a secure fit. Tighten the connections with an adjustable wrench, but avoid over-tightening, which can damage fittings.
Check if your shut-off valves are functioning smoothly before reconnecting the lines. If valves are old or corroded, replacing them now can save you trouble later. Have you noticed any leaks around these valves during your last kitchen check?
Testing For Leaks
Turn on the water supply slowly and watch all connection points carefully. Leaks often show up as tiny drips or moisture around joints. If you spot any, tighten the fittings gently or reapply plumber’s tape if needed.
Run both hot and cold water for several minutes, checking under the sink and around the drain. Don’t forget to inspect the area beneath the sink regularly in the first few days after installation—some leaks appear only after pressure builds up. How confident do you feel about catching a hidden drip before it causes damage?
Credit: www.wayfair.com
Finishing Touches And Maintenance Tips
After installing your apron front kitchen sink, paying attention to the finishing touches and ongoing maintenance is key to keeping it looking great and functioning well for years. A well-maintained sink not only enhances your kitchen's appearance but also prevents costly repairs down the line. Let’s explore how you can care for your sink’s surface, avoid damage, and keep your kitchen running smoothly with simple routine care.
Cleaning The Sink Surface
Cleaning your apron front sink regularly keeps it shining and hygienic. Use mild dish soap and a soft cloth or sponge to wipe down the surface daily. Avoid harsh chemicals or abrasive scrubbers that can scratch or dull the finish.
For stubborn stains, try a paste of baking soda and water applied gently with a soft brush. Rinse thoroughly and dry with a microfiber towel to prevent water spots. Have you noticed how some cleaners promise a shine but leave residue? Always rinse well to avoid buildup that attracts dirt.
Preventing Damage
Apron front sinks are sturdy, but they still need protection from harsh impacts. Avoid dropping heavy pots or sharp utensils directly into the basin. Place a rubber mat or sink grid at the bottom to cushion your dishes and prevent scratches.
Be mindful of temperature shocks, especially if your sink is made of fireclay or cast iron. Don’t pour boiling water directly into a cold sink; instead, run warm water first. Have you ever cracked a sink from sudden temperature changes? Taking this simple step can save you from costly repairs.
Routine Care Advice
Set a weekly routine to inspect your sink and faucet for leaks or wear. Tighten any loose fittings and clean the drain to prevent clogs. Consider applying a protective wax or sealant if your sink’s material recommends it—this helps repel stains and water spots.
- Wipe the sink dry after each use to prevent mineral deposits.
- Use a gentle polish monthly to maintain the sink’s luster.
- Check seals and caulking around the sink to stop water damage under the counter.
What small habit can you add today that would extend the life of your sink? Sometimes a few extra seconds spent drying and checking your sink pays off in lasting beauty and function.

Credit: enthrallinggumption.com
Frequently Asked Questions
What Tools Are Needed To Install An Apron Front Sink?
You need a wrench, screwdriver, plumber’s putty, silicone sealant, pipe wrench, and a tape measure. These tools help secure and seal the sink properly.
How Do I Prepare The Countertop For An Apron Front Sink?
Measure and cut the countertop opening to fit the sink dimensions. Ensure edges are smooth to prevent damage or leaks.
Can I Install An Apron Front Sink Myself?
Yes, with basic plumbing skills and tools, you can install it. Follow step-by-step instructions carefully for a secure fit.
How Do I Seal The Apron Front Sink To Prevent Leaks?
Apply a bead of silicone sealant around the sink’s edge. Press it firmly against the countertop for a waterproof seal.
Conclusion
Installing an apron front kitchen sink adds style and function to your kitchen. Follow each step carefully for the best fit and seal. Take your time with measurements and connections to avoid leaks. Clean the area well before starting the installation.
A properly installed sink lasts for many years. Enjoy your new sink and the fresh look it brings. Simple tools and patience make this project doable. Ready to upgrade your kitchen? This sink can be a great choice.