
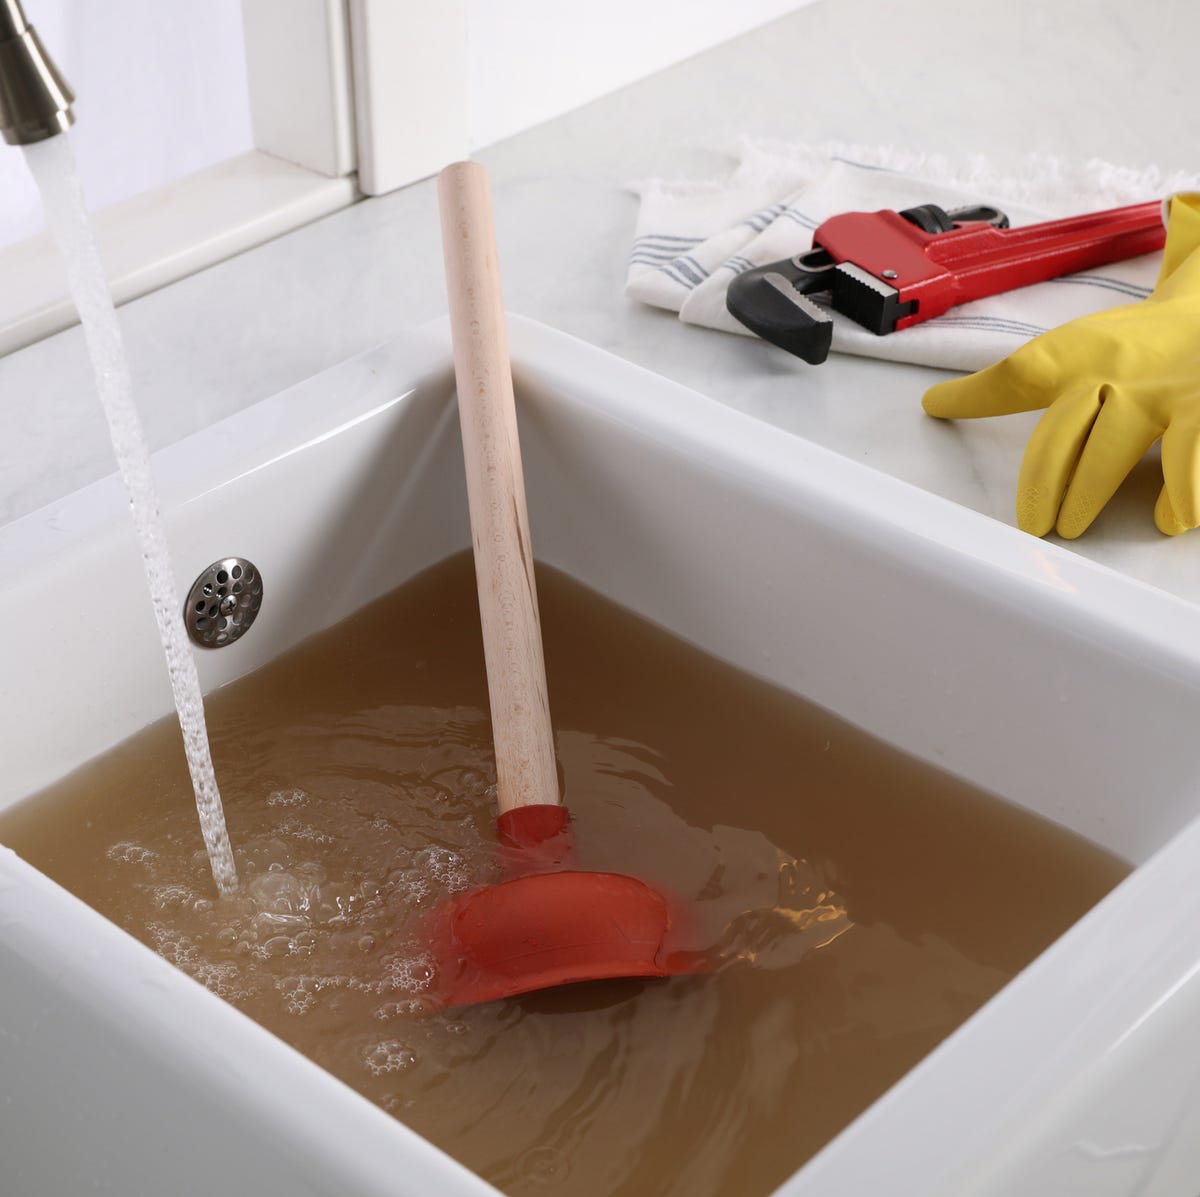
Is your kitchen sink clogged and slowing you down? You don’t have to call a plumber right away or deal with messy chemicals.
Using a plunger might be the simplest and fastest way to fix the problem yourself. In this guide, you’ll learn exactly how to use a plunger on your kitchen sink the right way. By following these easy steps, you can save time, avoid frustration, and get your sink draining smoothly again.
Keep reading to discover the secrets that make plunging effective every time!
Tools Needed
Before you start plunging your kitchen sink, gathering the right tools can make the job faster and less frustrating. Having everything at hand helps you avoid interruptions when you’re in the middle of clearing a clog. Let’s look at what tools you’ll need to tackle the task effectively.
Choosing The Right Plunger
Not all plungers are created equal, especially for kitchen sinks. You want a plunger with a flange or a bell-shaped end, which creates a better seal around the drain. A flat cup plunger, the kind you use for toilets, won’t work well because it can’t form the tight seal needed for kitchen sinks.
Consider the size too. A smaller plunger, around 6 to 8 inches in diameter, fits better in most kitchen sink drains. If your sink has a double basin, make sure the plunger can cover the drain completely for effective suction.
Additional Supplies
Besides the plunger, a few extra items can save you trouble. Keep a pair of rubber gloves nearby to protect your hands from dirty water. A bucket will come in handy to catch any spills or to remove standing water before plunging.
You might also want to have some old towels or rags ready. They help keep the area dry and prevent slips. A flashlight can be useful if you need to inspect the drain for visible blockages before plunging.

Credit: www.yahoo.com
Preparing The Sink
Preparing the sink is essential before using a plunger. It ensures the tool works well and clears the clog faster. Taking a few simple steps can make plunging more effective. Clean the area and stop water from escaping through overflow holes.
Clearing The Area
Remove any dishes, soap, or debris from around the sink. Keep the countertop dry to avoid slipping. Clear space helps you use the plunger easily. It also prevents dirt from falling into the drain during plunging.
Sealing Overflow Holes
Many kitchen sinks have overflow holes near the top edge. These holes let water drain if the sink fills too high. Cover the holes with a wet cloth or tape. Sealing stops air from escaping when you plunge. It creates a strong vacuum for better suction.
Plunging Technique
Place the plunger over the sink drain to create a seal. Push down and pull up quickly to loosen clogs. Repeat until water flows freely.
Plunging Technique Have you ever faced a clogged kitchen sink and didn't know what to do? The plunging technique can be your go-to solution. It's straightforward and, with the right method, surprisingly effective. Let's dive into how you can master this skill.
Creating A Tight Seal
The key to an effective plunge is creating a tight seal. Ensure the plunger cup completely covers the sink drain. This prevents air from escaping and maximizes suction. Remove any excess water that might overflow during the process. A little water in the sink helps create the seal, but too much can be a mess. If you’ve ever tried plunging without a good seal, you'll know it's like trying to catch water with a sieve.
Applying Pressure Correctly
Once you've got the seal, it's time to apply pressure. Push down firmly, then pull back up without breaking the seal. Think of it as a controlled push-pull action. Don’t just rely on brute force; it's more about the rhythm. Consistency in pressure is crucial. If you apply too much force, you might end up splashing water everywhere.
Repetition And Patience
Clogs don't always clear immediately. Repetition is your friend here. Keep plunging with the same push-pull action until you notice the water starting to drain. Patience is essential. Sometimes, it takes a few tries before you see results. If you feel frustrated, take a deep breath and remember that persistence often pays off. Have you considered the satisfaction of watching a stubborn clog give way? That moment is worth the effort. And who knows, you might even find it a bit therapeutic!
Troubleshooting
Troubleshooting a kitchen sink plunger can be frustrating, especially when you expect quick results. Knowing what to do when the plunger doesn’t work and how to avoid common mistakes can save you time and prevent damage. Let’s break down some practical tips to get your sink flowing smoothly again.
When Plunger Doesn’t Work
If plunging doesn’t clear the clog, don’t give up immediately. Sometimes, the blockage is too deep or caused by grease buildup, which a plunger alone can’t fix.
Try these actions next:
- Use a drain snake or auger to reach further down the pipe.
- Pour hot water mixed with a bit of dish soap to help dissolve grease.
- Check if the sink’s trap is clogged by removing and cleaning it carefully.
Have you ever noticed that plunging creates bubbles or gurgling sounds? That often means air is trapped, and the blockage might be beyond the reach of your plunger. In such cases, manual cleaning or professional help might be necessary.
Avoiding Common Mistakes
Many people make simple errors that reduce the plunger’s effectiveness. One common mistake is not creating a proper seal around the drain. Without a tight seal, the suction power weakens, and the clog won’t budge.
Another frequent error is using the wrong type of plunger. A flat plunger designed for sinks or showers works best, while toilet plungers with a flange may not fit well.
- Avoid plunging too forcefully; it can damage your pipes.
- Don’t use chemical drain cleaners before or after plunging—they can cause burns and damage plumbing.
- Make sure to cover the overflow hole with a wet cloth to increase pressure.
Remember, patience is key. Plunging for short bursts and checking progress helps you avoid unnecessary wear on your sink’s plumbing. What’s your experience with plungers—have you encountered any surprising obstacles?
Maintenance Tips
Keeping your kitchen sink plunger in good shape is just as important as using it properly. Maintenance tips help you avoid frequent plumbing headaches and extend the life of your tools. Simple habits can make a big difference in how well your sink drains and how often you need to plunge.
Preventing Future Clogs
Think about what goes down your drain. Grease, food scraps, and coffee grounds can build up quickly and cause blockages. Avoid pouring grease or oil directly into the sink; instead, collect it in a container and throw it away.
Use a drain strainer to catch small food particles before they slip down the drain. It’s a small step but saves a lot of hassle later. Have you ever wondered why your sink clogs more after cooking? It’s often because bits of food get washed away without a proper filter.
Flush your drain with hot water regularly. This helps dissolve soap scum and grease lining the pipes. Adding a cup of vinegar followed by baking soda once a month can also keep buildup under control.
Regular Cleaning Practices
Cleaning your plunger after each use is crucial. Rinse it thoroughly with hot water to remove debris and bacteria. Let it air dry fully to prevent mold and unpleasant odors.
Don’t store your plunger directly on the floor. Place it in a bucket or hang it on a hook to keep it dry and clean. This simple habit keeps your kitchen hygienic and your plunger ready to work when you need it.
Set a schedule to check your sink and plunger every few weeks. Look for signs of slow drainage or unpleasant smells. Addressing these early can save you from a major clog later on.
Credit: shopping.yahoo.com

Credit: www.drano.com
Frequently Asked Questions
How Do I Prepare The Kitchen Sink For Plunging?
Remove any standing water and clear visible debris. Ensure the sink stopper is out, and cover overflow holes with a wet cloth to improve suction.
What Is The Correct Plunger Technique For Kitchen Sinks?
Place the plunger over the drain opening, creating a tight seal. Push down gently, then pull up sharply. Repeat this motion 15-20 times.
Can I Use A Plunger On A Double Kitchen Sink?
Yes, block the second drain with a wet cloth or stopper. This prevents air escape and maximizes plunging pressure for effective clog removal.
How Often Should I Clean My Plunger After Use?
Clean your plunger after each use with hot water and disinfectant. This prevents bacteria buildup and keeps the tool hygienic for future use.
Conclusion
Using a plunger in your kitchen sink is simple and effective. Just follow the basic steps to clear clogs fast. Remember to create a tight seal and use steady pressure. This helps push the blockage free without damage. Clean your plunger after use to keep it ready.
With a little practice, you can fix most sink clogs yourself. Save time and avoid calling a plumber for small problems. A plunger is a handy tool everyone should know how to use. Give it a try next time your sink slows down.
Easy and quick!