
How to Sanitize Kitchen Sponges. Your kitchen sponge works hard every day, cleaning up messes and wiping surfaces. But have you ever stopped to think about what’s living inside it?
Germs and bacteria love damp, warm sponges, turning them into breeding grounds for harmful microbes. If you want to keep your kitchen safe and your family healthy, learning how to properly sanitize your kitchen sponge is a must. You’ll discover simple, effective ways to kill those hidden germs and keep your sponge fresh longer.
Ready to protect your home from unseen dangers? Let’s dive in.
:max_bytes(150000):strip_icc()/GettyImages-1425295065-f406affe0c904d83a5b948f2d8b2ebff.jpg)
Credit: www.realsimple.com
Why Sanitize Kitchen Sponges
Sanitizing kitchen sponges is essential for a healthy home. Sponges clean many surfaces but can carry harmful germs. Keeping sponges clean helps prevent illness and keeps your kitchen safe.
Germ Hotspots In Sponges
Kitchen sponges are damp and full of food particles. This creates the perfect place for germs to grow. Bacteria, mold, and yeast thrive in these moist areas. Sponges often contain more germs than a toilet seat. Germs hide deep inside the sponge’s pores, making them hard to remove.
Risks Of Dirty Sponges
Using dirty sponges spreads bacteria to dishes and countertops. This can cause food poisoning and infections. Germs like Salmonella and E. coli are common risks. These bacteria can cause stomach pain, vomiting, and diarrhea. Dirty sponges also produce bad smells and stains. Regular sanitizing lowers these risks and keeps your kitchen healthier.
Simple Methods To Clean Sponges
Keeping your kitchen sponge clean is easier than you think. Simple methods can kill germs and extend the life of your sponge. You don’t need fancy tools—just a bit of time and common household items.
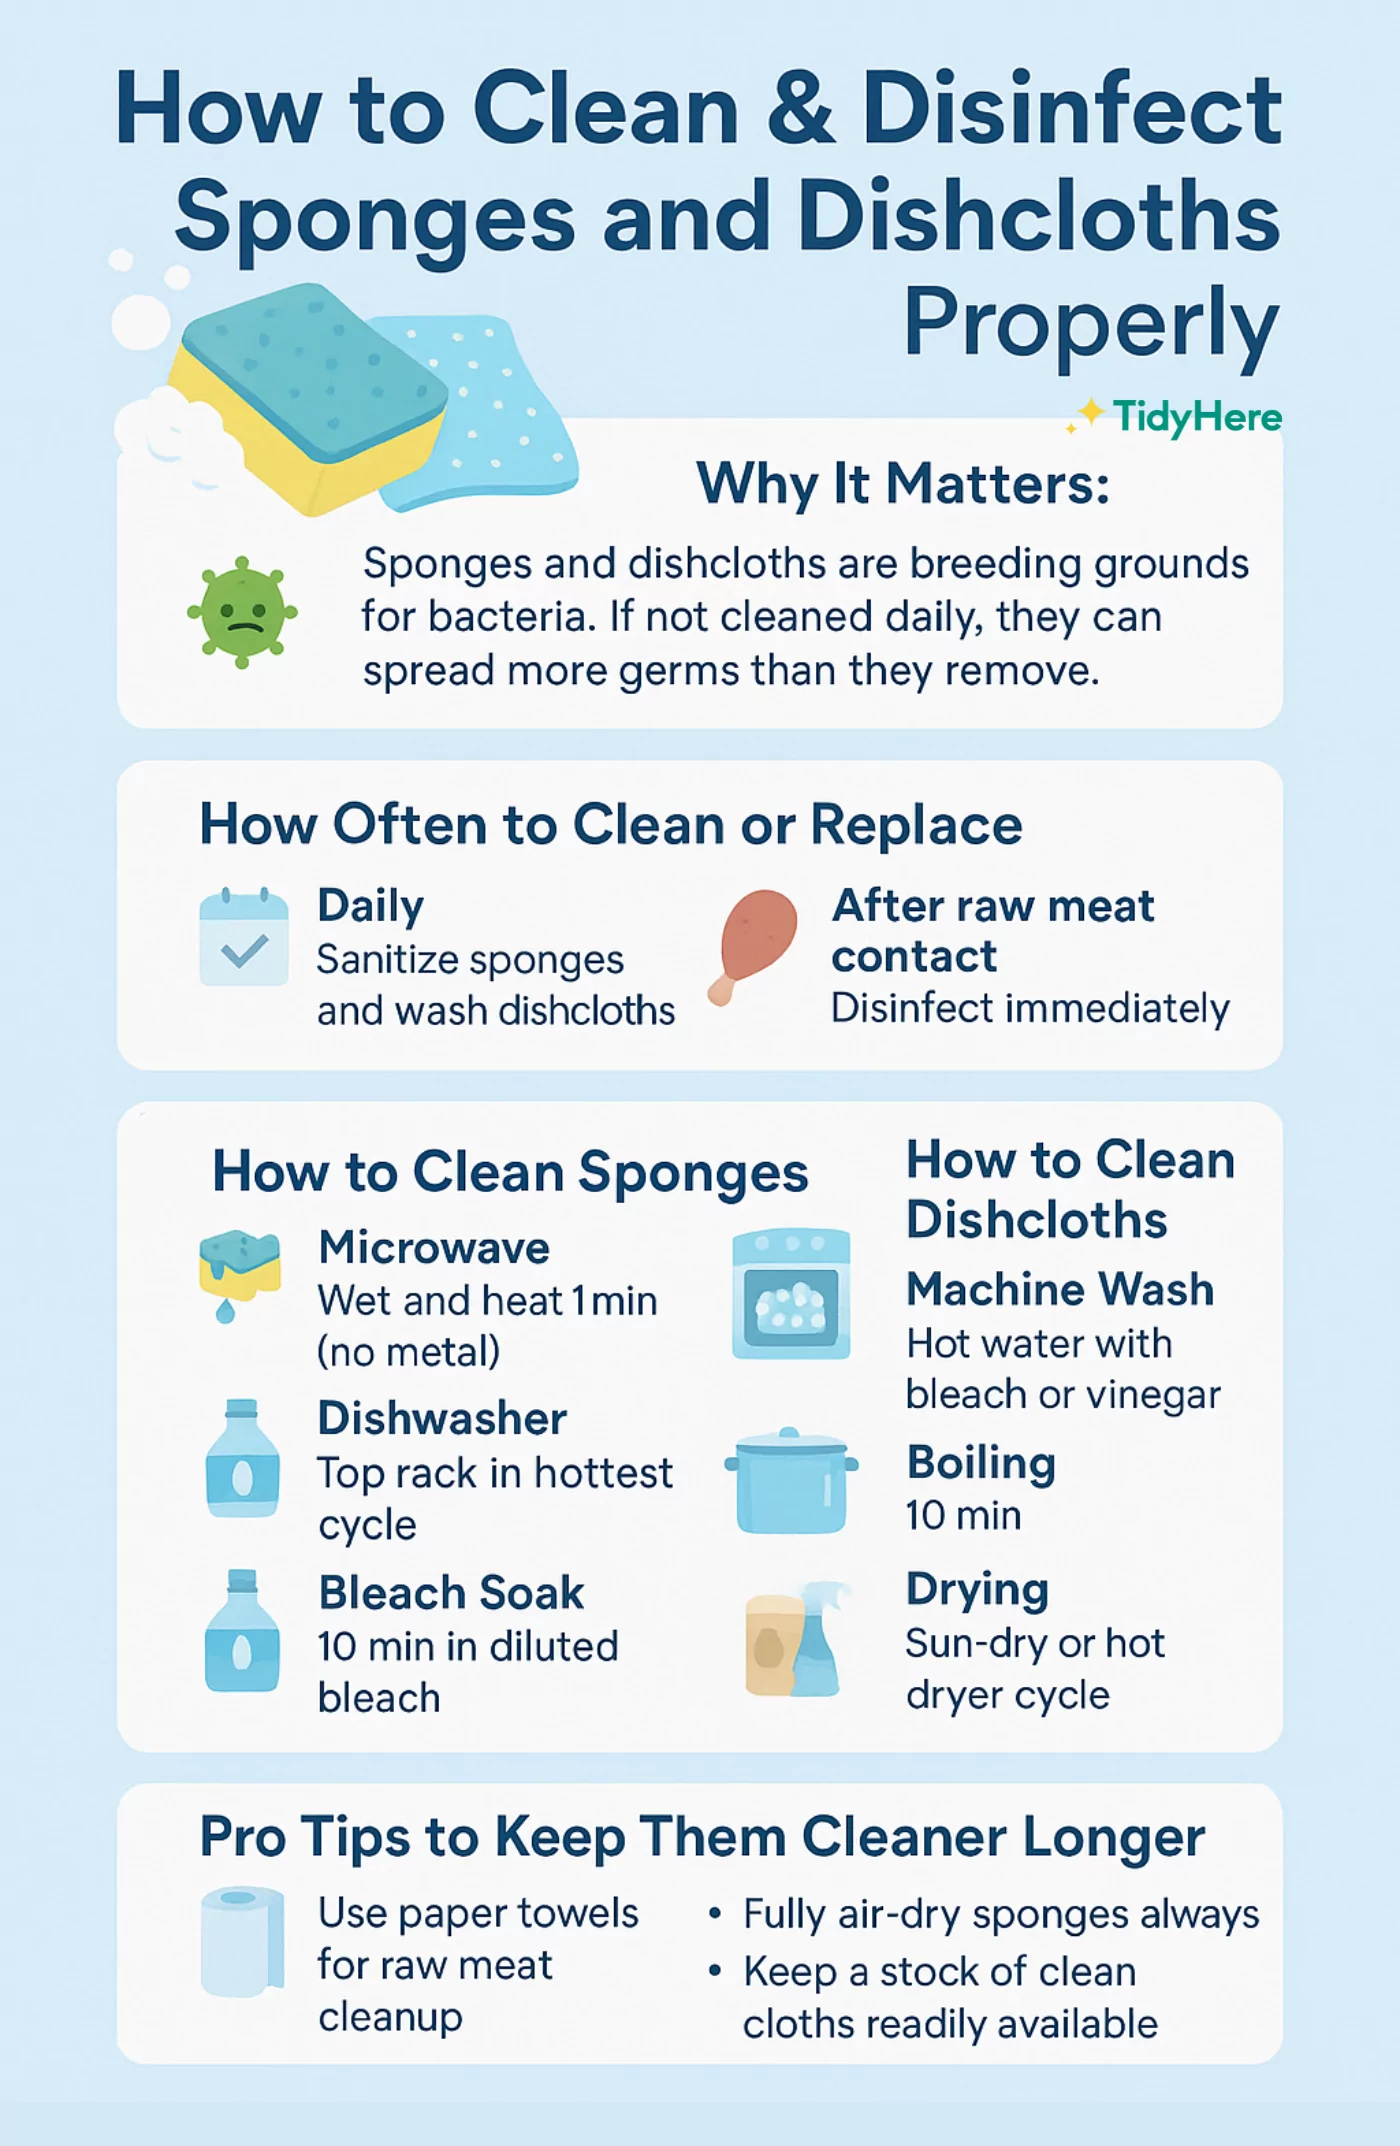
Microwave Technique
This quick trick uses your microwave to zap bacteria. First, soak your sponge in water—it must be wet to avoid any fire risk. Then, place it in the microwave for about one to two minutes on high power.
After microwaving, be careful removing it; the sponge will be hot. This method can kill up to 99% of bacteria if done regularly. Have you tried this before? You might be surprised how fresh your sponge feels afterward.
Dishwasher Cleaning
Your dishwasher does more than clean dishes—it can sanitize sponges too. Simply place the sponge on the top rack and run a full cycle with the heated dry option on. This uses high heat to kill germs effectively.
This method is hands-off and perfect if you run the dishwasher daily. It’s also great for sponges with tough stains. Does your dishwasher have a sanitize setting? If so, that’s the best choice for this task.
Boiling Water Soak
Boiling water is a straightforward way to disinfect your sponge. Drop the sponge into a pot of boiling water for about five minutes. This kills most bacteria and refreshes the sponge’s surface.
Make sure to remove the sponge carefully to avoid burns. This method works well if you don’t have a microwave or dishwasher handy. How often do you boil your sponges? It might be easier than you think to add this habit.
Using Natural Sanitizers
Natural sanitizers offer a safe and effective way to clean kitchen sponges. They reduce germs without harsh chemicals. Using these household items keeps your kitchen healthy and fresh.
Vinegar Soak
Soak the sponge in white vinegar for 5 minutes. Vinegar kills many bacteria and helps remove odors. After soaking, rinse the sponge well with water. Let it dry completely before use.
Lemon Juice Treatment
Apply fresh lemon juice directly on the sponge. The acid in lemon juice breaks down bacteria and leaves a fresh scent. Let the sponge sit in the juice for 5 minutes. Rinse thoroughly and air dry afterward.
Baking Soda Scrub
Sprinkle baking soda on a wet sponge. Scrub the sponge to create a natural foam. Baking soda helps remove dirt and neutralizes odors. Rinse well and let the sponge dry in a clean place.

Credit: tidyhere.com
Chemical Sanitizing Options
Using chemical sanitizers like bleach or vinegar effectively kills germs on kitchen sponges. Soaking sponges in a diluted solution for a few minutes helps keep them clean and safe. Regular sanitizing prevents bacteria buildup and odors.
Sanitizing your kitchen sponge is essential to keep your kitchen hygienic and safe. While natural methods are great, chemical sanitizing options can be more effective in killing bacteria and germs. These options are perfect for those moments when you need an extra assurance of cleanliness.
Bleach Solution
A bleach solution is a potent sanitizer for kitchen sponges. Mix about one tablespoon of bleach with a gallon of water. Soak your sponge in this mixture for five minutes. Make sure to rinse it thoroughly afterward to remove any bleach residue. It's a quick and reliable way to ensure your sponge is germ-free. Ever found yourself doubting the cleanliness of your sponge? A bleach solution might be your best friend.
Hydrogen Peroxide Use
Hydrogen peroxide is another excellent option for sanitizing sponges. Pour a small amount of hydrogen peroxide into a bowl and soak your sponge for about five minutes. This method is not only effective but also leaves no harmful residues. Rinse the sponge well to ensure all the peroxide is washed out. Have you ever tried hydrogen peroxide in your cleaning routine? It might just become your new go-to for sponge sanitization. Choosing the right chemical sanitizing method could make all the difference in maintaining a clean kitchen. Which method will you try first?
Maintaining Sponge Hygiene
Keeping your kitchen sponge clean is more than just a good habit—it's essential for preventing bacteria buildup that can contaminate your dishes and surfaces. Maintaining sponge hygiene means taking simple but consistent steps to ensure your sponge stays as fresh and safe as possible. Let’s look at how you can care for your sponge daily to avoid unpleasant odors and harmful germs.
Regular Replacement Schedule
Sponges don’t last forever. Even with regular cleaning, they wear out and become breeding grounds for bacteria.
Try to replace your kitchen sponge every one to two weeks. If you use it heavily or notice a bad smell, swap it out sooner.
Think about this: how often do you actually change your sponge? Setting a reminder can help you stick to this timeline.
Proper Drying Techniques
Moisture is the enemy of sponge hygiene. A damp sponge encourages bacteria to multiply rapidly.
After each use, squeeze out as much water as possible and place your sponge somewhere it can air dry completely. Avoid leaving it in the sink or on a wet countertop.
Consider using a sponge holder with good drainage or placing it upright to promote faster drying. This small change can make a big difference.
Storing Sponges Safely
Where you keep your sponge affects how clean it stays. Storing sponges in dark, enclosed spaces traps moisture and fosters germs.
Keep your sponge in a well-ventilated area, away from food prep zones to reduce contamination risks. If possible, use a holder designed to keep it off flat surfaces.
Ask yourself: is your current storage method helping or harming your sponge’s cleanliness? Adjusting this can improve your kitchen’s hygiene noticeably.
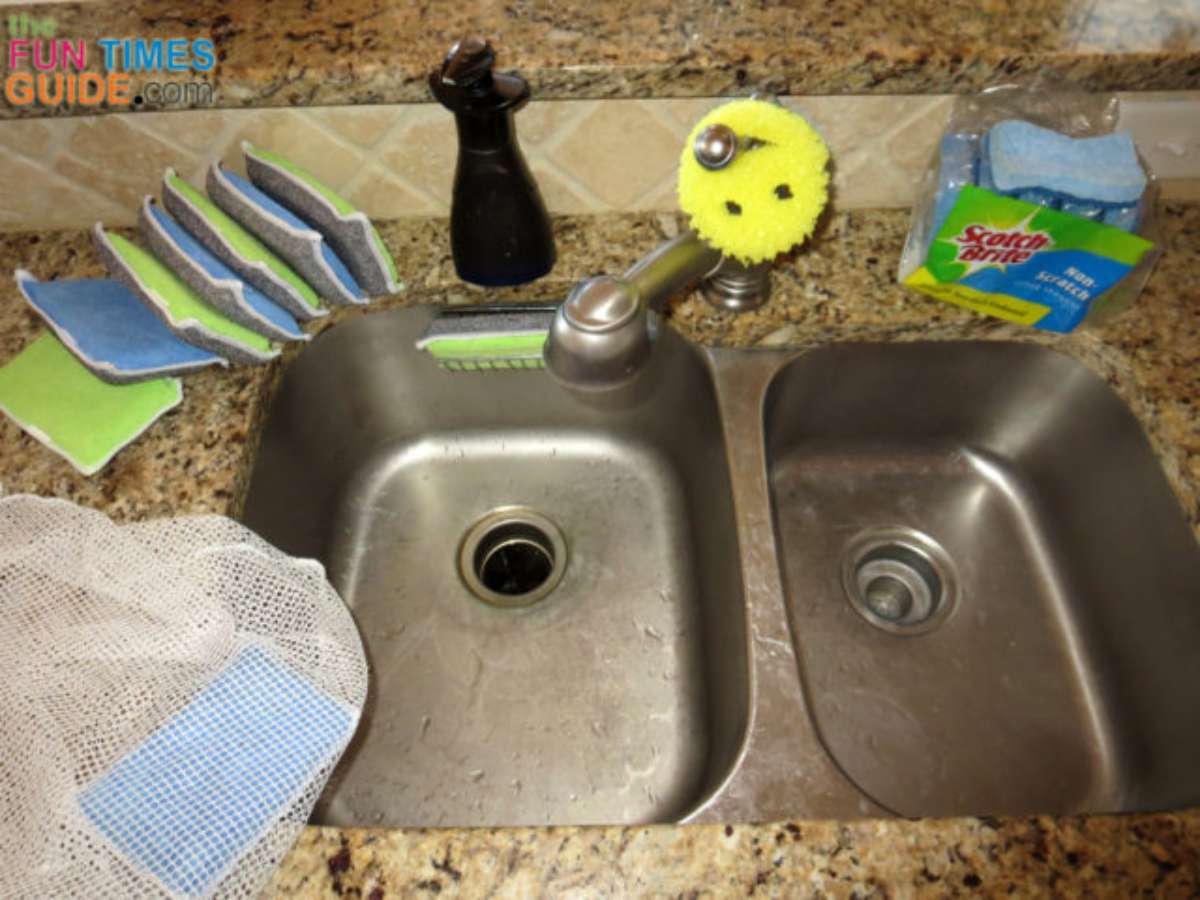
Credit: household-tips.thefuntimesguide.com
Alternative Cleaning Tools
Kitchen sponges often hold bacteria even after cleaning. Choosing alternative cleaning tools can reduce this risk. These tools dry faster and resist germs better. They also last longer and clean more effectively. Switching to different options helps keep your kitchen safer and cleaner.
Silicone Scrubbers
Silicone scrubbers are flexible and easy to clean. They dry quickly and do not trap dirt. Their smooth surface stops bacteria from growing. You can wash them in the dishwasher or by hand. Silicone scrubbers last longer than regular sponges.
Reusable Cloths
Reusable cloths absorb less water than sponges. They dry fast, which limits bacteria growth. You can wash them in hot water after use. Cloths come in many sizes and textures for different tasks. They are eco-friendly and cost-effective over time.
Brushes With Antimicrobial Properties
Brushes with antimicrobial bristles fight germs naturally. The bristles clean hard-to-reach areas well. These brushes dry quickly and stay fresh longer. They are easy to rinse and maintain. Using antimicrobial brushes reduces the chance of contamination.
Frequently Asked Questions
How Often Should I Sanitize Kitchen Sponges?
You should sanitize kitchen sponges daily to reduce bacteria buildup. Frequent cleaning prevents odors and cross-contamination in your kitchen. Regular sanitizing helps maintain a hygienic cooking environment and extends sponge usability.
What Is The Best Method To Sanitize Kitchen Sponges?
Microwaving a damp sponge for 1-2 minutes is an effective sanitizing method. It kills most bacteria and germs quickly. Alternatively, soaking sponges in diluted bleach or vinegar solutions also disinfects well.
Can I Sanitize Kitchen Sponges In The Dishwasher?
Yes, placing sponges on the top rack of a dishwasher during a hot cycle sanitizes them. The high heat and detergent kill germs effectively, making this an easy and safe cleaning option.
Does Boiling Kitchen Sponges Kill Bacteria?
Boiling kitchen sponges for 5 minutes effectively kills most bacteria and germs. This method is simple and chemical-free. However, repeated boiling may degrade the sponge faster over time.
Conclusion
Sanitizing kitchen sponges keeps your home clean and safe. It stops germs from spreading on dishes and surfaces. Regular cleaning saves you money by making sponges last longer. Easy methods like microwaving or soaking in vinegar work well. Try to clean sponges at least twice a week.
Fresh sponges help prevent food poisoning and bad smells. A clean kitchen starts with small habits like this. Keep your family healthy with simple sponge care. It’s a smart step everyone can follow daily.