

Have you ever struggled with a stubborn kitchen sink soap dispenser that just won’t come off? Whether it’s clogged, leaking, or you simply want to replace it, knowing how to remove your soap dispenser quickly and safely can save you time and frustration.
In this guide, you’ll discover simple, step-by-step tips that anyone can follow—no special tools or skills needed. Keep reading, and you’ll have your old dispenser off in no time, ready for a fresh, clean upgrade.
Tools Needed
Removing a kitchen sink soap dispenser requires a few simple tools. Having the right tools makes the process faster and easier. You do not need many tools for this task. Most of them you might already have at home.
Gathering these tools before you start will save time and avoid frustration. Each tool serves a specific purpose in removing the dispenser safely. Here is a list of essential tools you will need.
Adjustable Wrench
An adjustable wrench helps loosen and tighten nuts under the sink. It fits different sizes of nuts and bolts. This tool is key to disconnecting the soap dispenser’s mounting nut.
Screwdriver
A screwdriver is useful for removing any screws securing the dispenser. Flathead or Phillips head screwdrivers work depending on the screw type. Keep both types handy for any situation.
Pliers
Pliers help grip and twist parts that are hard to turn by hand. Needle-nose or slip-joint pliers are ideal. They provide extra leverage in tight spaces.
Bucket Or Bowl
A bucket or bowl catches any water that may drip during removal. Placing it under the sink keeps the area clean and dry. It prevents water damage to cabinets or flooring.
Towels Or Rags
Towels or rags help wipe up spills and keep your hands dry. They also protect the sink surface while working. Have a few ready for quick cleanups.
Credit: www.lisabronner.com
Preparing The Area
Preparing the area before removing your kitchen sink soap dispenser can save you time and prevent messes. A well-organized workspace reduces frustration and helps you stay focused on the task. You’ll want to protect your countertops and have the right tools within reach.
Clear And Clean The Sink Area
Start by removing any dishes, sponges, or items near the sink. Wipe down the surface to clear away grease and soap scum. A clean area gives you a better view and prevents dirt from falling into the sink while you work.
Gather The Necessary Tools
Having tools ready makes the process smoother. You typically need a wrench or pliers, a bucket, and a towel. Don’t forget a flashlight if your space under the sink is dark—it helps you see small parts clearly.
Protect Your Countertops And Cabinets
Place a towel or a plastic sheet over your countertop and inside cabinets to catch drips or dropped parts. This simple step prevents water damage and makes cleanup easier. Think about how a little preparation now can save you from extra work later.
Turn Off The Water Supply
Before disconnecting anything, shut off the water valves under the sink. This stops leaks and keeps the area dry. If you’ve ever dealt with unexpected water spills, you know how important this step is.
Turning Off Water Supply
Turning off the water supply stops leaks and spills while removing the soap dispenser. Locate the shut-off valves under the sink and twist them clockwise to close. This step ensures a safe and dry workspace for the removal process.
Turning off the water supply is a crucial step in removing your kitchen sink soap dispenser. Ensuring no water flows while you're working prevents unnecessary mess and potential water damage. While it might sound daunting, this process is straightforward and essential for a smooth removal.
Locating The Water Shut-off Valve
First, find the shut-off valve beneath your sink. This valve is typically located at the back of the cabinet, near the wall. If you’re unsure which valve to turn, look for the one connected to the sink’s water supply lines.
Turning The Valve Off
Once located, turn the valve clockwise to shut off the water. It might require a bit of force, especially if it hasn't been turned in a while. You’ll know it’s off when the handle can’t turn any further.
Testing The Water Flow
After turning off the valve, test your sink faucet to confirm the water is off. Turn on the faucet and watch for any water flow. If water continues to flow, double-check that the valve is fully closed.
Addressing Stuck Valves
If the valve is stuck, use a wrench to gently turn it. Be cautious to avoid damaging the valve or plumbing. In some cases, applying a bit of lubricant can help loosen the valve.
Considering A Professional
If you’re uncomfortable turning off the water supply, consider consulting a professional. Sometimes, valves can be tricky or in poor condition, and expert help ensures safety. Remember, it's better to seek assistance than risk damaging your plumbing system. Taking these steps ensures a hassle-free removal of your soap dispenser. Have you ever encountered a stuck valve? How did you handle it?
Removing The Soap Dispenser Pump
Removing the soap dispenser pump from your kitchen sink can seem tricky at first, but it’s a simple task once you know the right steps. The pump is the part you press to get soap out, and disconnecting it properly ensures you don’t damage the dispenser or sink. Here’s how to do it efficiently and safely.
Locating The Soap Dispenser Pump
Start by finding the pump head on top of your sink. This is usually the part you press down to dispense soap. Take a close look underneath the sink to spot the connecting tube and the mounting nut holding the pump in place.
Loosening The Mounting Nut
Underneath the sink, you’ll find a plastic or metal nut securing the pump. Use your hand or a wrench to turn this nut counterclockwise. If it feels stuck, try using a cloth for better grip or apply a bit of lubricant to loosen it.
Detaching The Pump And Tube
Once the nut is loose, gently pull the pump head upward from the sink surface. Be careful not to force it as this could crack your sink or dispenser. After removing the pump, disconnect the soap tube by pulling it off the pump’s base.
Cleaning And Inspecting The Pump
Check the pump for any soap buildup or damage. Cleaning the pump regularly can prevent clogs and keep the dispenser working smoothly. If the pump is cracked or not functioning, consider replacing it before reinstalling.
Have you noticed your soap dispenser pump getting harder to press over time? Removing and cleaning it might just solve the problem without needing a full replacement.
Detaching The Soap Reservoir
Detaching the soap reservoir is a key part of removing your kitchen sink soap dispenser. This component holds the soap and connects to the dispenser pump. Removing it carefully prevents spills and damage.
The soap reservoir is usually located under the sink. It often screws or clips onto the dispenser assembly. Gently detaching it helps you clean or replace the dispenser easily.
Locate The Soap Reservoir
Start by looking under your sink. Find the part directly beneath the soap dispenser. It looks like a small bottle or container. This is the soap reservoir.
Clear The Area Around The Reservoir
Remove any items that block access. This gives you room to work comfortably. A clear workspace reduces the chance of accidents.
Unscrew Or Unclip The Reservoir
Check how the reservoir attaches to the dispenser. Turn it counterclockwise to unscrew. If it clips, press the clips gently to release. Avoid using too much force.
Lift The Reservoir Out Carefully
Once loose, pull the reservoir straight down or out. Hold it steady to avoid spilling soap. Place it on a towel or sink to catch drips.
Disconnect The Soap Tube
Look for a small tube linking the reservoir to the dispenser. Gently pull the tube off the reservoir nozzle. This frees the reservoir completely.

Credit: www.drano.com
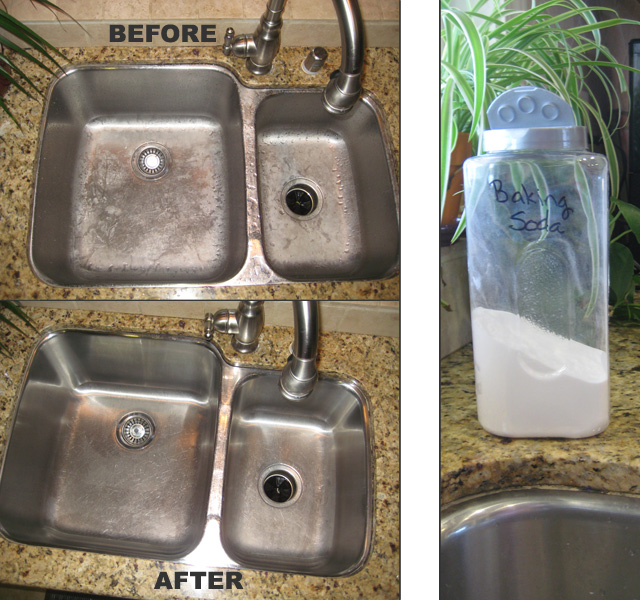
Cleaning The Sink Area
Cleaning the sink area is important after removing the soap dispenser. Dirt, soap residue, and grime often build up around the base. This can cause stains and unpleasant smells. A clean sink area keeps your kitchen fresh and hygienic.
Start by wiping the surface with a damp cloth. This removes loose dirt and soap scum. Use a gentle cleaner safe for your sink material. Avoid harsh chemicals that can damage the finish.
Focus on the small crevices and edges. These spots trap grime and need extra attention. Use a soft brush or an old toothbrush to scrub these areas. Rinse well to remove all cleaner and residue.
Gather Cleaning Supplies
- Mild dish soap
- Soft sponge or cloth
- Old toothbrush
- Warm water
- Clean towel or rag
Remove Soap Residue
Apply a few drops of dish soap to a wet sponge. Gently scrub around the soap dispenser hole. Use the toothbrush to clean tight spaces. Rinse with warm water to wash away soap residue.
Disinfect The Sink Area
Disinfect to kill germs and bacteria. Mix equal parts water and white vinegar in a spray bottle. Spray the sink area and let it sit for 5 minutes. Wipe clean with a damp cloth and dry with a towel.
Dry And Polish The Surface
Always dry the sink area after cleaning. Use a soft, dry towel to avoid water spots. Polishing the surface restores shine and prevents water marks. This keeps your sink looking new longer.
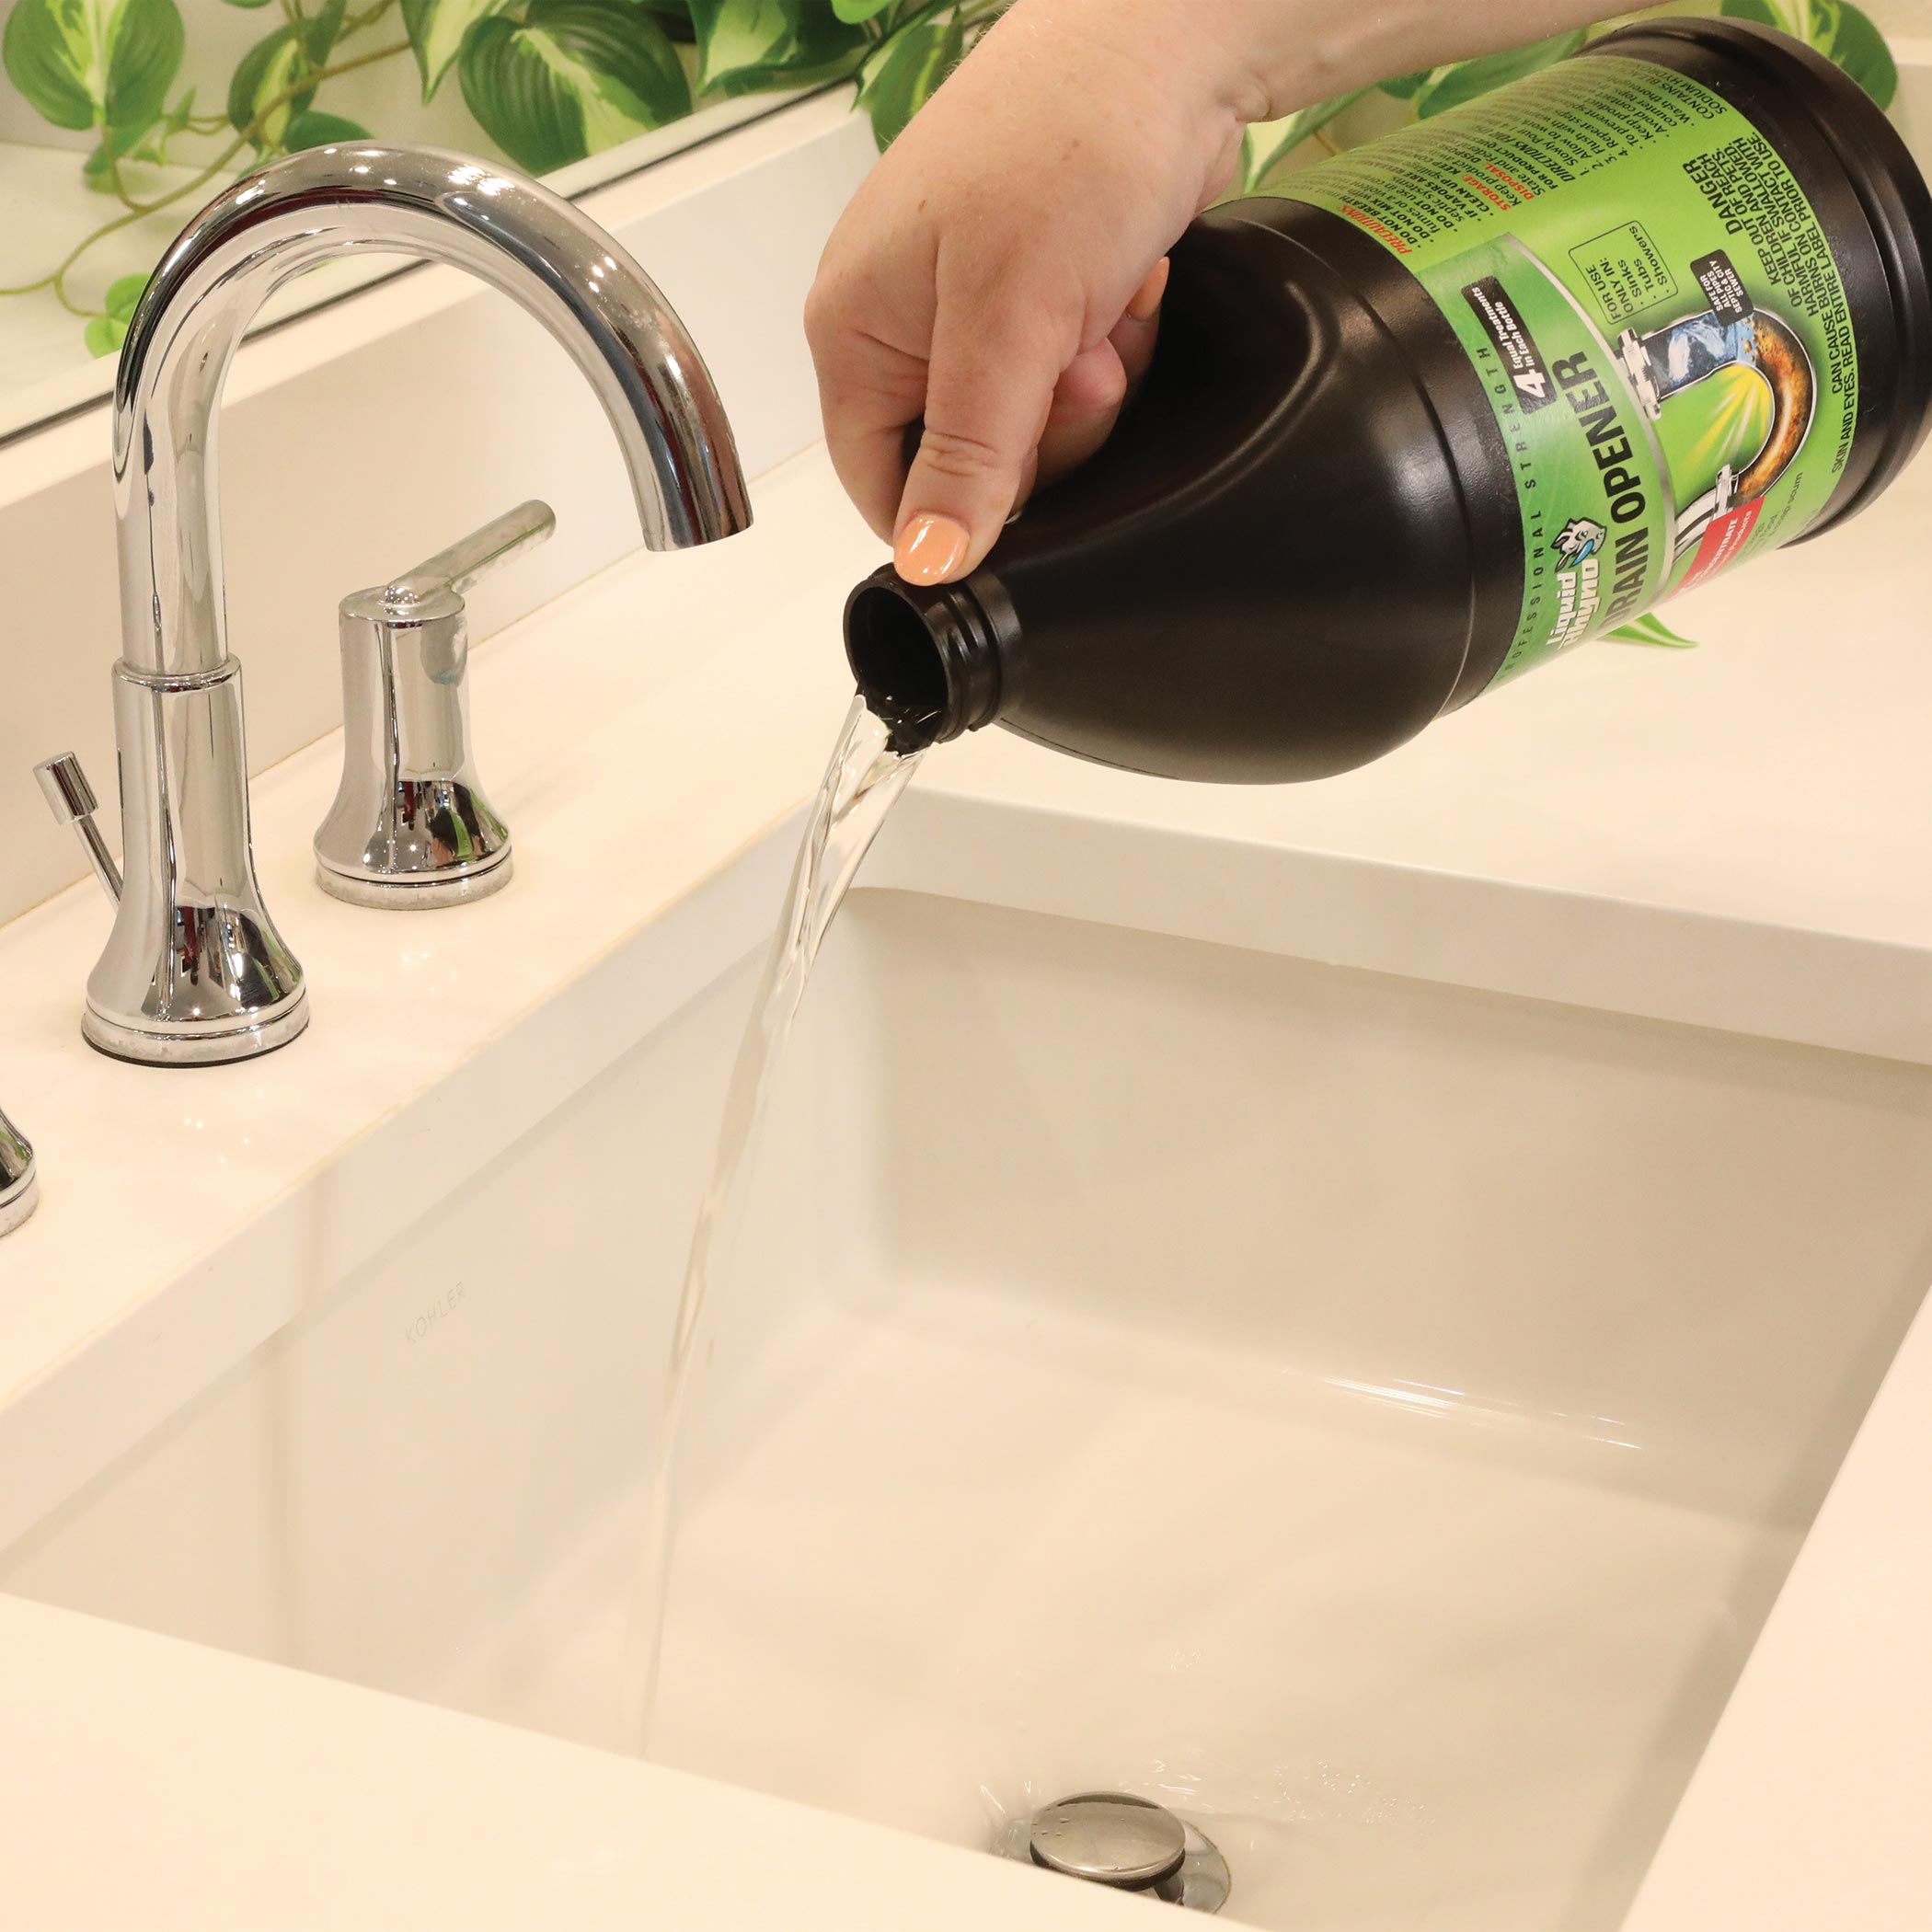
Troubleshooting Common Issues
Removing a kitchen sink soap dispenser can be tricky. Certain issues often arise, making the process confusing. Troubleshooting these problems can save time and prevent damage to your sink or dispenser. Knowing what to check helps you fix problems quickly and safely.
Soap Dispenser Not Coming Loose
The dispenser may feel stuck under the sink. Dirt, soap buildup, or rust can cause this. Try using a cloth to get a better grip. Apply gentle pressure and twist slowly to avoid breaking the dispenser.
Use a lubricant like WD-40 on the threads if it is still tight. Let it sit for a few minutes before trying again. Avoid using too much force to prevent damage.
Soap Pump Stuck Or Jammed
The pump may not move or come apart easily. Dried soap can block the mechanism. Soak the pump head in warm water for 10-15 minutes to soften the soap. Press the pump several times to loosen it.
If the pump is still stuck, use a small tool like a toothpick to clear the nozzle. Avoid sharp tools that could damage the dispenser.
Dispenser Bottle Hard To Remove
The bottle under the sink may be difficult to unscrew. Soap or water can cause it to slip or stick. Dry the area first for a better hold. Wearing rubber gloves improves grip and safety.
Try turning the bottle counterclockwise while pushing it upward slightly. If it remains stuck, tap gently with a rubber mallet to loosen the seal.
Credit: www.liquidrhyno.com
Frequently Asked Questions
How Do I Remove A Kitchen Sink Soap Dispenser?
First, disconnect the soap bottle under the sink. Unscrew the mounting nut holding the dispenser in place. Lift the dispenser out from the sink. Clean the area before installing a new dispenser or leaving it empty.
What Tools Are Needed To Remove The Dispenser?
You will need an adjustable wrench or pliers. A screwdriver may be required for some models. Keep a towel handy to catch drips. These tools help loosen the nut and disconnect the dispenser easily.
Can I Remove The Dispenser Without Shutting Off Water?
Yes, water shutoff is not necessary. The soap dispenser is separate from the water supply. Just be careful to avoid spills during removal. Disconnect the soap reservoir and mounting hardware carefully.
How To Prevent Leaks After Removing Dispenser?
Remove all soap residue and dry the area well. Use a sink hole cover or plug to block the hole. Check under the sink for any drips. Proper sealing prevents water damage and keeps your sink clean.
Conclusion
Removing a kitchen sink soap dispenser is easier than it seems. Follow each step with care and patience. Use basic tools and take your time. Avoid rushing to prevent damage to your sink. Clean the area well after removal. This simple task saves you money on repairs.
Now you can replace or fix your dispenser quickly. Keep this guide handy for future kitchen projects. Simple tasks like this boost your DIY confidence. Enjoy a neat and functional kitchen sink area.