
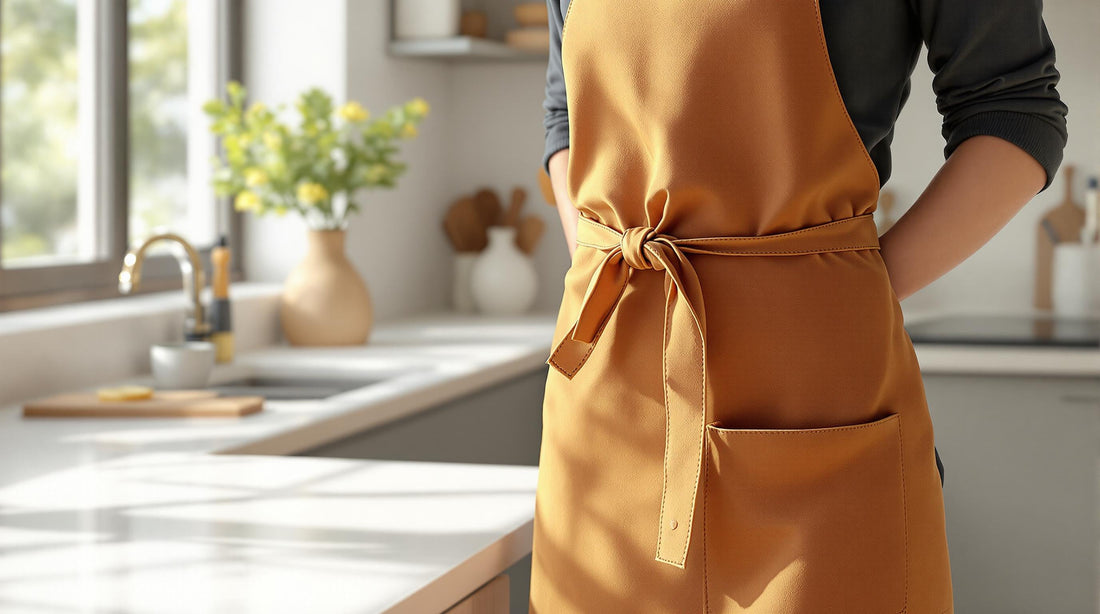
Have you ever struggled to tie your kitchen apron just right? A well-tied apron does more than keep your clothes clean—it boosts your confidence and keeps you comfortable while cooking.
If you want to learn the simple steps to tie your kitchen apron perfectly every time, you’re in the right place. Keep reading, and you’ll discover easy tips that make wearing your apron feel natural and effortless. Your cooking experience is about to get a whole lot better.
Credit: www.innogear.com
Choosing The Right Apron
Choosing the right apron can make a big difference in your kitchen experience. It’s not just about looking good; it’s about comfort, protection, and ease of use. Picking an apron that fits your needs will help you focus more on cooking and less on adjusting your gear.
Material Options
Aprons come in various materials, each with its own benefits. Cotton is soft, breathable, and easy to wash, making it great for everyday cooking. If you want something more durable, canvas or denim offers sturdiness and better protection against spills and heat.
Water-resistant materials like polyester or coated fabrics are perfect if you deal with a lot of liquids. Think about what kind of cooking you do most often. Do you fry a lot? You might want a thicker material. Baking? A lightweight fabric might be enough.
Apron Styles
There are several apron styles, and the right one depends on your kitchen tasks. A bib apron, which covers your chest and ties around the waist, provides full protection. It’s ideal if you handle messy recipes or work with hot oils.
Waist aprons cover only the lower half and are good for light cooking or serving. Cross-back aprons reduce neck strain and offer a comfortable fit for long cooking sessions. Have you tried different styles before? Notice how the weight and coverage affect your movement and comfort.
Size And Fit
Size matters when choosing an apron. An apron that’s too tight or too loose can distract you while cooking. Look for adjustable straps or ties that let you customize the fit.
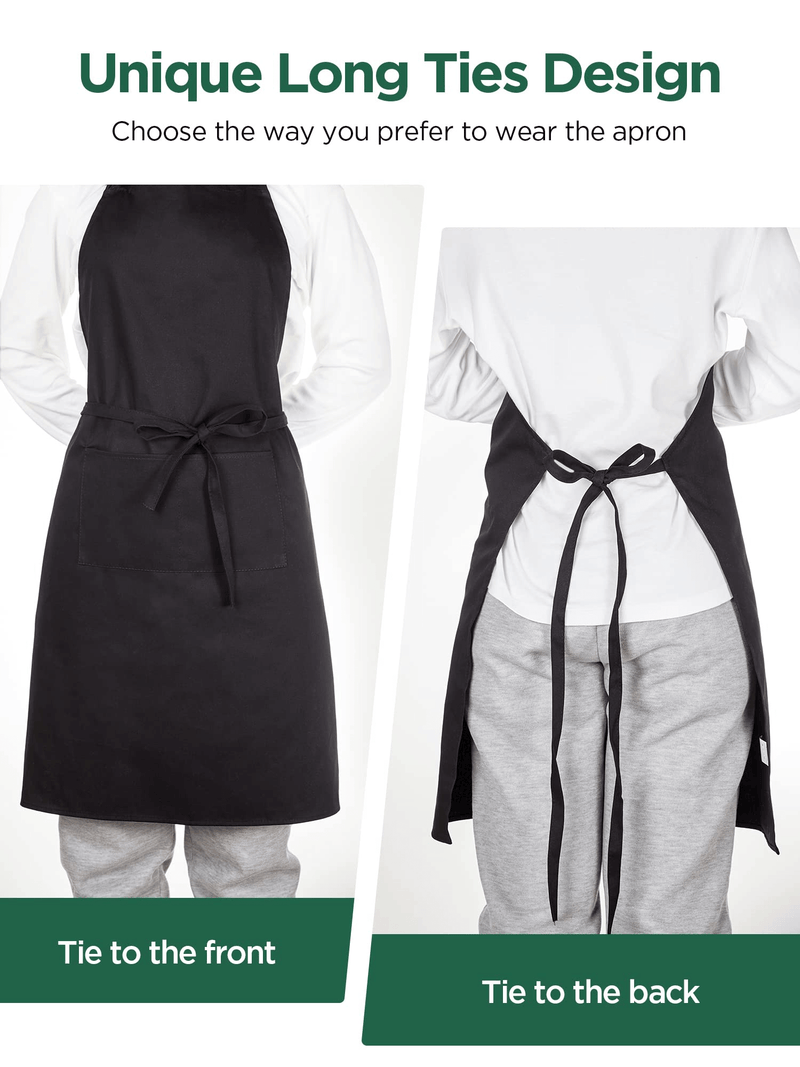
Measure your torso length to find an apron that covers your body adequately. Also, check the tie length to ensure you can secure it comfortably behind your back or front. Remember, a good fit keeps your apron in place, so you stay focused on your culinary creations.
Preparing The Apron
Preparing the apron properly ensures comfort and protection in the kitchen. It helps keep clothes clean and free from spills. Taking a moment to adjust the apron means less fuss while cooking or baking. The right fit also prevents the apron from slipping or feeling tight. Follow simple steps to get ready for a smooth cooking experience.
Adjusting The Neck Strap
The neck strap controls how the apron sits on your body. Start by placing the apron over your head. Hold the neck strap and pull it to adjust the height. It should rest comfortably around your neck without pressure. Too tight? Loosen the strap for more comfort. Too loose? Tighten it so the apron covers your chest well. A well-adjusted neck strap keeps the apron stable and secure.
Positioning The Apron
After adjusting the neck strap, position the apron correctly on your body. Ensure it covers the front of your torso. The bottom of the apron should reach your thighs or knees, depending on style. Smooth out any wrinkles or folds to avoid discomfort. Hold the apron at your sides and bring the waist ties behind you. Cross the ties and bring them back to the front for tying. This step keeps the apron snug and prevents it from moving around while working.
Basic Tying Techniques
Wearing a kitchen apron keeps your clothes clean and protected. Tying it securely ensures comfort and safety while cooking. Learn basic tying techniques that are simple and effective.
Simple Waist Knot
Wrap the apron strings around your waist. Hold both ends firmly. Cross them at your back, then bring them forward. Tie a knot at your waist. Make sure it's snug but comfortable. This method is quick and easy.
Double Knot For Security
First, tie the apron with a simple knot. Then, tie another knot over the first one. This double knot gives extra security. It prevents the apron from slipping. Ideal for long cooking sessions or busy kitchens.
Advanced Tying Methods
Mastering advanced tying methods for your kitchen apron not only boosts comfort but also adds a touch of style to your cooking routine. These techniques ensure the apron stays secure during busy kitchen moments while looking sharp. Ready to upgrade your apron game? Let’s dive into two popular advanced tying styles that blend function and fashion.
Cross-back Tie
The cross-back tie is perfect if you want to avoid neck strain from traditional ties. Instead of looping around your neck, the straps cross over your back and tie at the waist. This design distributes the apron’s weight more evenly, making it comfortable for long cooking sessions.
To tie it right, place the apron on and cross the straps behind you. Bring them around to the front and tie a knot or bow at your waist. This method keeps the apron snug and prevents it from slipping off, even when you’re moving around quickly.
Have you ever felt the neck strap digging in after chopping veggies for a while? Try the cross-back style next time and notice the difference in comfort. It’s a favorite among professional chefs who spend hours in the kitchen.
Bow Tie Style
The bow tie style adds a charming touch to your kitchen look while keeping the apron secure. Instead of a simple knot, you tie the straps into a neat bow, usually at the back or front. This method looks elegant and can be adjusted easily for a perfect fit.
Here’s a quick tip: make sure your bow is balanced by keeping the loops and ends even. This keeps the bow from coming undone while you work. Plus, a well-tied bow can be a conversation starter when guests see your apron.
Think about how a small detail like a bow can change your entire cooking experience. It’s not just about appearance—tying a bow can give you a little confidence boost as you prepare your meals. Why not add a bit of flair while you’re at it?
Tips For A Comfortable Fit
Finding the right fit for your kitchen apron makes cooking more pleasant. A comfortable apron allows easy movement without tightness or slipping. Focus on adjusting straps and securing the apron properly. These tips keep the apron snug without pressure. Enjoy your kitchen time with an apron that fits well and feels good.
Adjusting Straps For Mobility
Straps should be loose enough for easy arm movement. Tight straps limit your reach and cause discomfort. Use adjustable buckles or ties to find the perfect length. Make sure the apron sits flat against your body. Adjust both neck and waist straps for balance. Test your movement by stretching and bending. Change strap length if it feels tight or loose.
Preventing Apron Slippage
Keep the apron from sliding down or shifting. Tie the waist straps firmly but not too tight. Cross the straps at the back for extra hold. Use aprons with non-slip materials or added grips. Tuck excess strap length to avoid catching on objects. Make sure the neck strap fits well to prevent slipping. A well-secured apron stays in place during cooking tasks.
Caring For Your Apron
Caring for your kitchen apron is more important than you might think. A well-maintained apron not only looks good but also lasts longer, saving you money and hassle. Paying attention to simple care tips can keep your apron fresh and ready for every cooking adventure.
Cleaning Instructions
Start by checking the care label on your apron for specific washing guidelines. Most cotton aprons handle machine washing well in warm water with mild detergent.
Stubborn stains like tomato sauce or grease can be treated by applying a small amount of dish soap directly on the spot before washing. Avoid using bleach unless the apron is pure white, as it can weaken the fabric.
Air drying is usually best to prevent shrinking and maintain shape. If you prefer using a dryer, choose a low heat setting and remove the apron promptly to avoid wrinkles.
Storage Suggestions
After cleaning, storing your apron properly helps keep it in top shape. Hang it on a hook or a peg in your kitchen so it's easy to grab and doesn’t get crumpled.
If you prefer folding, make sure the apron is completely dry to prevent mildew. Store it in a drawer or shelf where it won’t get mixed with dirty laundry or kitchen messes.
Have you ever noticed how a crumpled apron can make cooking feel chaotic? Keeping it neat can actually improve your kitchen experience and boost your confidence while you cook.
Frequently Asked Questions
How Do You Tie A Kitchen Apron Around The Waist?
Wrap the apron ties around your waist and cross them at the back. Bring the ties to the front and tie a secure bow or knot.
What’s The Best Way To Tie An Apron Neck Strap?
Place the neck strap over your head so the apron covers your chest. Adjust the strap for comfort before tying the waist straps.
How Can I Ensure My Apron Fits Comfortably?
Adjust the neck strap to sit comfortably without choking. Tie the waist straps snugly but not too tight to allow ease of movement.
Can I Tie A Kitchen Apron Without A Bow?
Yes, you can tie a simple knot instead of a bow. This keeps the apron secure and is easier to untie quickly.
Conclusion
Tying your kitchen apron is simple and quick with the right steps. A well-tied apron stays secure and feels comfortable all day. Practice a few times to find the best fit for you. This small skill helps keep your clothes clean while cooking.
Enjoy your time in the kitchen without worrying about spills. Keep your apron tidy and ready for every meal. Now, you can focus on cooking and have fun too!