
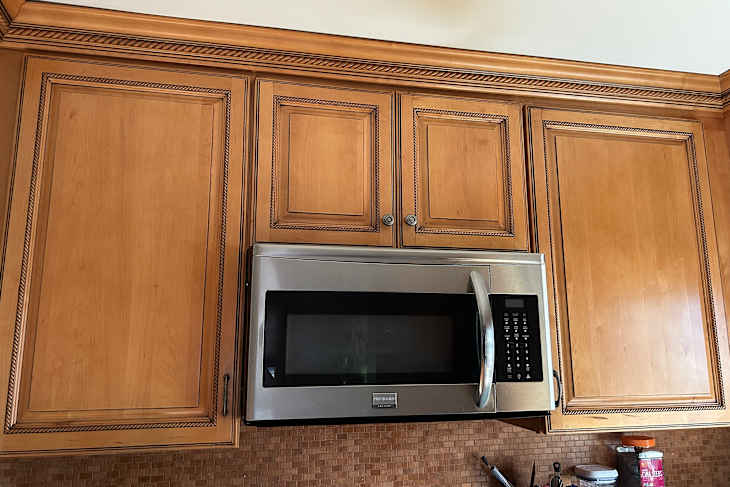
Are your kitchen cabinets looking dull or sticky? You want them clean, shiny, and fresh without damaging the wood.
That’s where Murphy’s Oil Soap comes in. It’s a trusted cleaner that can bring life back to your cabinets quickly and safely. You’ll learn exactly how to use Murphy’s Oil Soap to get your kitchen cabinets sparkling again. Keep reading, and you’ll discover simple steps that save time and protect your wood, making your kitchen look its best.
Choosing The Right Murphy's Oil Soap
Choosing the right Murphy's Oil Soap is key to cleaning your kitchen cabinets effectively without causing damage. Not all versions are created equal, and knowing which type suits your cabinets can save you time and effort. Let’s look at the options and why this product works so well on wood surfaces.
Types Of Murphy's Oil Soap
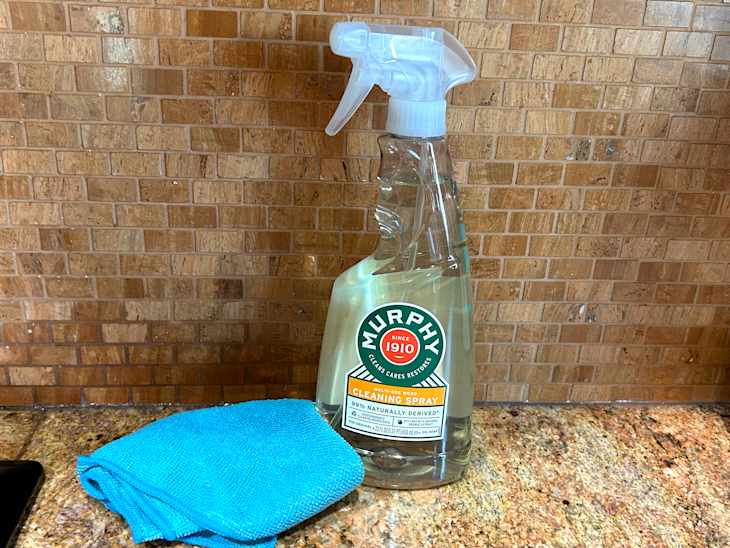
Murphy's Oil Soap comes in several formulations designed for different cleaning needs. The original liquid soap is the most popular choice for wood cabinets because it gently removes dirt and grime without stripping the finish. There’s also a concentrated version, which you dilute with water, giving you control over the strength of your cleaning solution.
For those who prefer convenience, pre-mixed spray bottles are available. These are great for quick touch-ups but might not be strong enough for deep cleaning. You can also find Murphy's Oil Soap in wipes form, perfect for quick maintenance but less effective on heavy buildup.
- Original liquid soap – best for regular deep cleaning
- Concentrated liquid soap – customizable strength
- Pre-mixed spray – ideal for quick cleaning
- Wipes – convenient for light, everyday use
Why It Works On Kitchen Cabinets
Murphy's Oil Soap is specially formulated to clean wood without drying it out. Unlike harsh detergents, it contains natural oils that help preserve the wood’s finish and keep cabinets looking fresh. This oil-based formula lifts dirt while nourishing the surface, making your cabinets shine without a greasy residue.
Have you ever cleaned your cabinets only to find the finish dull or sticky afterward? Murphy’s Oil Soap avoids this problem by balancing effective cleaning with gentle care. It’s also safe for a variety of wood types, so you don’t have to worry about discoloration or damage.
When you choose the right Murphy’s Oil Soap, you not only clean but also protect your kitchen cabinets. This means fewer touch-ups and longer-lasting beauty, saving you effort in the long run.
Preparing Your Kitchen Cabinets
Preparing your kitchen cabinets before applying Murphy's Oil Soap is key to achieving the best results. It ensures that dirt and grime don’t interfere with the cleaning process and helps protect areas that shouldn’t get wet or soapy. Taking these simple steps will make your cleaning more effective and safer for your cabinets and kitchen.
Remove Loose Dirt And Dust
Start by wiping down your cabinets with a dry microfiber cloth or a soft brush. This removes loose dust, crumbs, and dirt that could scratch the surface when you clean it with soap and water. Skipping this step might leave particles on the wood, which can cause streaks or dullness after cleaning.
Pay attention to corners and edges where dust tends to gather. You might be surprised how much dirt collects in those spots, even if your cabinets look clean at first glance. Have you noticed how a simple dusting can brighten the look of your kitchen instantly?
Protect Surrounding Areas
Before applying Murphy’s Oil Soap, protect countertops, floors, and appliances near your cabinets. Use painter’s tape and plastic sheeting or old towels to cover these areas. This prevents soap drips or water from causing damage or stains.
Also, remove any items on or near the cabinets, like decorative pieces or kitchen tools. This clears your workspace and reduces the chance of accidentally knocking things over. Are you ready to create a safe, mess-free cleaning zone that saves you time and effort?
Mixing Murphy's Oil Soap Solution
Mix Murphy's Oil Soap with warm water to create a gentle cleaning solution. Use this mix to wipe kitchen cabinets, removing dirt without damaging the finish. Always follow the instructions on the bottle for best results.
Mixing Murphy's Oil Soap Solution is an essential step to ensure your kitchen cabinets are cleaned effectively without damage. This powerful cleaner is known for its gentle touch on wood surfaces while still being tough on grime and grease. Getting the right blend will help you maintain the natural shine of your cabinets. The process is simple, and with the right measurements and tools, you’ll achieve a spotless kitchen with minimal effort.
Recommended Dilution Ratios
Achieving the perfect balance is key when mixing Murphy's Oil Soap. A common ratio is 1/4 cup of Murphy's Oil Soap to a gallon of warm water. This mix is gentle enough for regular maintenance and won't leave residue. For tougher grime, you might consider using a slightly stronger concentration. Adjusting to a half cup per gallon can tackle those stubborn spots without compromising the wood's finish. Always test on a small, inconspicuous area first to ensure the solution is suitable for your cabinets.
Tools Needed For Mixing
Having the right tools at hand makes the process smoother and more efficient. Here's a simple list to gather:
- A clean bucket or large mixing bowl
- Measuring cup for accuracy
- A soft sponge or microfiber cloth for application
- A clean towel for drying
Once you have these tools ready, you'll find the mixing process quick and seamless. Using a soft sponge or microfiber cloth ensures that you won’t scratch your cabinet surfaces while cleaning. Maintaining your kitchen cabinets doesn't have to be a chore. By preparing a well-mixed solution, you can enjoy a clean and inviting kitchen space. Have you tried this method before, or do you have another favorite cleaning tip for your cabinets?
Credit: www.thekitchn.com
Cleaning Process Step-by-step
Cleaning your kitchen cabinets with Murphy's Oil Soap can bring back their original shine without harsh chemicals. The process is simple but requires attention to detail to avoid damaging the wood or finish. Let’s walk through how to do it right, so your cabinets look refreshed and well cared for.
Applying The Soap Solution
Start by mixing Murphy’s Oil Soap with warm water according to the instructions on the bottle. Use a bucket or a large bowl to prepare the solution, ensuring the soap is well dissolved.
Dip a soft cloth or sponge into the mixture, then wring it out so it’s damp but not soaking wet. Excess water can harm wood surfaces, so controlling moisture is key.
Scrubbing Techniques
Gently scrub the cabinet surfaces using circular motions. Focus on areas with grease buildup or stains, but avoid aggressive scrubbing that might strip the finish.
If you encounter stubborn spots, apply a bit more soap solution directly and let it sit for a minute before scrubbing again. A soft-bristle brush can help reach grooves or panel edges without scratching.
Rinsing And Wiping
After cleaning, rinse your cloth in clean water and wring it out well. Wipe down the cabinets to remove any soap residue, which can attract dirt if left behind.
Finally, dry the surfaces with a clean, dry towel to prevent water spots or damage. Have you noticed how drying immediately keeps your cabinets looking polished longer?
Drying And Polishing Cabinets
After cleaning your kitchen cabinets with Murphy's Oil Soap, drying and polishing are key steps. Proper drying stops water spots and protects the wood. Polishing adds a nice shine and keeps cabinets looking fresh. Both steps extend the life of your cabinets and keep them clean and attractive.
Best Materials For Drying
Use soft, clean cloths for drying to avoid scratches. Microfiber towels are excellent because they absorb water well and are gentle on surfaces. Cotton towels also work but make sure they are lint-free. Avoid rough fabrics or paper towels, which can leave marks or fibers behind.
- Microfiber towels
- Lint-free cotton cloths
- Soft chamois leather
Pat the cabinets dry rather than rubbing hard. This reduces the risk of damaging the finish. Make sure no moisture stays on edges or corners.
Adding Shine Without Damage
Choose polishing products made for wood cabinets. Avoid harsh chemicals or silicone-based polishes that can harm finishes. A little olive oil or a small amount of Murphy's Oil Soap mixed with water can also add gentle shine.
- Wood-friendly polish
- Natural oils like olive oil
- Diluted Murphy’s Oil Soap solution
Apply polish sparingly with a soft cloth. Buff the surface lightly to bring out the natural glow. Regular polishing keeps cabinets looking new and protects the wood from drying out.
Tips For Maintaining Clean Cabinets
Keeping kitchen cabinets clean enhances their look and extends their life. Using Murphy's Oil Soap makes cleaning safe and effective. Follow simple tips to maintain your cabinets after cleaning.
Frequency Of Cleaning
Clean cabinets regularly to avoid dirt buildup. Wipe down surfaces once a week with a damp cloth and Murphy's Oil Soap. Deep clean every month to remove grease and grime. Adjust cleaning based on kitchen use and cooking habits.
Handling Stubborn Stains
For tough stains, apply Murphy's Oil Soap directly to the spot. Let it sit for a few minutes to loosen dirt. Use a soft cloth or sponge to gently scrub the area. Avoid harsh scrubbing to protect the cabinet finish. Rinse with a clean damp cloth and dry immediately.
Common Mistakes To Avoid
Using Murphy’s Oil Soap on kitchen cabinets can refresh their look. Avoid common mistakes to get the best results. Small errors can cause damage or reduce cleaning power. Learning what to avoid helps keep cabinets safe and shiny.
Using Too Much Soap
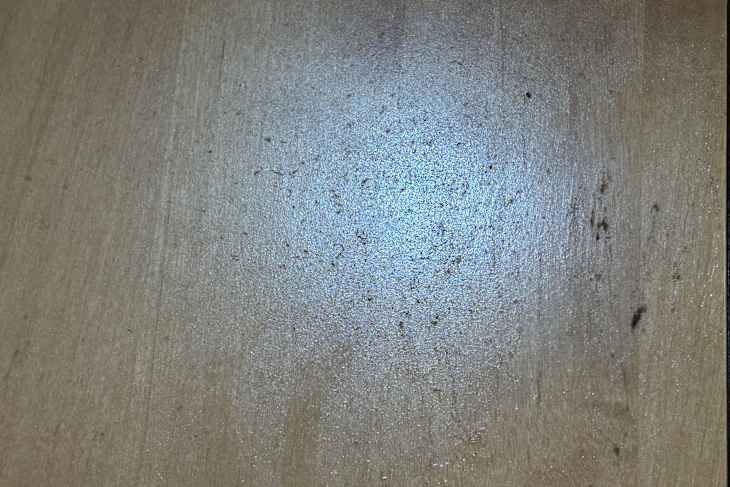
More soap does not mean better cleaning. Using too much Murphy’s Oil Soap leaves a sticky film. This film can attract dirt and dust quickly. It also makes cabinets look dull, not clean.
Use the recommended amount on the label. Dilute the soap properly with water. This keeps the surface clean without residue.
Ignoring Surface Types
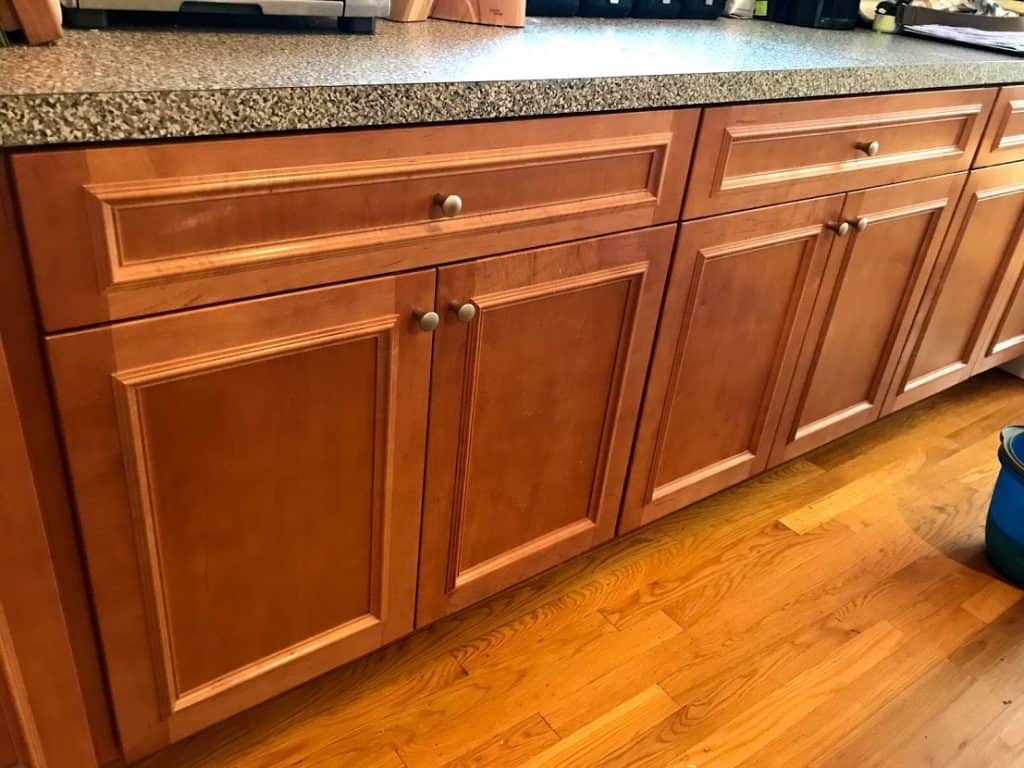
Not all cabinets are the same. Different materials react differently to cleaning products. Murphy’s Oil Soap works best on finished wood surfaces. It may harm unsealed wood, laminate, or painted cabinets.
Test the soap on a small hidden area first. This prevents damage and shows how the surface reacts. Always check manufacturer care instructions before cleaning.
Credit: everydayoldhouse.com
Credit: www.thekitchn.com
Frequently Asked Questions
How Do I Prepare Cabinets Before Using Murphy's Oil Soap?
Clean cabinets by removing dust and loose debris first. Use a dry cloth to wipe surfaces. Avoid applying Murphy's Oil Soap on greasy or heavily soiled areas without pre-cleaning.
Can Murphy's Oil Soap Damage Kitchen Cabinet Finishes?
No, Murphy's Oil Soap is safe for most wood finishes. It gently cleans without stripping natural oils. Always test on a small spot first to ensure compatibility.
What Is The Best Way To Apply Murphy's Oil Soap?
Dilute Murphy's Oil Soap with water as per instructions. Use a soft cloth or sponge to apply. Wipe gently in the direction of the wood grain for best results.
How Often Should I Clean Cabinets With Murphy's Oil Soap?
Clean cabinets every 1-2 weeks or as needed. Regular cleaning maintains shine and prevents buildup. Avoid over-wetting wood surfaces to protect the finish.
Conclusion
Using Murphy’s Oil Soap keeps kitchen cabinets clean and shiny. It removes dirt without harming the wood. Always follow the steps carefully for best results. Regular cleaning helps cabinets look fresh and new longer. This soap is gentle and safe for many surfaces.
Try it to maintain your kitchen’s warm, inviting feel. Simple care makes a big difference. Easy to use and effective. A smart choice for kitchen cabinet care.