
Your kitchen tile can look spotless and fresh with just the right mopping technique. But if you’re like most people, you might struggle with streaks, leftover dirt, or even damage from using the wrong cleaning methods.
What if you could learn a simple way to mop your kitchen tile that saves you time and leaves your floors shining every single time? You’ll discover easy steps and expert tips to make your kitchen tile cleaning quick, effective, and even enjoyable.
Ready to transform your kitchen floor? Let’s dive in.
Credit: timesofindia.indiatimes.com
Choosing The Right Mop
Choosing the right mop for kitchen tile is important for a clean floor. The wrong mop can leave streaks or damage tiles. Picking the right tool saves time and effort. It helps keep tiles shiny and grout clean. Consider the mop type, material, and cleaning method. This guide explains the best mop options for kitchen tiles.
Types Of Mops For Kitchen Tiles
Different mops suit different kitchen floors. Here are common types:
- String mops:Traditional, absorbent, but can leave water behind.
- Flat mops:Easy to use, good for quick cleaning and drying.
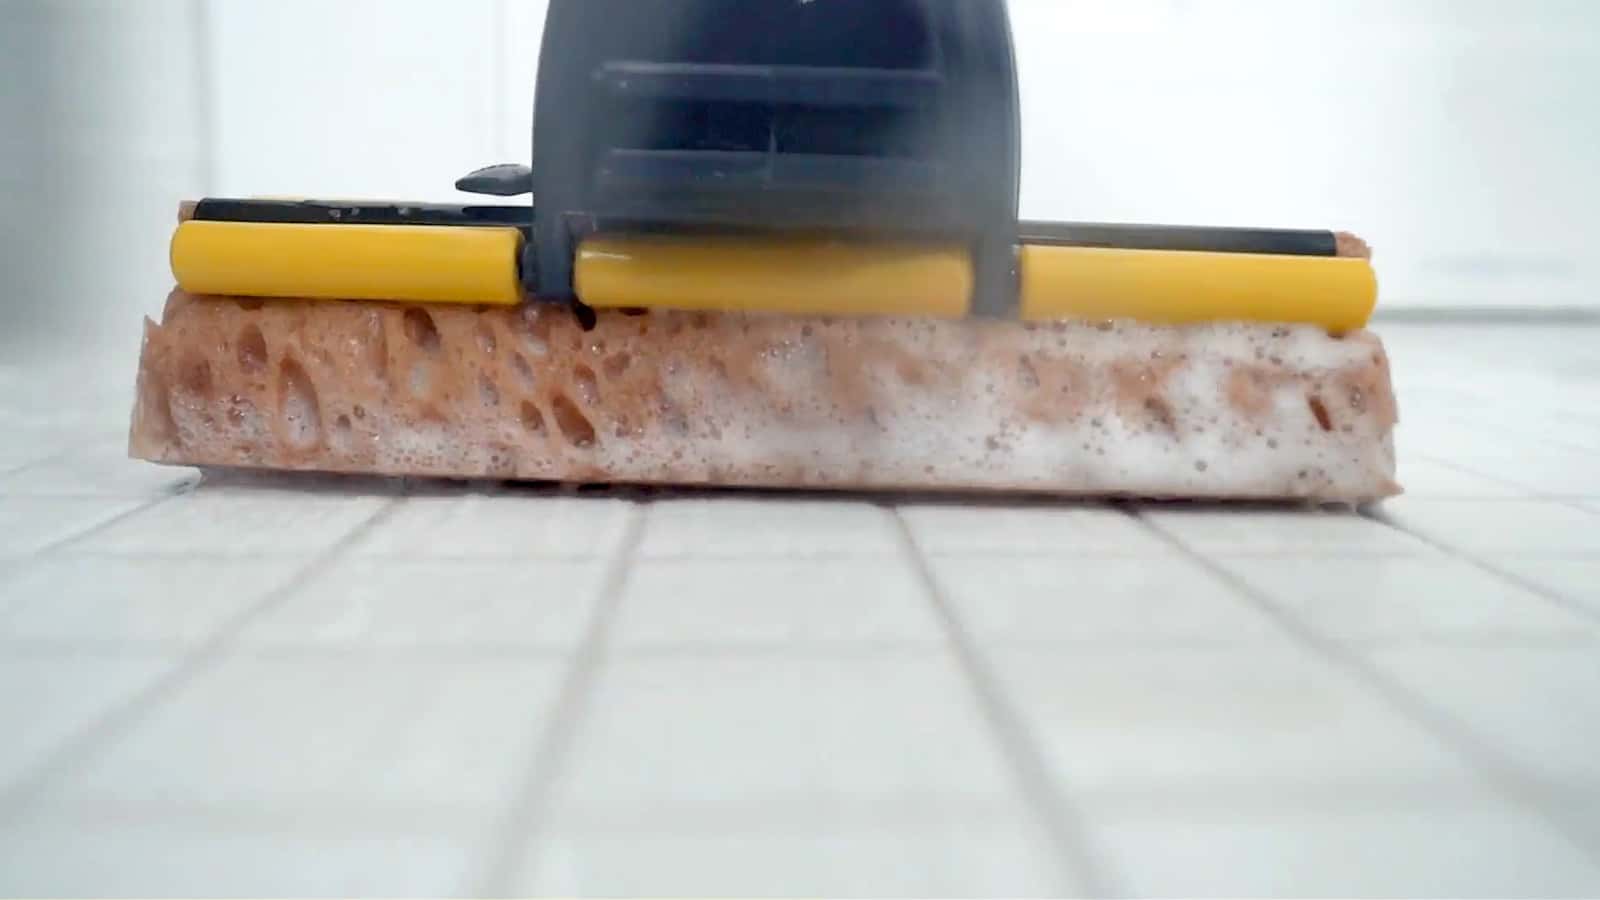
- Sponge mops:Good for small spills but can trap dirt.
- Steam mops:Use heat to sanitize without chemicals.
Choose a mop that fits your cleaning style and tile type.
Benefits Of Microfiber Mops
Microfiber mops clean better than cotton or sponge mops. They pick up dirt and dust easily. The fibers trap grime and bacteria effectively. Microfiber mops use less water and cleaning solution. They dry quickly and prevent streaks on tiles. These mops are lightweight and easy to handle. They also last longer with proper care.
When To Use Steam Mops
Steam mops clean deeply using hot steam. They are great for tough stains and sticky spots. Steam kills germs and bacteria without chemicals. Use steam mops on sealed tile floors only. Avoid using them on unsealed or damaged tiles. Steam mops dry floors fast, reducing slip risks. They work best for regular deep cleaning sessions.

Credit: www.tilemountain.co.uk
Preparing The Kitchen Floor
Preparing your kitchen floor properly sets the stage for an effective mop session. Skipping this crucial step often leads to smearing dirt rather than removing it. Taking a few moments to clear and clean ensures your tiles look fresh and spotless after mopping.
Clearing Debris And Furniture
Start by removing any loose debris like crumbs, paper scraps, or pet hair. These small particles can scratch your tiles if pushed around with a mop.
Next, move lightweight furniture such as chairs, stools, and small tables out of the way. This opens up your workspace and prevents you from missing spots hidden underneath. Have you ever mopped only to discover dirt hiding under a chair? Avoid that by clearing the floor completely.
Sweeping And Vacuuming Tips
Sweeping the floor is your first real cleaning step. Use a broom with soft bristles to avoid scratching tiles, and sweep in one direction to gather dust efficiently.
If you prefer vacuuming, select a vacuum designed for hard floors. Avoid using a beater bar as it can damage tiles and grout. Vacuum slowly to pick up fine dust and hair that sweeping might miss.
Try combining both methods if you have stubborn dirt. Sweep first to loosen debris, then vacuum to capture everything. This double approach saves you from dragging dirt around during mopping.
Selecting The Best Cleaning Solution
Choosing the right cleaning solution keeps kitchen tiles shiny and damage-free. Mild detergents or vinegar mixtures work well for everyday dirt and grime. Avoid harsh chemicals that can wear down tile surfaces or grout over time.
Selecting the right cleaning solution for your kitchen tile is essential to maintain its shine and durability. With a variety of options available, it can be challenging to decide which one suits your needs best. Whether you're a fan of DIY solutions or prefer commercial products, understanding the pros and cons of each can help you make an informed choice.
Homemade Vs Commercial Cleaners
Homemade cleaners offer a natural and cost-effective way to clean your tiles. Simple ingredients like vinegar, baking soda, and lemon juice can work wonders. These ingredients are not only budget-friendly but also readily available in most households. On the other hand, commercial cleaners are designed to tackle specific types of dirt and stains effectively. They often come with instructions tailored for different surfaces and stain types. While they might be more expensive, their targeted cleaning power can be worth the investment, especially for stubborn stains. Which do you prefer: a natural touch or the precision of a specialized product?
Safe Ingredients For Tile And Grout
Ensuring your cleaning solution is safe for your tile and grout is crucial. Harsh chemicals can damage the finish of your tiles and deteriorate grout over time. Ingredients like mild dish soap mixed with warm water can provide a gentle yet effective clean. Avoid using bleach or acidic substances like ammonia directly on grout as it can erode the material. Instead, opt for baking soda paste applied gently with a toothbrush for a deep clean. Always test a small, inconspicuous area first to avoid unwanted surprises. Are you safeguarding your kitchen surfaces with gentle cleaning agents?
Mopping Techniques For Sparkling Tiles
Mopping kitchen tile to a sparkling finish requires more than just water and a mop. The right techniques can save you time and keep your tiles looking fresh longer. Let’s dive into practical mopping tips that protect your tiles and tackle grime effectively.
Wet Mopping Best Practices
Start with a clean mop and warm water mixed with a gentle floor cleaner. Avoid harsh chemicals that can dull your tile’s shine or damage grout. Mop in small sections, rinsing your mop frequently to prevent spreading dirt around.
Try moving the mop in a figure-eight motion; it covers more ground and lifts dirt better than straight lines. After mopping, allow the floor to air dry or wipe it with a dry cloth to avoid streaks. How often do you change your mop water? Fresh water makes all the difference in cleanliness.
Avoiding Excess Water Damage
Excess water can seep into grout lines and cause damage over time. Use a damp mop rather than a soaking wet one to control moisture levels on your tile. If your kitchen tiles are unsealed, this step is even more critical to prevent stains and mold.
Pay attention to corners and edges where water tends to pool. A microfiber mop or sponge mop works well to absorb water quickly. Have you noticed dark spots or crumbling grout? It might be time to adjust your mopping routine.
Tackling Stubborn Stains
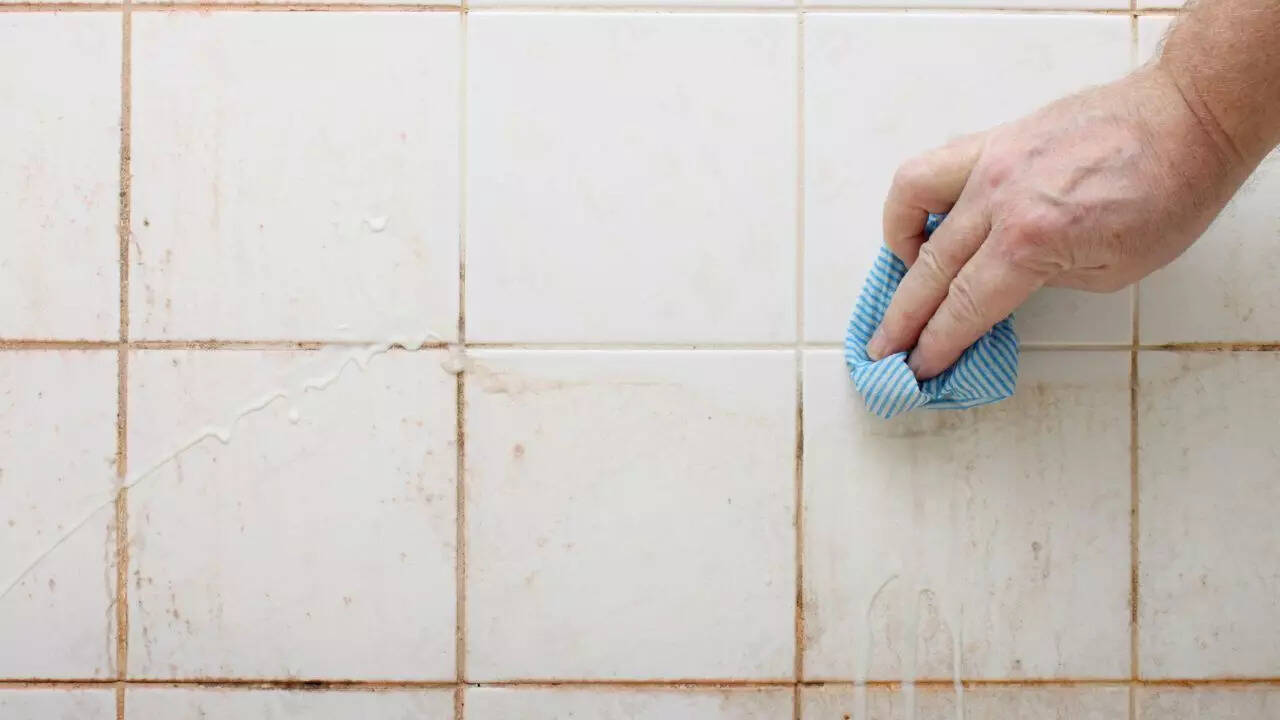
For tough stains, apply a paste made of baking soda and water directly onto the spot. Let it sit for 5-10 minutes before scrubbing gently with a soft brush. Avoid abrasive tools that can scratch your tiles.
Vinegar diluted with water is also a great natural stain remover but test it on a small area first to ensure it doesn’t dull your tile finish. Persistent stains often need repeated treatments—don’t rush the process. What’s the most stubborn stain you’ve faced on your kitchen floor?
Caring For Grout Lines
Grout lines in kitchen tiles often collect dirt and stains faster than the tiles themselves. Caring for grout is key to keeping your kitchen floor looking fresh and clean. Proper grout care prevents discoloration and damage over time. It also helps maintain a healthy kitchen environment by reducing germs and mold growth. Regular attention to grout lines can extend the life of your tile floor.
Cleaning Grout Effectively
Start by sweeping or vacuuming to remove loose dirt. Use a gentle brush and a mix of baking soda and water. Apply the paste to grout lines and scrub with the brush. Let it sit for 5 to 10 minutes before rinsing with warm water. For tough stains, try a vinegar and water solution, but test on a small area first. Avoid harsh chemicals that can erode grout.
Preventing Mold And Mildew
Keep grout dry to stop mold from growing. Wipe spills immediately and mop regularly to remove moisture. Improve kitchen ventilation by using fans or opening windows. Seal grout lines with a grout sealer every six months. The sealer forms a barrier against water and stains. Check grout often for cracks and repair them quickly.
Maintaining A Clean Kitchen Floor
Keeping your kitchen floor clean is essential for a fresh and healthy home. Kitchen tiles can trap dirt, spills, and grease. Regular care prevents stains and grime buildup. A clean floor also makes your kitchen safer by reducing slips. Small efforts daily save time and energy later. Consistent cleaning helps maintain the shine and durability of your tiles.
Regular Cleaning Schedule
Set a regular time to mop your kitchen tiles. Twice a week works well for most homes. Use warm water and a mild cleaner safe for tiles. Avoid harsh chemicals that can damage grout or tile surface. Sweep or vacuum before mopping to remove loose dirt. Mop slowly and cover all areas evenly. Let the floor dry completely before walking on it.
Quick Daily Touch-ups
Spot clean spills and stains immediately to stop stains. Use a damp cloth or mop for small messes. Wipe crumbs and sticky spots after cooking or eating. Keep a spray bottle with water and mild cleaner handy. Quick clean-ups prevent dirt from spreading. These simple habits keep the floor looking fresh every day.
Frequently Asked Questions
What Is The Best Cleaner For Kitchen Tile Floors?
The best cleaner for kitchen tile floors is a mild, pH-neutral solution. Avoid harsh chemicals that damage grout or tiles. A mixture of warm water and gentle dish soap works well. Always test in a small area first to ensure no discoloration or damage occurs.
How Often Should You Mop Kitchen Tile Floors?
Mop kitchen tile floors at least once a week to maintain cleanliness. High-traffic areas may need mopping twice weekly. Regular mopping prevents dirt buildup and keeps tiles looking fresh. Spot clean spills immediately to avoid stains and sticky residue.
Can I Use Vinegar To Mop Kitchen Tiles?
Yes, vinegar is effective for cleaning kitchen tiles but use diluted vinegar only. Mix one part vinegar with four parts water to avoid damaging grout. Avoid vinegar on natural stone tiles as it can cause etching and dullness. Rinse thoroughly after mopping to remove vinegar residue.
Should I Dry Kitchen Tiles After Mopping?
Yes, drying kitchen tiles after mopping prevents water spots and streaks. Use a clean, dry microfiber cloth or mop for best results. Drying also helps avoid slippery floors and mold growth in grout lines. Always ensure tiles are completely dry before walking on them.
Conclusion
Cleaning kitchen tile is easier with the right steps. Use a mop and mild cleaner for best results. Regular cleaning keeps tiles shiny and free from dirt. Avoid harsh chemicals to protect tile surfaces. Dry tiles after mopping to stop slips and water spots.
Simple care helps your kitchen look fresh and neat. Keep up the routine, and your floor will last longer. A clean kitchen tile makes cooking more enjoyable. Try these tips for a tidy and safe kitchen space.